The most common lengths are 16-1/2 inches and 22-1/2 inches. To make the frames, you will need to use a table saw or a miter saw to cut 45-degree angles on the ends of your strips. Once you have all of your strips cut, you will need to assemble them into frames. To do this, you will need to use some wood glue and some finishing nails. Once the frames are assembled, you can add your foundation.To start, you will need to cut your top bars to the desired length. The most common top bar length is 19-1/2 inches, but you can make them whatever length you like. Next, you will need to rip your 1x4s or 1x6s into strips that are 1-1/2 inches wide. Once you have your strips cut, you will need to cut them to length.
There are several variations of foundationless frames we have made in the past few years. The main types are the Langstroth deep, medium and shallow frames; the top bar hive; and the Warre hive. The basic idea is to have a box with removable frames that bees can build comb in without the use of a solid foundation. Each type has its own benefits and drawbacks, but overall, foundationless frames are great for honey production and for controlling Varroa mites.
Our favorite way to make foundationless frames is with a grooved top bar, a thin wooden starter strip, and a solid bottom bar. This combination is the ideal way to use foundationless frames in a Langstroth hive. The grooved top bar gives the bees a place to start building their comb, and the thin starter strip provides a place for them to attach the comb. The solid bottom bar provides a sturdy base for the comb and gives the bees a place to attach it. This combination of bars makes it easy for the bees to build comb on the frames and prevents the comb from falling off.
Solid bottom bars help keep small hive beetles from being able to hide in your frames. This makes them much easier to manage and keep track of. We like them because they help keep our hives healthy and free from pests.
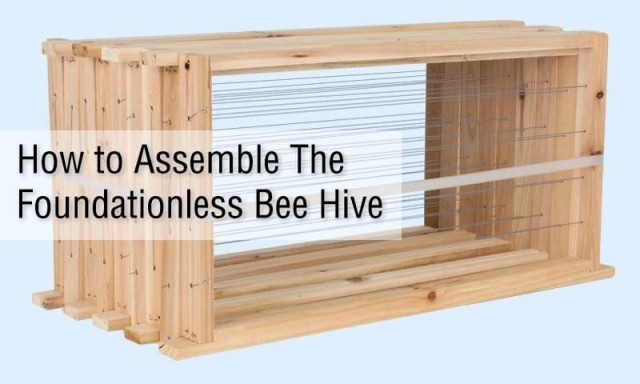
How We Assemble Our Foundationless Frames
Step 1
Cut clear (knot free) 3/4-inch thick wood boards into strips the length of the groove and just narrower than the width of the groove in the top bar. The boards will be the "rafters" that support the weight of the glass. Insert the rafters into the groove, and gently tap them into place with a mallet.
A table saw is a woodworking tool used to make precise cuts in wood. It consists of a table, a saw blade, and a motor. The table saw is used to cut lumber into different shapes and sizes. The saw blade is made of high-speed steel and is sharpened to a fine point. The motor is used to drive the saw blade through the wood.
Step 2
Line each grooved top bar side by side, with the groove facing up. Place several drops of wood glue the length of each grove. Place a thin piece of wood veneer into each groove and press it down firmly with a putty knife. Wipe off any excess glue with a damp cloth. Let the glue dry overnight before continuing.
Step 3
Make sure to press the starter strip of foundationless frames firmly into the groove so that it is level with the rest of the frame. Let the frame dry so that the foundationless frame is securely in place.
Step 4
This is the most common way to attach side bars to a top bar. It is a simple process that anyone can do. First, spread wood glue into the wide slot of each side bar. Next, press the side bars onto either side of the top bar. Finally, secure the side bars with nails or staples. This method is strong and will hold the frame together securely.
Step 5
Whether you're building a new beehive or repairing an old one, you'll need to attach the side bars to the bottom bar. The easiest way to do this is to spread wood glue onto the narrow side of each side bar and press the bottom bar onto either side of the side bars. Secure the bars with nails or staples. With the frame assembled, you're ready to start adding your beeswax foundation.
Handling Hive Beetle Counts
The best way to prevent a problem with beetles is to keep their numbers low. This can be done by maintaining a clean and orderly environment, as well as using traps when necessary. By taking these measures, we can help prevent beetle-related problems before they start.
Wooden Beehive Frame Wholesale
The wood beehive frame parts allow for easy nailing and use throughout the year.

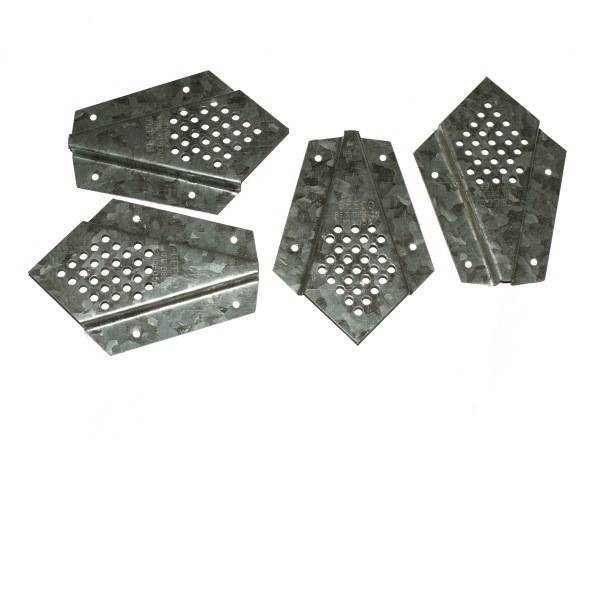
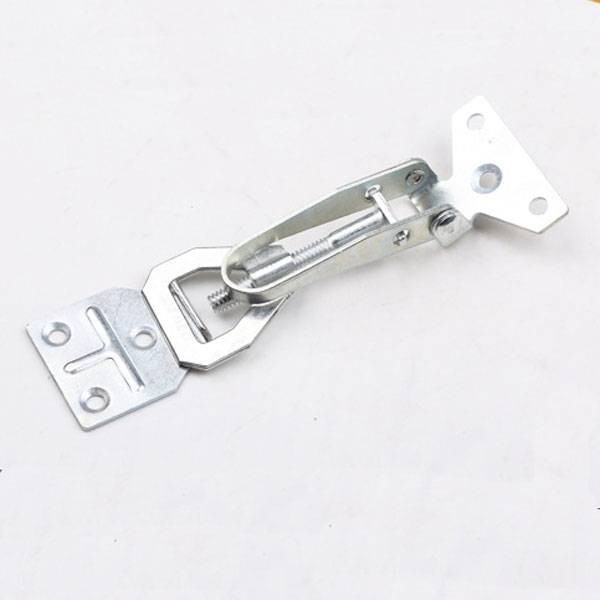
Hive Corner Bee Escape Wholesale
A bee escape is a one-way door that allows workers to leave the honey super and return to the brood nest during the night, but the board foils their attempts to reenter the box.
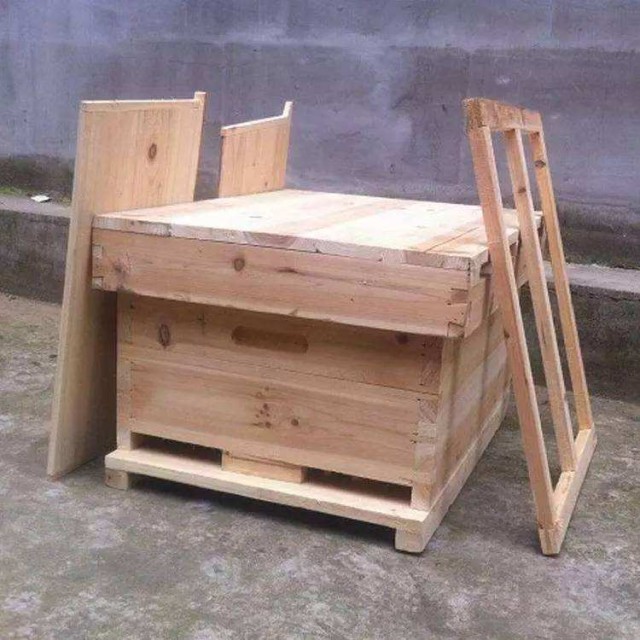
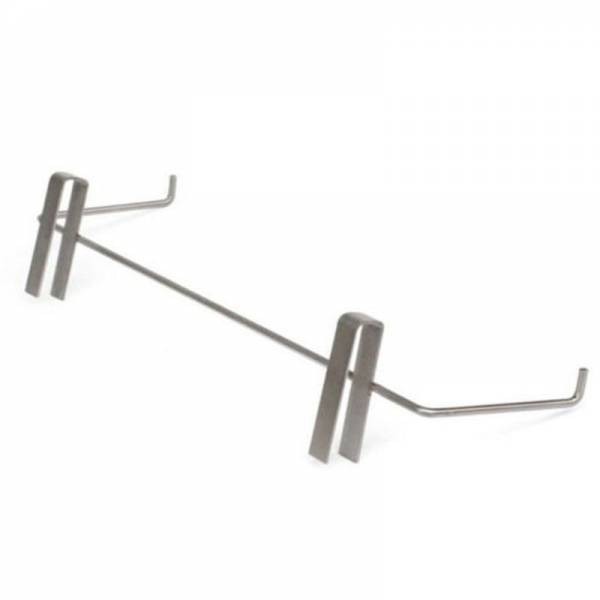
Beekeeping Frame Perch Wholesale
The beekeeping frame perch fits snugly over the edge of the hive body to conveniently and securely hold your frames during a routine inspection.
Beehive Connector
We have many kinds of connector. Please let us know what model you need.
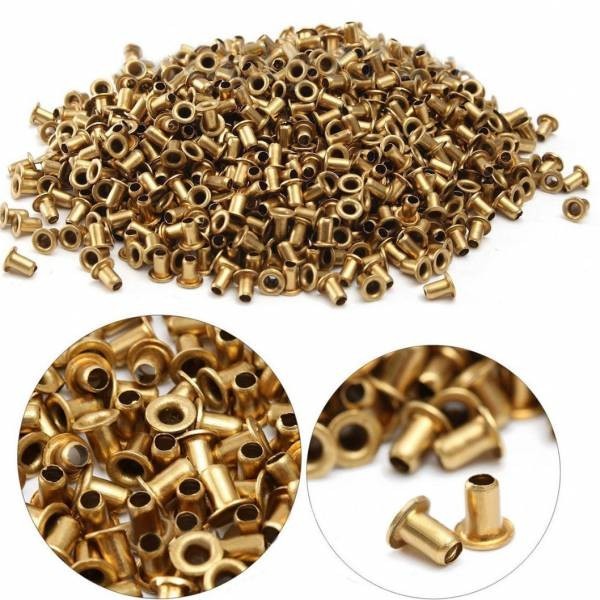
Bee Frame Eyelets Wholesale
Eyelets used to fix wire and make wire tight. It keeps the frame wire from cutting into wood frames. If you use beeswax frames, you'll need 8/6 of bee frame eyelets per frame.
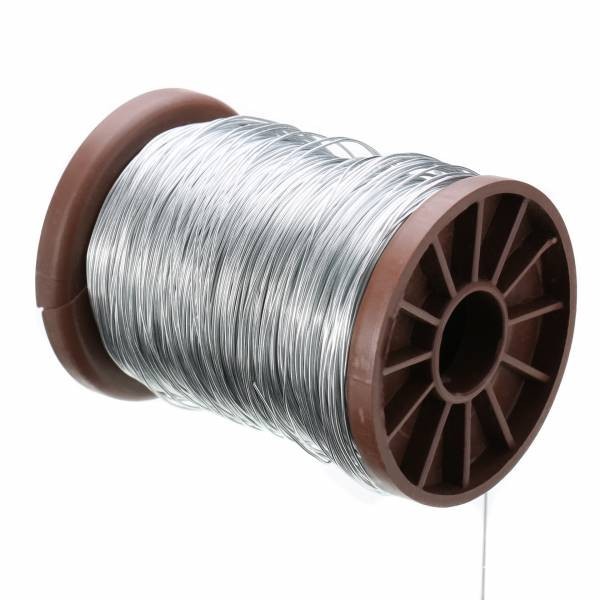
Bee Frame Wire Wholesale
The bee frame wire is used to fix the beeswax foundation in the bee frame.