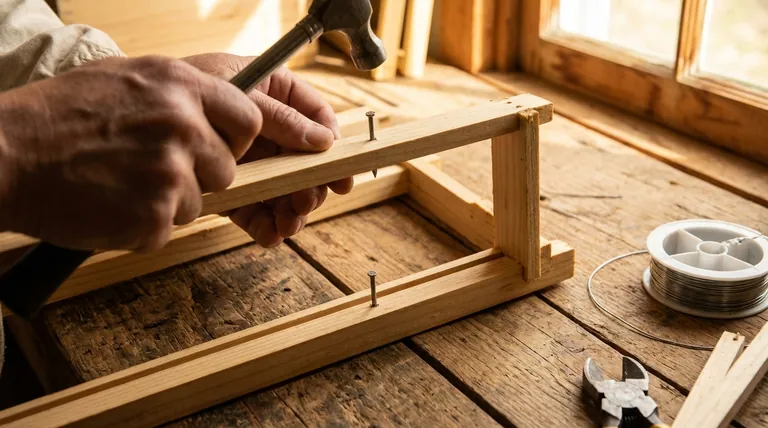
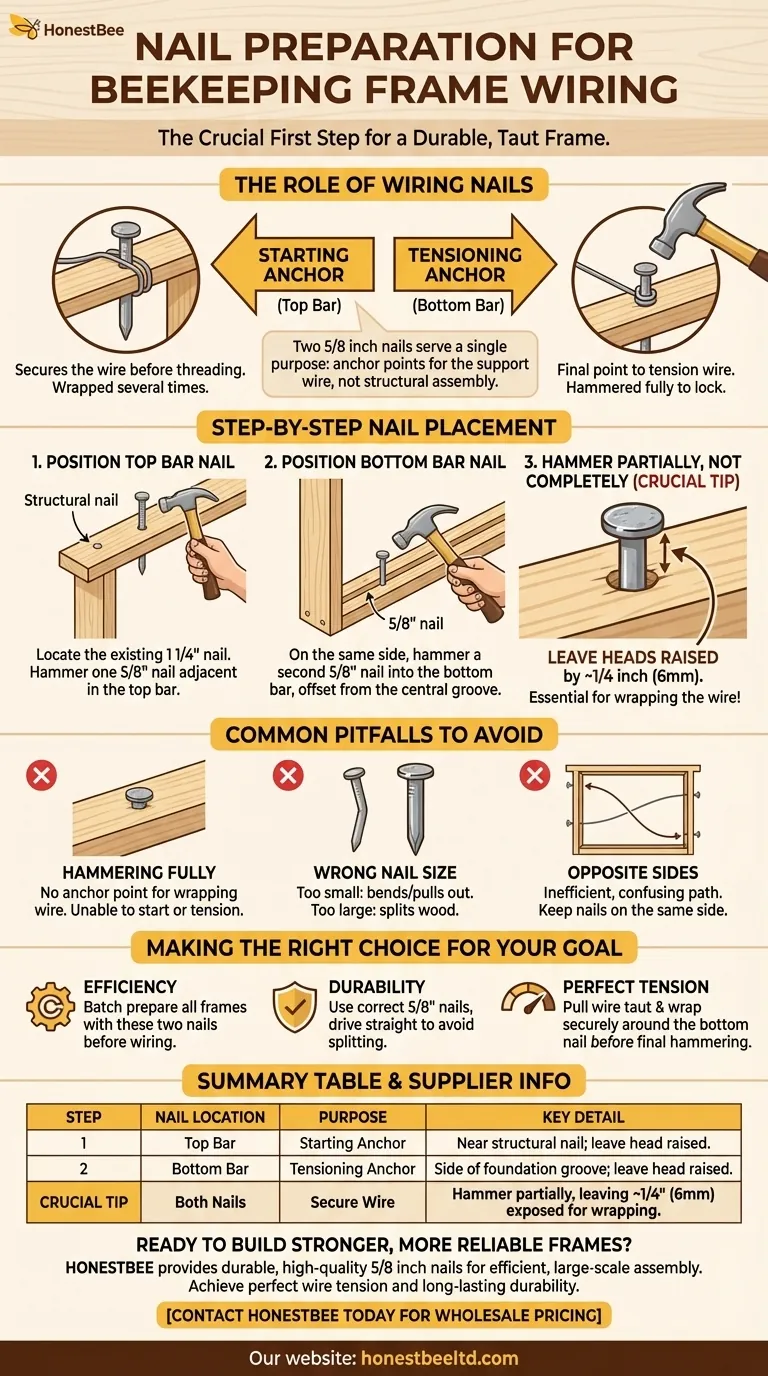
Proper nail preparation is the crucial first step for wiring a durable beekeeping frame. To prepare for wiring, two 5/8 inch nails are partially hammered into one side of the frame. One nail is placed in the top bar near the existing frame nail, and the other is placed in the bottom bar to one side of the foundation groove, leaving the heads raised to act as anchors for the wire.
These two nails are not for structural assembly; they are the dedicated start and end anchor points for the support wire. Their partial installation is the key that allows you to wrap, tension, and secure the wire correctly.
The Role of the Wiring Nails
Understanding the function of these nails is key to a successful outcome. They serve a single, specific purpose: to anchor the wire that will support the beeswax foundation.
The Starting Anchor
The nail in the top bar acts as the starting point. The wire is wrapped around this partially hammered nail several times to secure it before you begin threading it through the frame's eyelets.
The Tensioning and Finishing Anchor
The nail in the bottom bar is the finishing point. After the wire is fully threaded, it is wrapped around this nail, pulled taut to the correct tension, and then permanently secured by hammering the nail in completely.
Step-by-Step Nail Placement
Correct placement ensures a logical wiring path and the ability to achieve proper tension. You will need two 5/8 inch nails per frame.
1. Position the Top Bar Nail
Locate the 1 1/4 inch nail that holds the top bar and side bar together. Hammer one 5/8 inch nail into the top bar adjacent to this structural nail.
2. Position the Bottom Bar Nail
On the same side of the frame, hammer the second 5/8 inch nail into the bottom bar. Place it to one side of the central groove where the foundation will sit.
3. Hammer Partially, Not Completely
This is the most critical step. Hammer both nails in just enough to be secure, but leave the heads raised by about 1/4 inch (6mm). This gap is essential for wrapping the wire around the nail shaft.
Common Pitfalls to Avoid
Mistakes in this simple step can complicate the entire wiring process and lead to a poorly supported frame.
Hammering Nails in Fully
If you hammer the nails flush with the wood at the start, you will have no anchor point to wrap the wire around. You will be unable to start the process or secure the wire under tension at the end.
Using the Wrong Nail Size
Using nails that are too small may cause them to bend or pull out under the wire's tension. Nails that are too large or thick risk splitting the delicate wood of the frame bars.
Placing Nails on Opposite Sides
Placing the top and bottom nails on opposite side bars creates an inefficient and confusing wiring path. Keeping them on the same side ensures the wire starts and ends in one logical zone, making tensioning straightforward.
Making the Right Choice for Your Goal
Your goal is a frame with taut wires that will support a flat, even sheet of foundation without sagging.
- If your primary focus is efficiency: Prepare all of your frames with these two nails in a batch before you begin wiring any of them.
- If your primary focus is durability: Ensure you use the correct 5/8" nail size and drive them in straight to avoid splitting the wood, which would compromise their ability to hold tension.
- If your primary focus is achieving perfect tension: Remember that the bottom nail is your final control point. Pull the wire taut and wrap it securely around this nail before you hammer it down to lock in the tension.
Properly preparing your frame with these two anchor nails sets the stage for a perfectly wired and long-lasting final product.
Summary Table:
| Step | Nail Location | Purpose | Key Detail |
|---|---|---|---|
| 1 | Top Bar | Starting Anchor | Place near the structural nail; leave head raised. |
| 2 | Bottom Bar | Tensioning Anchor | Place to the side of the foundation groove; leave head raised. |
| Crucial Tip | Both Nails | Secure Wire | Hammer in partially, leaving about 1/4 inch (6mm) of the nail shaft exposed for wrapping. |
Ready to build stronger, more reliable frames?
As a leading wholesale supplier to commercial apiaries and beekeeping equipment distributors, HONESTBEE provides the durable, high-quality 5/8 inch nails and other essential supplies you need for efficient, large-scale frame assembly. Our products are designed to help you achieve perfect wire tension and long-lasting frame durability, batch after batch.
Contact HONESTBEE today for wholesale pricing and equip your operation for success.
Visual Guide
Related Products
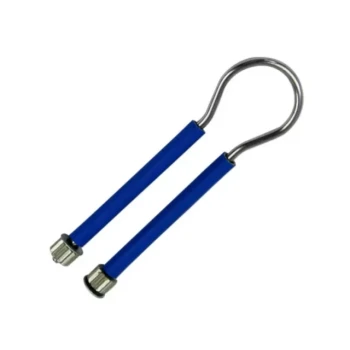
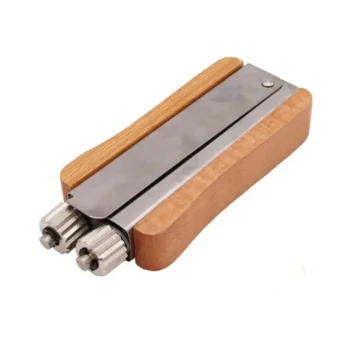
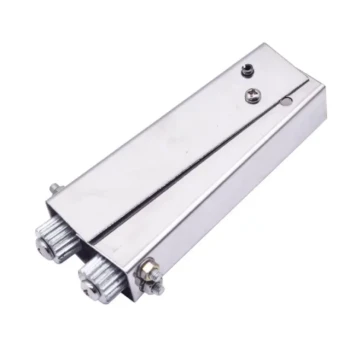
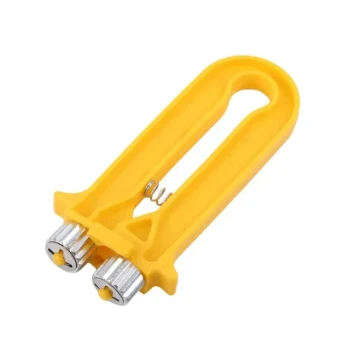
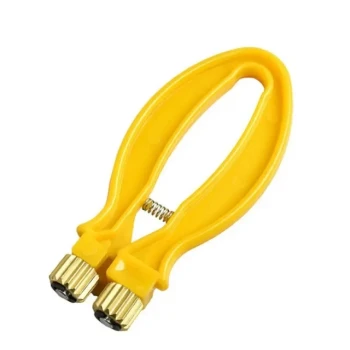
- Stainless Steel Bee Hive Frame Wire for Beekeeping
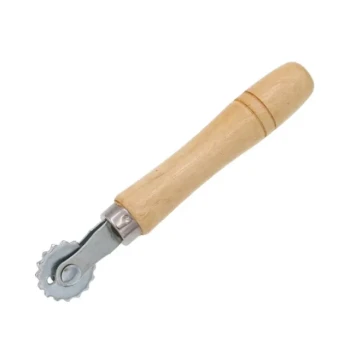
- HONESTBEE Loop Handle Frame Wire Crimper
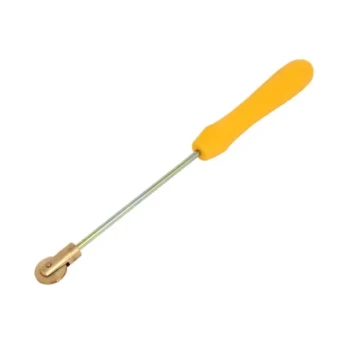
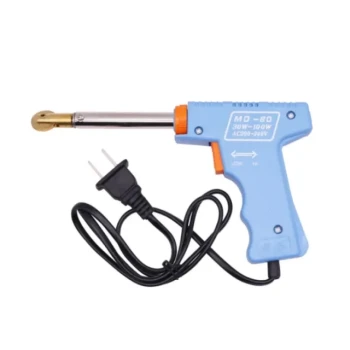
- Professional Pneumatic Wire Embedder for Beehive Frames
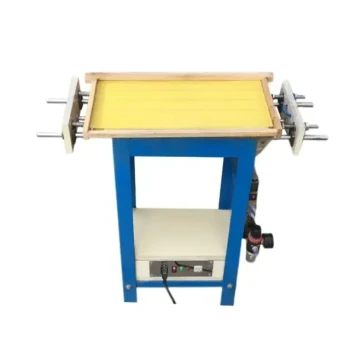
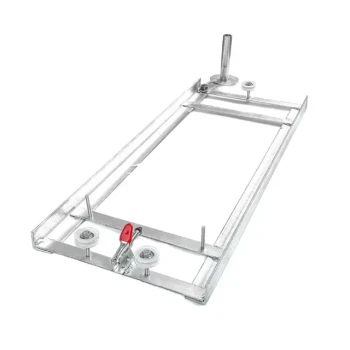
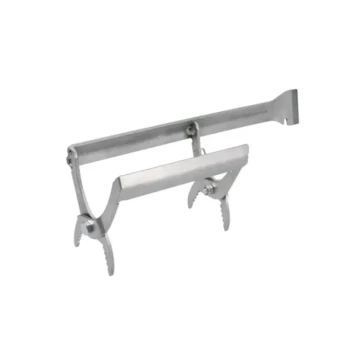
- HONESTBEE Durable Frame Wiring Board with Integrated Tensioner
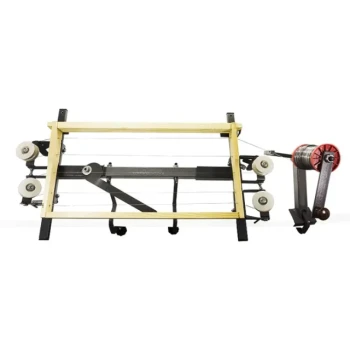
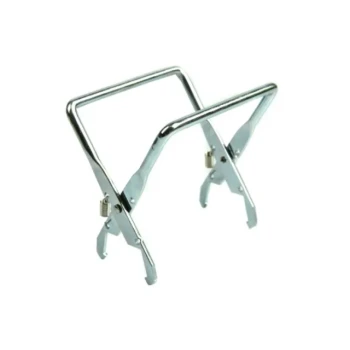
- Professional Bee Frame Wiring Tool with Integrated Tensioning System by HONESTBEE
People Also Ask
- What tools are needed to wire a beehive frame? Essential Equipment for Durable Frame Construction
- How is the wire tightened in a beekeeping frame? Expert Techniques for Durable Hive Frames
- How is the wire secured at the top of the frame? A Guide to Locking in Tension for Strong Honeycomb
- What precautions should be taken when wiring beehive frames? Essential Steps for Comb Durability
- How is the wire secured at the top of the frame after being threaded? Master the Clamp and Break Technique