Once your beeswax is fully liquid, your immediate actions are to remove it from the heat source and promptly pour it for your intended use. Because beeswax solidifies quickly once it begins to cool, you must work efficiently to either strain it for purity or pour it directly into molds or mixtures.
Handling melted beeswax is a time-sensitive and safety-critical step. The key is to work with deliberate speed, removing the wax from heat to prevent overheating and pouring it before it solidifies, all while observing strict fire safety protocols.
The Critical First Step: Removing from Heat
The moment your beeswax transitions from solid to a clear liquid, your work has just begun. How you handle it in these first few seconds is crucial for both quality and safety.
Why Immediate Removal is Essential
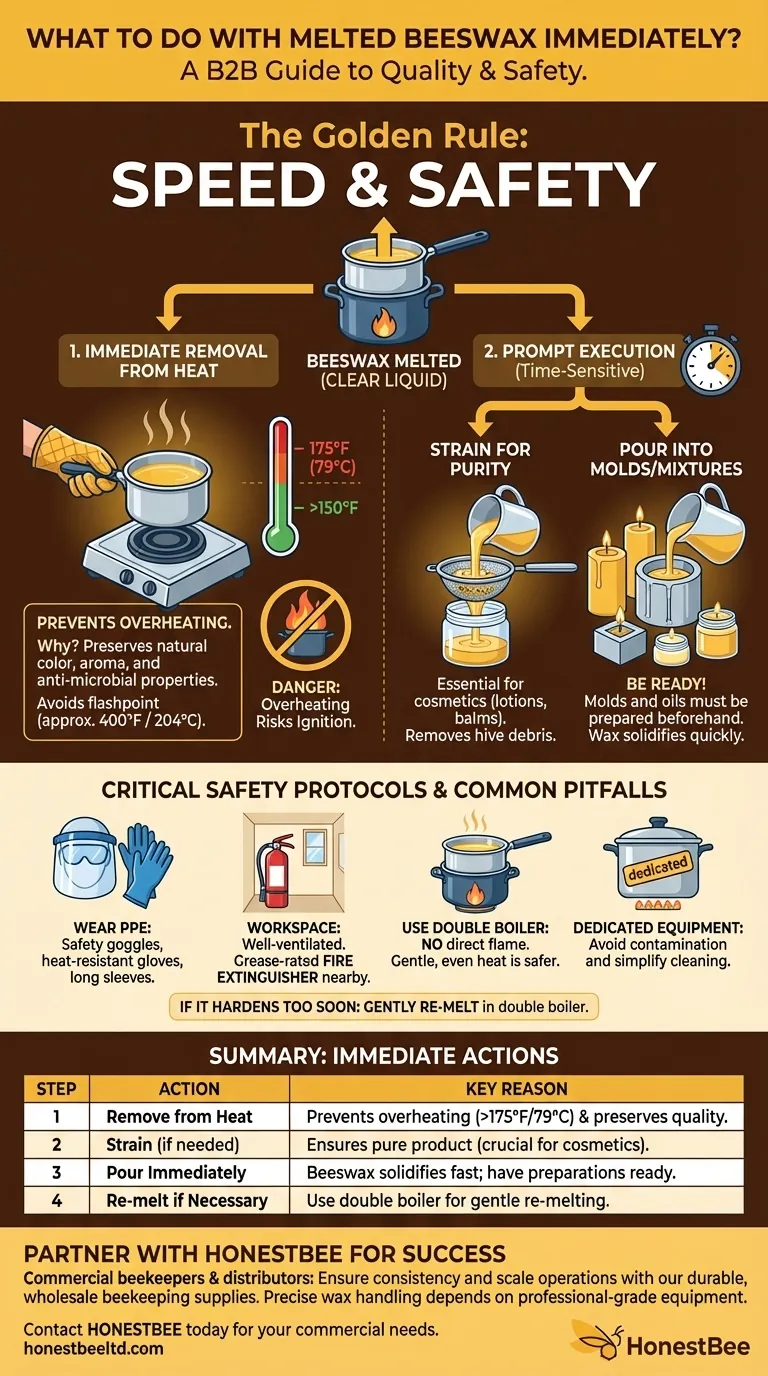
Leaving beeswax on a heat source after it has melted risks overheating. To preserve its natural color, subtle honey aroma, and beneficial anti-microbial properties, it should not be heated above 175°F (79°C).
Immediate removal from heat gives you maximum control over its temperature, preventing degradation of the wax.
The Dangers of Overheating
Overheating beeswax doesn't just damage its quality by darkening the color and diminishing its scent. Beeswax is a flammable material with a flashpoint around 400°F (204°C), meaning it can ignite if it gets too hot.
Constant monitoring and prompt removal from heat are your primary defenses against this risk.
Executing Your Project: The Next Moves
With the wax off the heat, you have a limited window to work. Your next steps depend on your project's goal.
Straining for Purity
If your beeswax contains any visible particles or debris from the hive, now is the time to filter it.
Pour the liquid wax through a fine-mesh strainer, cheesecloth, or a simple coffee filter placed over your final container. This ensures a smooth, clean product, which is especially important for cosmetics like lotions and balms.
The Need for Speed
Melted beeswax begins to solidify almost as soon as it's removed from heat. You must act quickly.
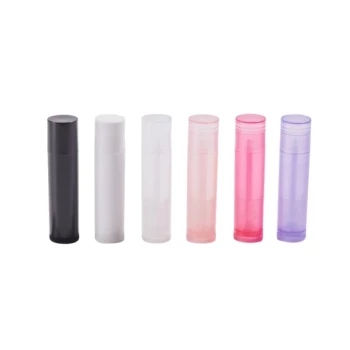
Have your candle molds, containers for balms, or the oils you plan to mix it with ready and waiting before you even begin the melting process.
What If It Hardens Too Soon?
If the wax starts to set up in your melting pot before you are finished pouring, do not worry. You can simply place it back on the low heat of your double boiler to gently re-melt it.
Common Pitfalls and Safety Protocols
Success with beeswax is as much about safety as it is about technique. Understanding the risks is non-negotiable.
The Hazard of Direct Heat
Never melt beeswax over a direct flame or heat source. This creates hot spots that can easily scorch the wax or, in a worst-case scenario, cause it to ignite.
Always use a double boiler or a dedicated crockpot. A double boiler, where a smaller pot of wax is placed inside a larger pot of hot water, provides gentle, even heat that is much safer and easier to control.
Personal Protective Equipment (PPE)
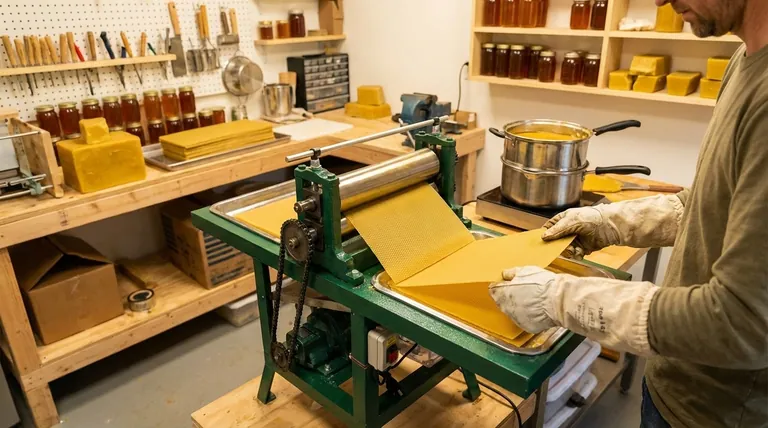
Melted beeswax can cause serious burns. Always protect yourself by wearing safety goggles, heat-resistant gloves, and a long-sleeved shirt.
Preparing Your Workspace
Work in a well-ventilated area to avoid the buildup of fumes. Most importantly, always keep a fire extinguisher rated for grease fires within arm's reach.
Using Dedicated Equipment
Beeswax is notoriously difficult to clean from pots and utensils. It is highly advisable to use dedicated equipment solely for your wax projects to avoid contamination and simplify your cleanup process.
Making the Right Choice for Your Project
Your immediate actions after melting should align with your final goal.
- If your primary focus is creating clean, high-quality cosmetics: Prioritize straining the wax immediately after melting to ensure a pure, particle-free final product.
- If your primary focus is making candles: Work quickly to pour the strained wax into your prepared molds and wicks before it begins to set unevenly.
- If your primary focus is safety and consistency: Have all safety gear in place and all molds prepared before you begin melting, and always use a double boiler to control the temperature.
By handling melted beeswax with both speed and caution, you ensure the safety and quality of every project you undertake.
Summary Table:
| Step | Action | Key Reason |
|---|---|---|
| 1 | Remove from Heat | Prevents overheating (>175°F/79°C) and preserves wax quality. |
| 2 | Strain (if needed) | Removes hive debris for a pure product, essential for cosmetics. |
| 3 | Pour Immediately | Beeswax solidifies quickly; have molds/preparations ready. |
| 4 | Re-melt if Necessary | If it hardens, gently re-melt using a double boiler. |
Ensure every batch of beeswax is handled perfectly with professional-grade equipment from HONESTBEE.
As a commercial beekeeper or equipment distributor, the quality of your final products—from candles to cosmetics—depends on precise and safe wax handling. HONESTBEE supplies the durable, wholesale-focused beekeeping supplies you need to work efficiently and safely.
We provide the reliable equipment that supports the critical steps outlined above, helping you maintain product consistency and scale your operations.
Contact HONESTBEE today to discuss your commercial or wholesale supply needs and get the right tools for the job.
Visual Guide
Related Products
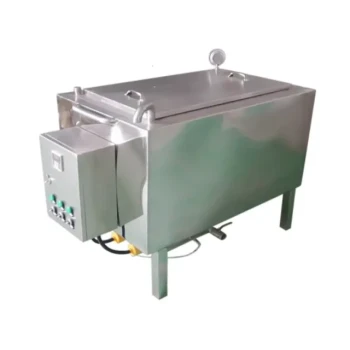
- Beeswax Melter for Candle Making Honey Bee Wax Melter
- Steam Beeswax Melter Wax Warmer for Wax Processing
- Electric Commercial Beeswax Melter for Factory Use
- Solar Beeswax Melter Easy Solar Wax Melter for Beeswax
- Professional Stainless Steel Wax Melter for Beekeeping and Crafts
People Also Ask
- What types of beeswax melters are available for beekeepers? Choose the Right One for Your Operation
- What is the advantage of the temperature control feature when melting beeswax? Tips for Color and Aroma Preservation
- What methods are recommended for melting and clarifying beeswax? Master Safe Wax Processing Techniques
- How do you melt beeswax without making a mess? Master Safe & Clean Techniques
- Can I melt beeswax in a wax melter? The Key to Safe, High-Quality Results