As a general rule, you should leave freshly extracted honey to settle for approximately 48 hours. This allows the tiny air bubbles introduced during extraction to rise to the surface, resulting in a clearer, more shelf-stable final product.
The goal of settling is not simply to wait, but to allow gravity to separate impurities. This crucial 48-hour period is dedicated to removing trapped air and fine particulates, which clarifies the honey and enhances its quality and appearance.
Why Settling Honey is a Critical Step
After honey is spun from the comb, it is cloudy and turbulent. The settling process is a simple, non-invasive method of purification that relies on time and gravity to prepare the honey for bottling.
To Remove Trapped Air Bubbles
The primary purpose of settling is to allow the thousands of tiny air bubbles, whipped into the honey during the extraction and filtering process, to slowly rise to the surface.
This separation is essential for achieving the crystal-clear appearance that consumers often expect. These bubbles form a frothy layer on top, which can be easily skimmed off.
To Separate Fine Debris
Even after initial straining, microscopic particles of wax, pollen, and other hive debris can remain suspended in the honey.
During the settling period, many of these heavier-than-honey particles will sink to the bottom, while lighter ones will get carried to the top with the rising air bubbles.
The Impact of Temperature and Viscosity
The speed of this process is directly related to the honey's viscosity (its thickness). Warmer honey is less viscous, allowing air bubbles and debris to separate more quickly.
For this reason, many beekeepers let their honey settle in a warm room (around 70-80°F or 21-27°C) to facilitate a more efficient separation within the 48-hour window.
The Settling Process From Start to Finish
Following a structured process ensures you get the best results without compromising the quality of your honey.
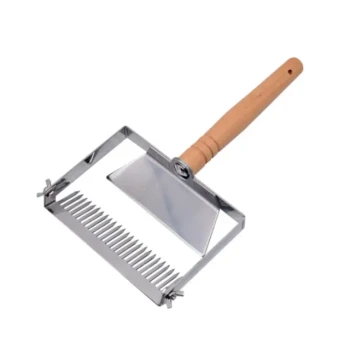
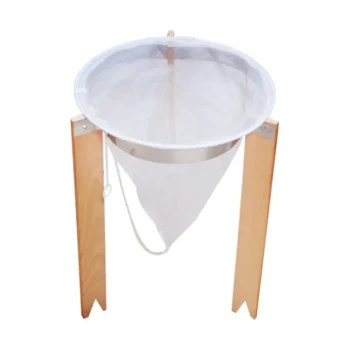
Step 1: Initial Straining
Immediately after extraction, the honey should be poured through a filter or a double sieve. This removes the large-particle debris like chunks of beeswax and parts of bees.
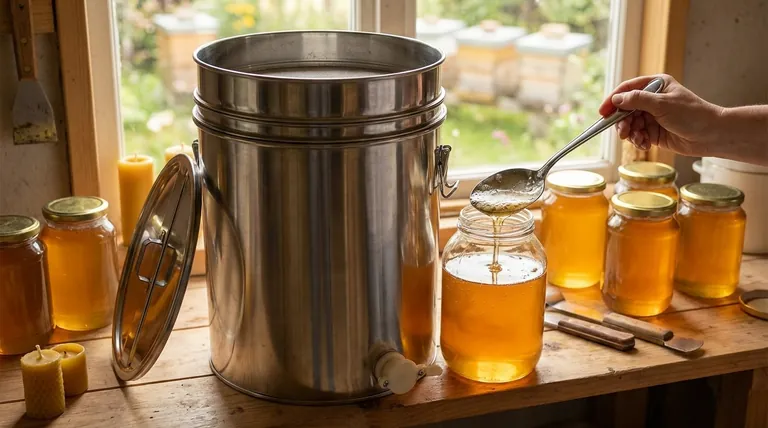
Step 2: Transfer to a Settling Tank
Pour the strained honey into a clean, food-grade container. This is often called a settling tank and ideally has a honey gate or spigot near the bottom.
Step 3: Wait and Watch
Allow the honey to sit undisturbed for at least 24, and preferably 48, hours. During this time, you will see a foam of air bubbles and fine particulates form on the surface.
Step 4: Skim and Bottle
Once settled, carefully skim the frothy layer off the top. You can then use the honey gate at the bottom of the tank to bottle the clear, clean honey, leaving behind any sediment that sank.
Common Pitfalls to Avoid
While settling is a simple concept, a few factors can impact your final product. Understanding them is key to a successful harvest.
Settling for Too Long
Leaving raw, unprocessed honey to sit for many days, especially in cooler temperatures, can encourage the onset of crystallization in the tank. The 48-hour rule is a balance between achieving clarity and avoiding this.
Settling for Too Little Time
If you bottle the honey too soon, the air bubbles will not have had enough time to rise. They will do so later in the jar, creating a frothy layer at the top of your bottled honey, which can be visually unappealing.
Ignoring Temperature
Attempting to settle honey in a very cold room will significantly increase its viscosity, slowing the process dramatically. The 48-hour guideline may not be sufficient in cool conditions, leading to cloudy honey.
Making the Right Choice for Your Goal
Use the settling time to match the quality you want to achieve.
- If your primary focus is maximum clarity for sale or competition: Adhere strictly to the 48-hour settling period in a warm room to ensure all bubbles have risen.
- If your primary focus is personal use and minimal processing: You can shorten the settling time to 24 hours if you don't mind a few bubbles or a slightly less pristine appearance.
Properly settling your honey is the final step that showcases the quality and care you put into your harvest.
Summary Table:
| Settling Duration | Primary Goal | Ideal Temperature |
|---|---|---|
| 24 hours | Basic clarification; personal use | 70-80°F (21-27°C) |
| 48 hours (Recommended) | Maximum clarity; commercial sale | 70-80°F (21-27°C) |
Ready to Bottle Perfectly Clear Honey Every Time?
Achieving professional-grade clarity requires the right equipment. HONESTBEE supplies commercial apiaries and beekeeping equipment distributors with high-quality settling tanks, filters, and other essential tools designed for efficiency and superior results.
Let us help you streamline your harvest. Contact our wholesale experts today to discuss your operation's needs and discover how our durable, food-grade equipment can enhance your honey's quality and your bottom line.
Visual Guide

Related Products
- High Quality Honey Dehumidifier Dryer Thickening Machine for Beekeeping
- Modern Honeycomb Pattern Wooden Honey Dipper for Stirring and Drizzling
- Economy Small Scale Honey Dryer Dehumidifier Thickening Machine
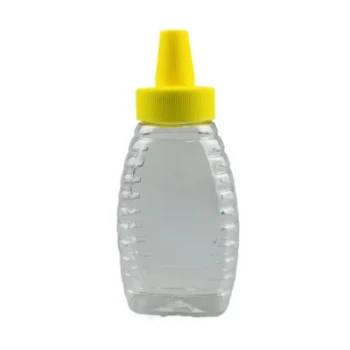
- Classic Honey Bear Jars with Flip Top Dispensing Cap for Liquid Sweeteners
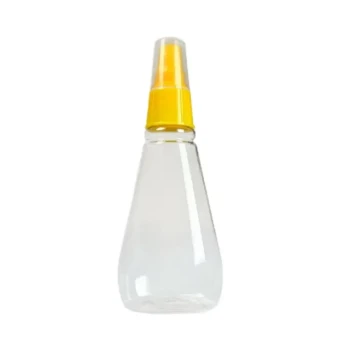
- Inverted Squeezable Honey Jar with No Drip Flip Top Cap for Easy Pouring
People Also Ask
- What is the process for using a dehumidifier to lower honey's moisture content? Expert Drying Techniques
- What is the primary function of professional dehumidification equipment in honey processing? Stability & Quality
- How to decrease moisture in honey? Prevent Fermentation and Ensure Long-Term Quality
- How to remove humidity from honey? Protect Your Harvest from Fermentation
- Can you dehumidify honey? A Beekeeper's Guide to Preventing Fermentation