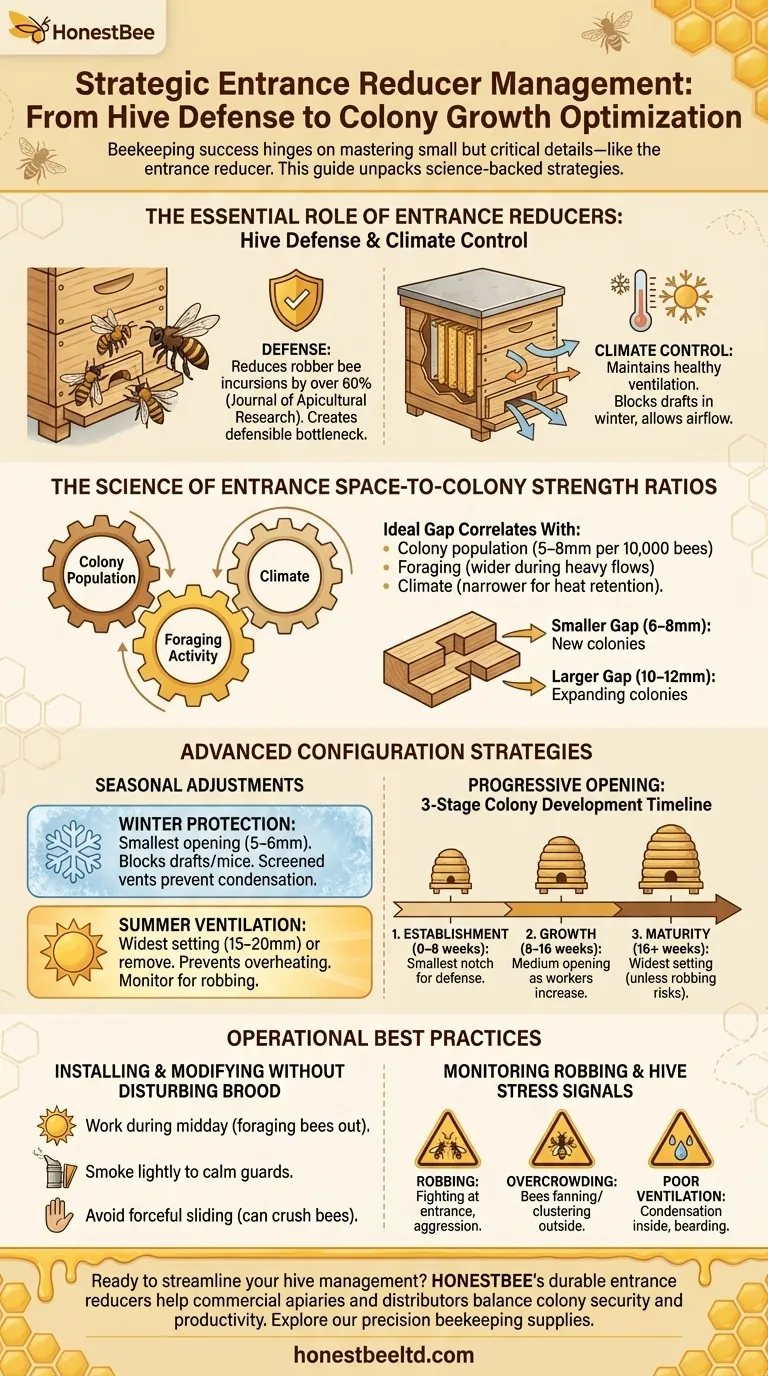
Beekeeping success hinges on mastering small but critical details—and few tools are as deceptively simple yet vitally important as the entrance reducer. This guide unpacks science-backed strategies to align reducer usage with your colony's evolving needs, balancing security and growth at every stage.
The Essential Role of Entrance Reducers
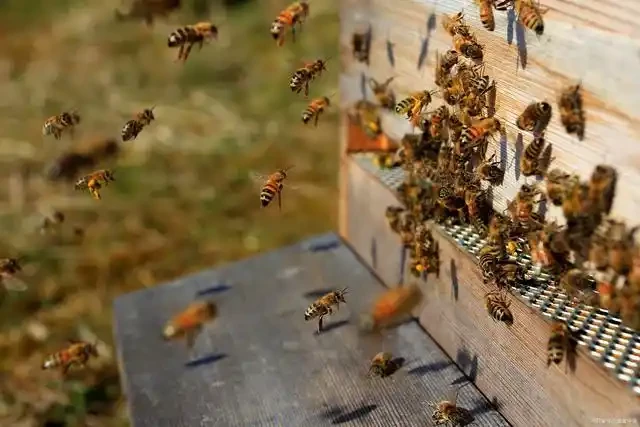
Entrance reducers aren’t just wooden blocks or metal inserts—they’re your first line of defense and climate control. Research shows properly managed hive entrances can reduce robber bee incursions by over 60% while maintaining healthy ventilation.
How Robber Bees Exploit Weak Colonies
Bees from strong colonies will target weaker neighbors to steal honey, especially during nectar shortages. A study in Journal of Apicultural Research found colonies with unregulated entrances faced 3x more robbing attempts. Reducers create a defensible bottleneck—allowing guard bees to monitor incoming traffic efficiently.
The Science of Entrance Space-to-Colony Strength Ratios
The ideal entrance gap correlates with:
- Colony population (5–8mm per 10,000 bees prevents congestion)
- Foraging activity (wider openings during heavy nectar flows)
- Climate (narrower in winter to retain heat)
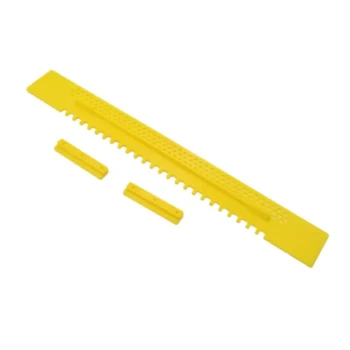
Wooden reducers with dual-notch designs offer flexibility—use the smaller gap (6–8mm) for new colonies and the larger one (10–12mm) as they expand.
Advanced Configuration Strategies
Seasonal shifts and colony development demand dynamic reducer adjustments.
Seasonal Adjustments: Winter Protection vs Summer Ventilation
- Winter: Reduce to the smallest opening (5–6mm) to block drafts and mice while allowing airflow. Metal reducers with screened vents prevent condensation buildup.
- Summer: Expand to the widest setting (15–20mm) or remove entirely during peak foraging to prevent overheating. Monitor for robbing—if detected, revert to a medium gap.
Progressive Opening: 3-Stage Colony Development Timeline
- Establishment Phase (0–8 weeks): Use the smallest notch to help the colony defend itself.
- Growth Phase (8–16 weeks): Switch to a medium opening as worker numbers increase.
- Maturity Phase (16+ weeks): Fully remove or use the widest setting unless robbing risks exist.
Operational Best Practices
Installing & Modifying Reducers Without Disturbing Brood
- Work during midday when most bees are foraging.
- Smoke lightly to calm guard bees before adjusting the reducer.
- Avoid sliding reducers forcefully—this can crush bees at the entrance.
Monitoring Robbing Attempts & Hive Stress Signals
Signs your reducer needs adjustment:
- Robbing: Bees fighting at the entrance, increased aggression.
- Overcrowding: Bees fanning at the entrance or clustering outside.
- Poor Ventilation: Condensation inside the hive or bees bearding excessively.
Ready to streamline your hive management? HONESTBEE’s durable entrance reducers help commercial apiaries and distributors balance colony security and productivity. Explore our beekeeping supplies designed for precision and ease—because thriving hives start with the right tools.
Visual Guide
Related Products
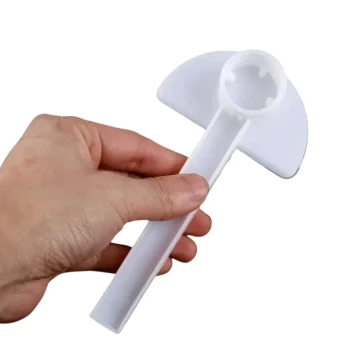
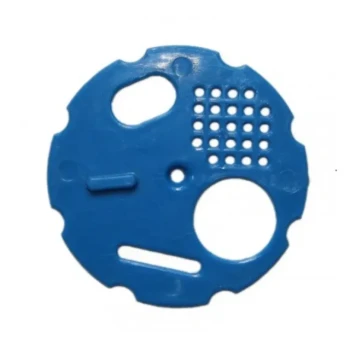
- Steel Round Disc Entrance Reducer for Flexzion Bee Hive Nuc Box Gate
- Beehive Entrance Reducer Guardian Metal Hive Entrance for Bees
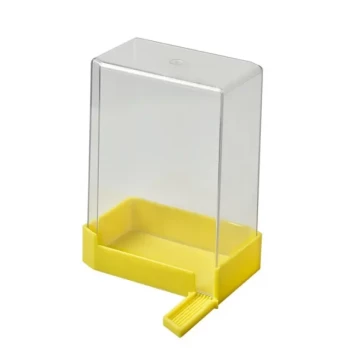
- Professional Hive Front Entrance Bee Feeder
- HONESTBEE Entrance Bee Feeder Efficient Hive Front Liquid Feeding Solution for Beekeeping
- HONESTBEE Entrance Bee Feeder Professional Hive Nutrition Solution for Beekeeping
Related Articles
- More Than a Block of Wood: How the Hive Entrance Reducer Governs a Colony's Fate
- The Four-Way Gate: Mastering the Deceptive Simplicity of the Hive Entrance Disc
- Optimizing Beehive Entrance Discs: When Freedom Boosts Hive Performance
- The Bottleneck Principle: Why Reducing a Hive Entrance is Critical Winter Engineering
- The Four States of the Hive Entrance: A Gateway or a Fortress?