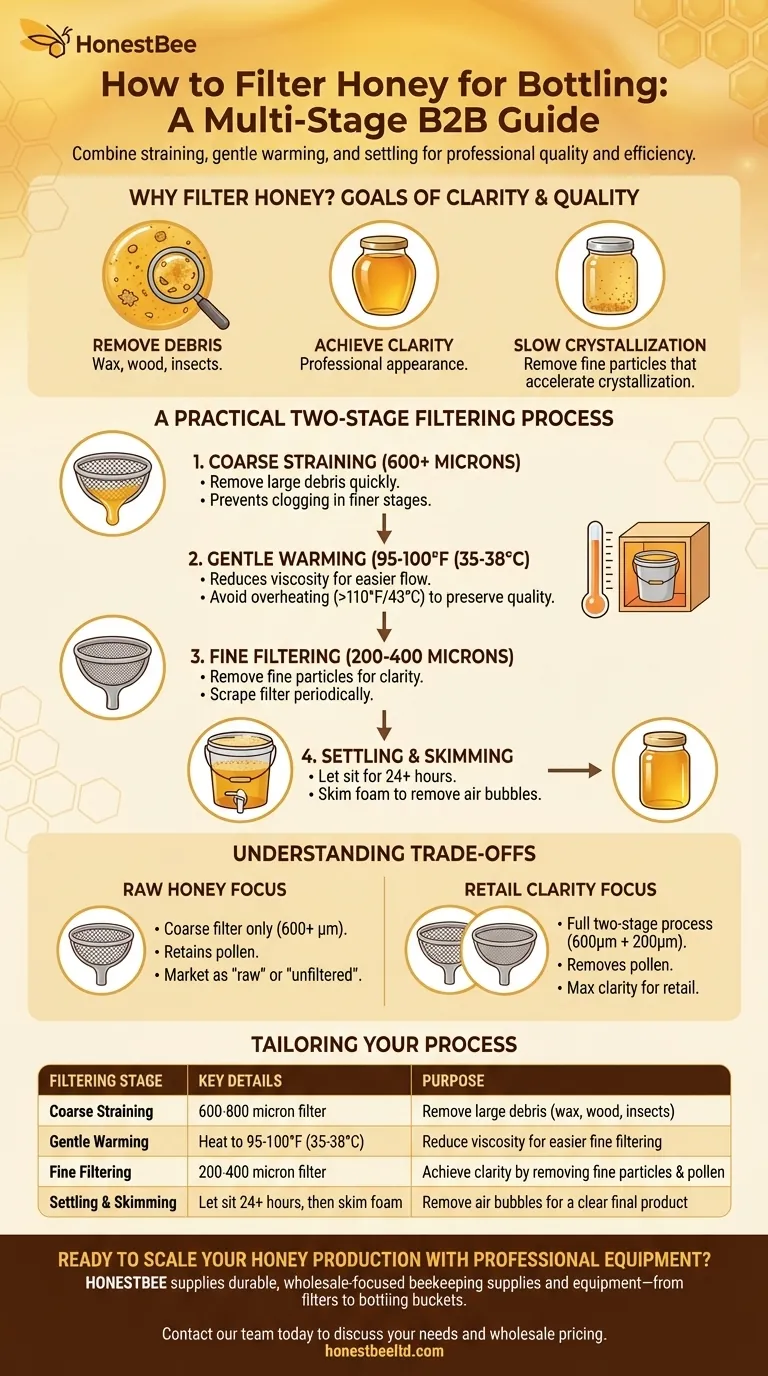
To properly filter honey for bottling, you must use a multi-stage process that combines straining, gentle warming, and settling. This typically involves passing the honey through a coarse filter (around 600 microns) to remove large debris, followed by a finer filter (200-400 microns) to achieve clarity. Allowing the honey to warm slightly and settle afterward is crucial for an efficient process and a professional-quality final product.
The key to effective honey filtering is not just the mesh of the strainer, but a deliberate process. Success depends on controlling honey's viscosity with gentle heat and allowing time for gravity to separate impurities and air.
Why Filter Honey? The Goal of Clarity and Quality
Before detailing the process, it's essential to understand the objectives. Filtering is not just about cleaning; it's about preparing the honey for a specific final product.
Removing Physical Debris
The most basic goal is to remove debris from the extraction process. This includes bits of wax cappings, wood from the frames, and any unfortunate bees or insects.
Achieving a Clear, Professional Appearance
For many consumers, clear, golden honey is the standard. Fine filtering removes smaller suspended particles, like pollen grains and "hive trash," which can make the honey appear cloudy.
Slowing Crystallization
Fine particles, including pollen and dust, can act as nucleation sites that initiate and accelerate crystallization. Removing these particles can help keep the honey in its liquid state for longer on the shelf.
A Practical Two-Stage Filtering Process
A methodical approach yields the best results without damaging the honey's delicate qualities. This process is standard for many small-scale and craft beekeepers.
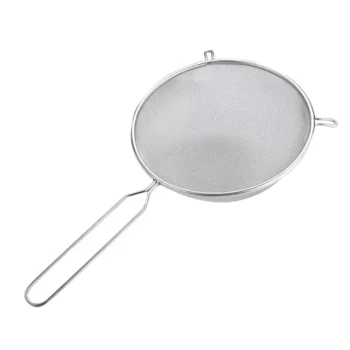
Step 1: Coarse Straining (600+ Microns)
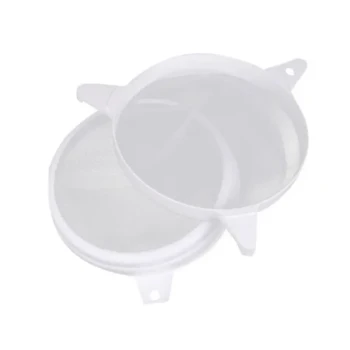
Immediately after extraction, the honey should be poured through a coarse filter. A 600-micron or 800-micron filter is ideal for this first pass.
This initial step is designed to catch all the large debris quickly without clogging. It prepares the honey for the next, finer stage.
Step 2: The Importance of Gentle Warming
Honey is viscous, meaning it flows slowly. When gently warmed, its viscosity drops dramatically, allowing it to pass through finer filters with ease.
The ideal temperature is 95-100°F (35-38°C). You can achieve this by placing your honey bucket in a warm room, a "hot box" with a low-wattage lightbulb, or even a vehicle on a sunny day.
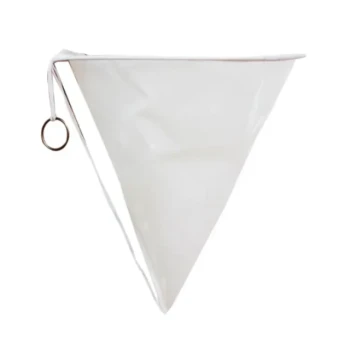
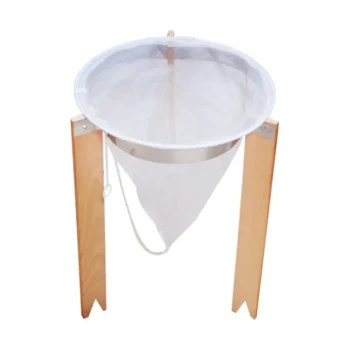
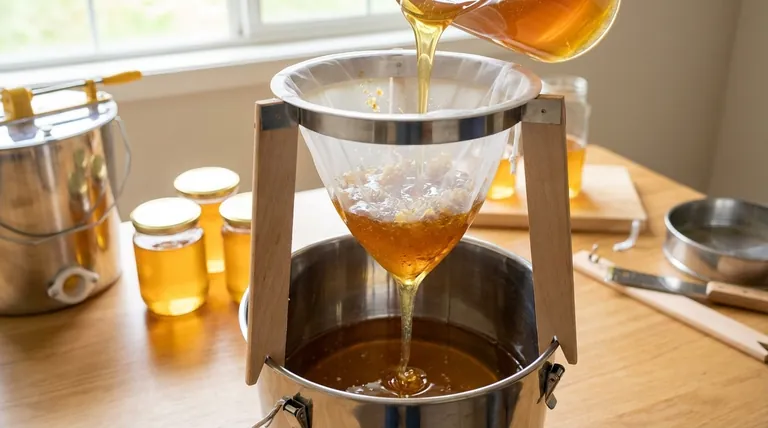
Step 3: Fine Filtering (200-400 Microns)
Once warmed, the honey is ready for its final filtering. A 200-micron or 400-micron filter will remove the vast majority of remaining fine particles.
Because these filters are so fine, they can clog. Work patiently and scrape the collected material from the filter surface periodically to maintain flow.
Step 4: Settling and Skimming
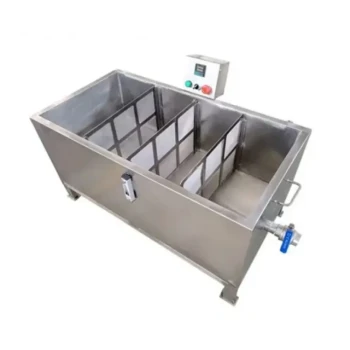
After the final filtering, pour the honey into a clean bottling bucket equipped with a honey gate (a type of spigot). Let it sit undisturbed for at least 24 hours.
This settling period allows microscopic air bubbles, which were introduced during extraction and filtering, to rise to the surface. This forms a thin layer of foam that can be skimmed off just before bottling, ensuring perfectly clear honey in the jar.
Understanding the Trade-offs
Filtering is a balance between purity and preservation. Your choice of process depends entirely on your end goal.
Filter Mesh vs. "Raw" Honey
Many consumers seek out "raw" honey, believing it contains beneficial pollen and enzymes. Aggressive filtering can remove this pollen.
If you intend to market your honey as raw, it is standard practice to use only a coarse filter (600 microns or larger) to remove only the largest non-honey debris.
The Critical Impact of Heat
While warming honey is essential for efficient filtering, overheating is destructive. Temperatures above 110°F (43°C) can begin to degrade the beneficial enzymes and delicate flavor compounds that make your honey unique.
Never heat honey quickly or directly. Gentle, low, and slow warming is the only acceptable method.
Final Preparation and Hygiene
The final step before bottling is ensuring your equipment is pristine. Bottles must be perfectly clean and dry.
Any moisture inside the bottle can increase the honey's overall water content, creating a risk of fermentation and spoilage over time.
Making the Right Choice for Your Goal
Your filtering strategy should align directly with the product you wish to create.
- If your primary focus is crystal-clear honey for retail: Use the full two-stage process (600 micron, then 200 micron) with gentle warming and a 24-hour settling period.
- If your primary focus is marketing "raw" or "unfiltered" honey: Use only a single, coarse straining (600+ micron) to remove large debris while retaining all pollen.
- If your primary focus is honey for personal use: A single pass through a medium filter (around 400 microns) after warming is often the perfect balance of clarity and simplicity.
By mastering this process, you gain complete control over the quality, appearance, and character of your final product.
Summary Table:
| Filtering Stage | Key Details | Purpose |
|---|---|---|
| Coarse Straining | 600-800 micron filter | Remove large debris (wax, wood, insects) |
| Gentle Warming | Heat to 95-100°F (35-38°C) | Reduce viscosity for easier fine filtering |
| Fine Filtering | 200-400 micron filter | Achieve clarity by removing fine particles and pollen |
| Settling & Skimming | Let sit 24+ hours, then skim foam | Remove air bubbles for a clear final product |
Ready to Scale Your Honey Production with Professional Equipment?
As a commercial beekeeper or distributor, you need reliable, efficient tools to maintain the highest quality standards. HONESTBEE supplies durable, wholesale-focused beekeeping supplies and equipment—from coarse and fine filters to bottling buckets with honey gates—designed for high-volume operations.
Let us help you streamline your filtering and bottling process for a superior product. Contact our team today to discuss your equipment needs and wholesale pricing.
Visual Guide
Related Products
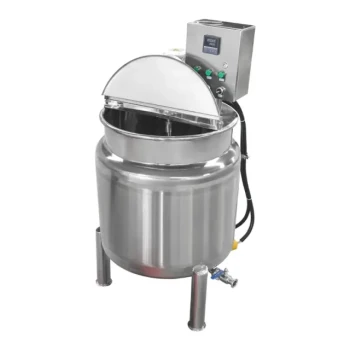
- Professional Stainless Steel Honey Filtering Machine with Water Bath Heating for Beekeeping
- Electric Double Wall Honey Filtering Machine Purifier Equipment for Honey Processing Plant
- Honey Concentrating and Filtering Dehumidifier Machine 2T Capacity for Honey
- Automatic Honey Filling and Filtering Machine for Beekeeping Bottle Filling
- 0.5T Capacity Honey Dehumidifier Dryer with Vacuum Heating and Thickening Filtering Machine
People Also Ask
- Why is filtering honey an important step in honey processing? Ensure Purity, Clarity & Marketability
- What are the benefits of using honey filters? Achieve Purity, Efficiency, and Market Appeal
- What are the benefits of using a high-quality honey filter? Elevate Purity and Preserve Natural Flavor
- What is the best way to filter honey? A Guide to Quality, Clarity, and Raw Preservation
- How is honey filtered after being extracted? Master the Best Techniques for Pure, Clean Honey