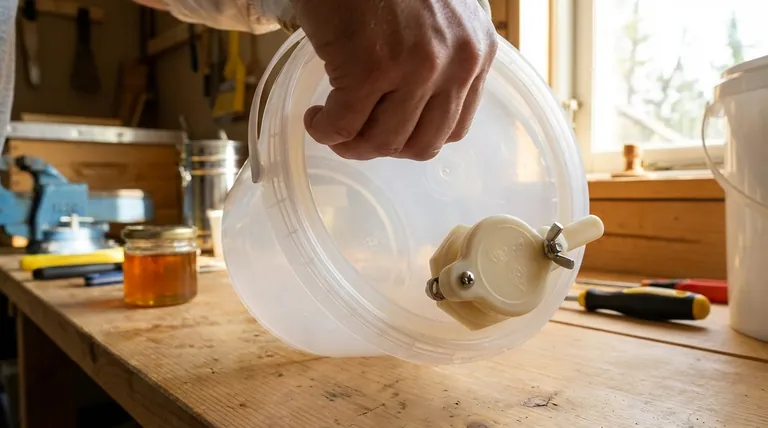
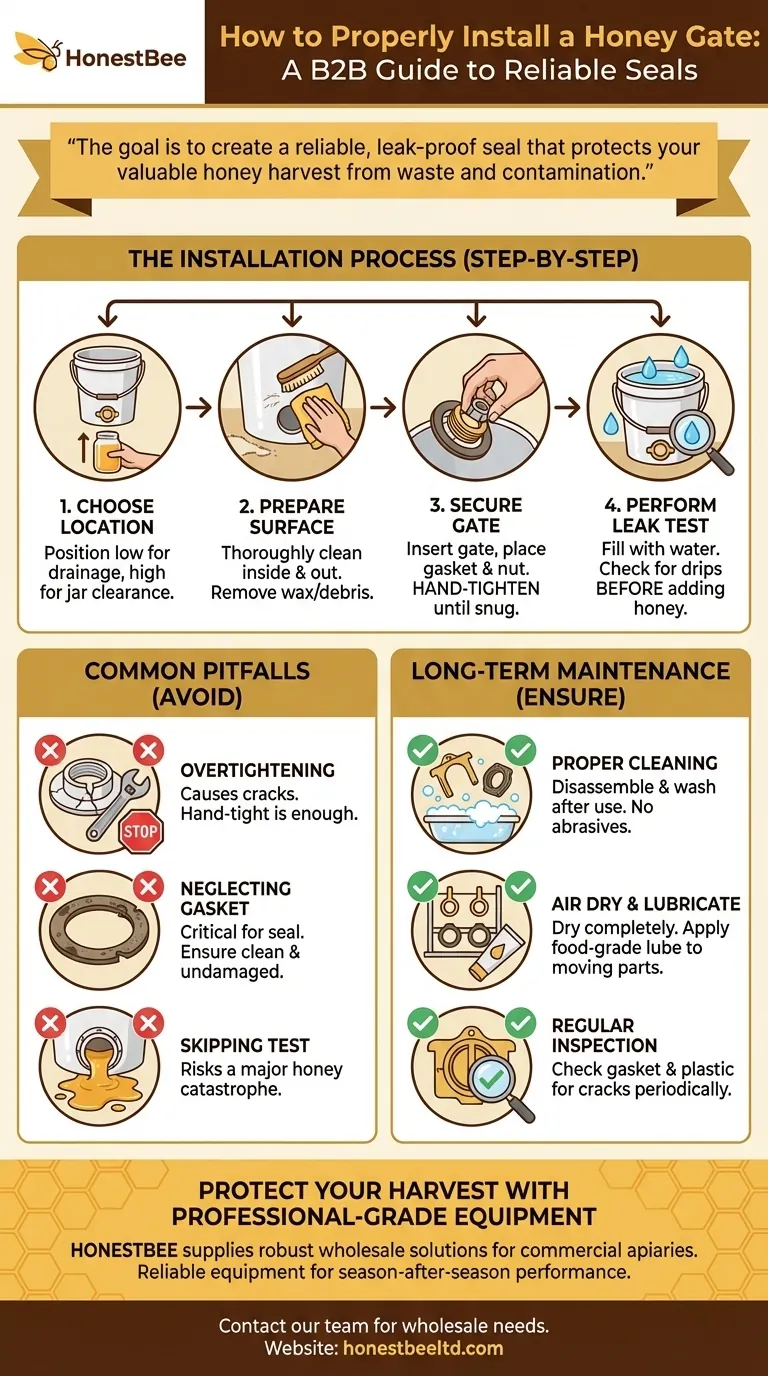
To properly install a honey gate, you must choose a suitable location on your container, ensure the surface is perfectly clean, tighten the gate's nut until it is snug but not over-torqued, and always test the seal with water before introducing any honey. This methodical approach prevents leaks and ensures the gate functions correctly for years.
The goal is not merely to attach a valve to a bucket. The true objective is to create a reliable, leak-proof seal that protects your valuable honey harvest from waste and contamination.
The Installation Process, Step-by-Step
A successful installation is a matter of preparation and careful execution. Each step builds on the last to create a secure, dependable connection between the gate and your container.
Step 1: Choose the Right Location
Position the gate low enough on your bucket or tank to allow for maximum drainage, but high enough that you can still fit a honey jar and your hand underneath it. Proper clearance is essential for easy operation.
Step 2: Prepare the Surface
Thoroughly clean the area around the hole, both inside and out. Any wax, propolis, or debris can compromise the gasket's ability to create a perfect seal.
Step 3: Secure the Gate
Insert the threaded end of the gate through the hole from the outside. Place the gasket on the threads from the inside of the bucket, followed by the nut. Hand-tighten the nut until it feels snug.
Step 4: Perform the Critical Leak Test
Before you ever pour honey into the container, fill it with a few inches of water and let it sit. Check carefully around the gate's seal for any drips. This simple test allows you to fix a minor water leak instead of a major honey catastrophe.
Understanding the Common Pitfalls
Many issues with honey gates stem from a few common, and entirely avoidable, mistakes during the installation process.
The Danger of Overtightening
The most frequent error is overtightening the nut. Using a wrench or excessive force can crack the plastic of the bucket or the flange of the honey gate itself, guaranteeing a leak. A firm, hand-tightened seal is all that is required.
Neglecting the Gasket
The small rubber or silicone gasket is the most critical component for preventing leaks. Always ensure it is clean, free of damage, and seated flat against the inside wall of the container before you tighten the nut.
Skipping the Pre-Use Test
It can be tempting to skip the water test when you're in a hurry to get your honey bottled. This is a significant risk. Finding and fixing a leak with an empty, clean bucket is simple; doing so with a full and sticky one is a frustrating, wasteful mess.
Beyond Installation: Long-Term Maintenance
A properly installed gate is only as good as its upkeep. Regular maintenance ensures a long, trouble-free service life.
Proper Cleaning Procedures
After use, disassemble the gate. Wash all components in warm, soapy water using a soft brush to remove all honey and wax residue. Avoid abrasive cleaners that can scratch the plastic.
Air Dry and Lubricate
Allow all parts to air dry completely to prevent mold or mildew. Before reassembly, apply a very thin layer of food-grade lubricant to the gate's moving parts to ensure smooth, easy operation.
Regular Inspection
Periodically inspect the gate and its gasket for any signs of wear, such as cracks in the plastic or damage to the seal. Replacing a worn gasket is a cheap and simple way to prevent future leaks.
Making the Right Choice for Your Goal
Your installation and maintenance practices should align with your primary objective.
- If your primary focus is preventing leaks: The pre-use water test is the single most important action you can take.
- If your primary focus is equipment longevity: Avoid overtightening at all costs and perform regular inspections for wear and tear.
- If your primary focus is honey purity and ease of use: Commit to a strict cleaning regimen and use a food-grade lubricant on the gate mechanism.
Following these principles ensures your honey gate is an effective tool, not a source of frustration.
Summary Table:
| Step | Key Action | Why It Matters |
|---|---|---|
| 1. Choose Location | Position for maximum drainage and clearance. | Ensures easy operation and efficient honey extraction. |
| 2. Prepare Surface | Clean area inside and out of any wax or debris. | Creates a perfect seal for the gasket, preventing leaks. |
| 3. Secure Gate | Hand-tighten the nut until snug; avoid overtightening. | Prevents cracking the bucket or gate flange. |
| 4. Leak Test | Fill container with water and check for drips. | Identifies seal issues before honey is introduced. |
Protect Your Valuable Harvest with Professional-Grade Equipment
A reliable honey gate is essential for efficient, leak-proof honey extraction. For commercial apiaries and beekeeping equipment distributors, using high-quality, durable supplies is non-negotiable for protecting your product and your profits.
HONESTBEE supplies the robust beekeeping supplies and equipment your operation needs. We focus on wholesale solutions designed for the demands of commercial beekeeping, ensuring you get equipment that performs season after season.
Ready to upgrade your honey processing setup? Contact our team today to discuss your specific needs and discover how our products can enhance your efficiency and safeguard your harvest.
Visual Guide
Related Products
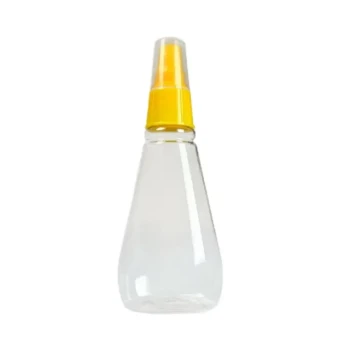
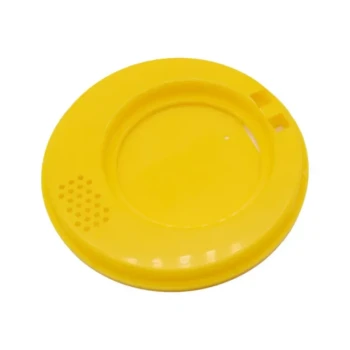
- Honey Gate Valve with Ergonomic Ball Handle Plastic Bee Honey Tap for Beekeeping Bottling and Honey Extractor Equipment
- Plastic Honey Gate Spout with Wing Nut for Beekeeping Honey Bucket
- Stainless Steel Honey Gate Valve Tap Tool for Honey Extractor
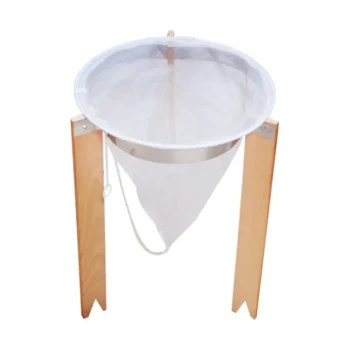
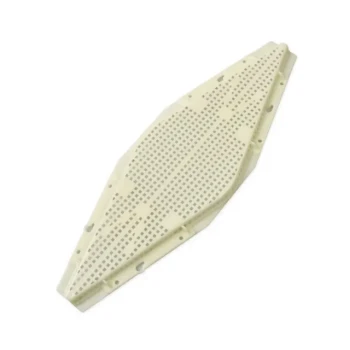
- Professional Honey Filter with Tripod Support Stand
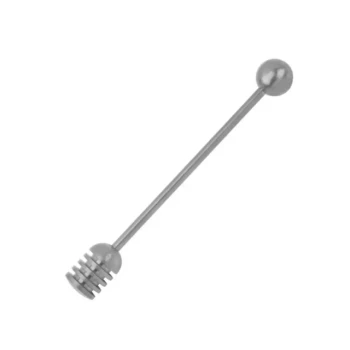
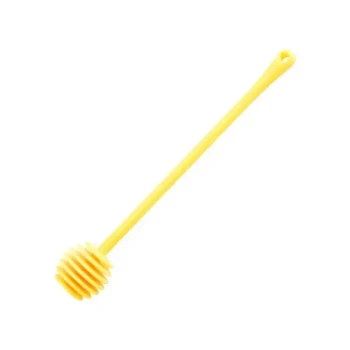
- Heavy Duty 304 Stainless Steel Honey Dipper
People Also Ask
- What is the function of the honey gate on the honey press? Master Clean and Precise Bottling Controls
- Under what conditions should the honey gate be closed? Prevent Messy Spills and Ensure Extraction Efficiency
- What is a honey gate and what is its purpose? Master Precision Bottling and Waste Reduction
- What are the steps for cleaning and maintaining a honey gate? Ensure Honey Purity and Prevent Costly Leaks
- What is a honey gate and what is its primary function? Control Your Honey Flow Efficiently