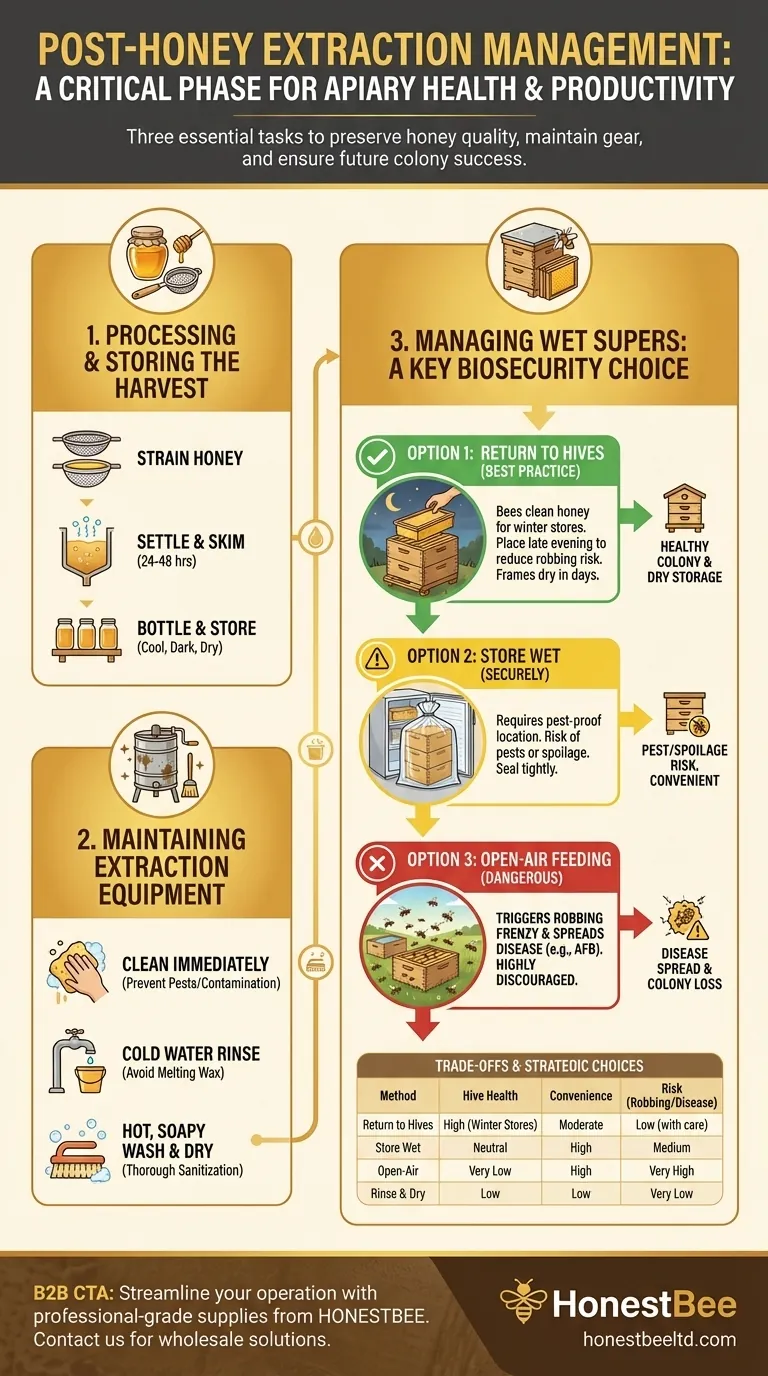
Once the extractor stops spinning, your work has only just begun. The immediate tasks are to process your harvested honey, clean all of your equipment, and—most importantly—decide how to handle the "wet" honey frames and supers left behind. These three steps are critical for preserving the quality of your honey, maintaining your gear, and ensuring the health of your colony.
Post-extraction management is not just about cleanup; it is a crucial phase that directly impacts hive health and future productivity. Your most important decision is how to manage the wet supers, as this choice affects everything from the bees' winter food stores to the potential spread of disease.
Processing and Storing Your Harvest
Your freshly extracted honey needs immediate attention to prepare it for long-term storage and consumption. This process ensures clarity, removes debris, and preserves its quality.
Straining the Honey
Raw honey from the extractor contains small particles of beeswax, propolis, and other hive debris. Straining is necessary to create the clear product most people expect.
Use a double sieve system, placing a coarse strainer over a fine one. This prevents the finer sieve from clogging too quickly. Letting the honey settle in a sealed bucket for 24-48 hours after straining allows air bubbles to rise to the surface, which can then be skimmed off.
Bottling and Storage
Proper storage is essential for preserving the flavor and beneficial properties of honey. It has a nearly indefinite shelf life if stored correctly.
Ensure your jars and lids are perfectly clean and dry, as any moisture can cause fermentation. Store the bottled honey in a cool, dark, and dry place at a consistent room temperature. Avoid refrigeration, which accelerates crystallization.
Maintaining Your Extraction Equipment
Honey is sticky, acidic, and a powerful attractant for pests. Cleaning your equipment immediately after use is a non-negotiable task that prevents damage, contamination, and future pest problems.
The Need for Immediate Cleaning
Leaving honey on your extractor, uncapping tools, and buckets will make them incredibly difficult to clean later. It also sends a powerful scent signal to ants, wasps, and other beehives, which can incite robbing behavior near your storage area.
A Simple Cleaning Process
First, rinse all equipment with cold water. Using hot water at this stage will melt the residual beeswax, smearing it into a difficult-to-remove film.
After the initial cold-water rinse has removed most of the honey, wash everything thoroughly with hot, soapy water. Allow all components to dry completely before storage to prevent rust on metal parts and mold growth.
The Critical Decision: Managing Wet Supers
After extraction, the frames and supers are coated in a film of residual honey, making them "wet." What you do with them is one of the most consequential decisions you will make post-harvest.
Option 1: Return Supers to the Hives (The Best Practice)
Placing the wet supers back on top of the strong hives they came from allows the bees to clean every last drop of honey. The bees will move this honey down into their brood chamber, adding to their vital winter stores.
After a few days, the frames will be bone dry and can be removed for pest-free winter storage. This is the most efficient and beneficial method for the bees.
Option 2: Store Supers "Wet"
If you have a secure, pest-proof location, you can store the supers without letting the bees clean them. Stack them and seal them inside large plastic bags or in a freezer to protect them from wax moths and rodents.
The downside is that the residual honey can attract pests to your storage area and may ferment or crystallize over the winter, creating a sticky mess next season.
Option 3: Open-Air Feeding (Not Recommended)
Some beekeepers place wet supers in the open, at a distance from their apiary, for all local bees to clean. This is a dangerous and highly discouraged practice.
It can trigger a massive "robbing frenzy," where bees from different colonies fight to the death over the free resource. It is also an incredibly effective way to spread diseases like American Foulbrood between hives, which can devastate your own and neighboring apiaries.
Understanding the Trade-offs
Each method for handling wet supers comes with a distinct balance of risk and reward. Understanding these trade-offs is key to responsible beekeeping.
Hive Health vs. Beekeeper Convenience
Returning supers to the hive is the best option for the colony's health, but it requires careful management to prevent robbing. Storing them wet is convenient for the beekeeper but introduces risks of pest infestation and spoilage.
The Overwhelming Risk of Robbing
Robbing is when bees from a stronger colony overwhelm and steal the honey stores from a weaker one, often killing the queen and colony in the process. Any method of returning honey to bees, whether inside the hive or in the open, can trigger this instinct if not managed properly.
To minimize this risk when returning supers, do it late in the evening when bees are less active. Placing the super above the inner cover (with the hole open) also forces the bees to travel farther, slowing them down and reducing the frenzy.
Disease and Pest Control
Your post-extraction choices are also a biosecurity measure. Open feeding is the fastest way to spread pathogens. Storing wet, unprotected supers is an open invitation for wax moths and mice to move in and destroy your expensive woodenware and drawn comb.
Making the Right Choice for Your Goal
Your post-extraction strategy should align with your priorities for your apiary.
- If your primary focus is maximizing bee health and winter stores: Carefully return the wet supers to the original strong hives for cleaning, preferably in the evening to reduce robbing risk.
- If your primary focus is simplicity and you have a secure, pest-proof storage area: You can store the supers wet, but be vigilant about sealing them from pests and monitoring for mold.
- If you want to avoid all risk of a robbing frenzy or pests: Rinse the frames with water (and save the sweet water for later feeding), allow them to dry completely, and then store them dry.
Proper post-extraction management protects your bees, your equipment, and the quality of your hard-earned harvest.
Summary Table:
| Step | Key Action | Primary Goal |
|---|---|---|
| 1. Process Honey | Strain, settle, and bottle the harvest. | Ensure clarity and long-term quality. |
| 2. Clean Equipment | Rinse with cold water, then wash with hot, soapy water. | Prevent damage, contamination, and pests. |
| 3. Manage Wet Supers | Return to hives (best), store sealed, or rinse and dry. | Support bee health and protect equipment. |
Streamline your beekeeping operation with professional-grade supplies from HONESTBEE. As a trusted wholesale supplier for commercial apiaries and equipment distributors, we provide the durable extractors, storage containers, and hive components you need to efficiently manage every harvest. Let our expertise help you protect your investment and maximize your productivity. Contact our team today to discuss your wholesale needs and discover the HONESTBEE difference.
Visual Guide
Related Products
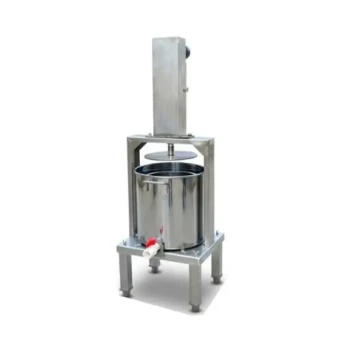
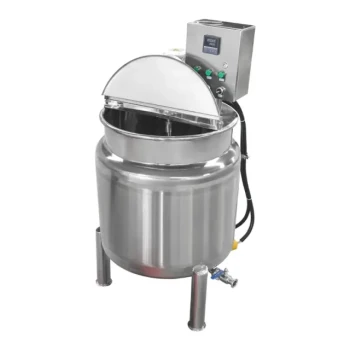
- Electric Double Wall Honey Filtering Machine Purifier Equipment for Honey Processing Plant
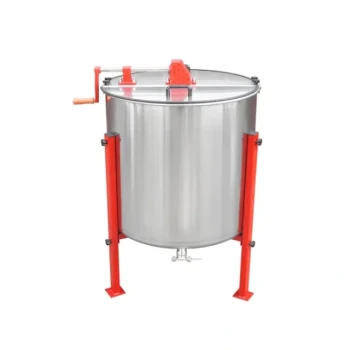
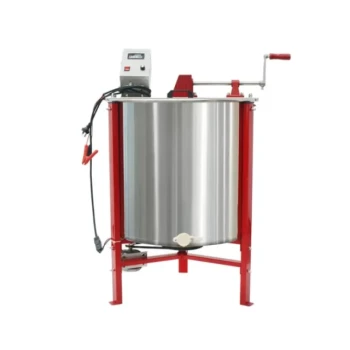
- 6 Frame Manual Stainless Steel Honey Extractor Beekeeping Equipment
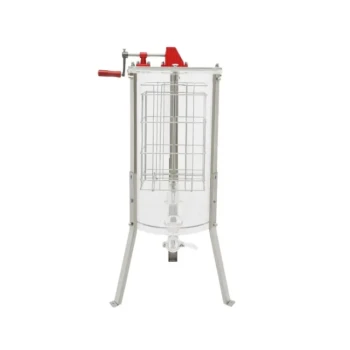
- HONESTBEE 2 Frame Manual Acrylic Honey Extractor Beekeeping Equipment
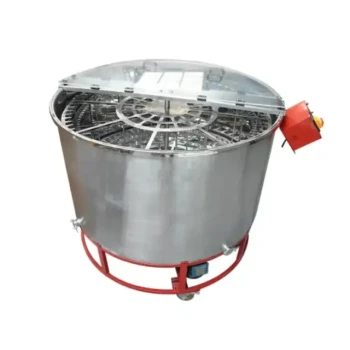
- Electric 8 Frame Honey Spinner Extractor Equipment for Beekeeping
- 0.5T Capacity Honey Dehumidifier Dryer with Vacuum Heating and Thickening Filtering Machine
People Also Ask
- How should honey filtering equipment be properly maintained? Extend Equipment Life & Protect Honey Purity
- How should you maintain honey filtering equipment? Essential Tips for Peak Performance and Purity
- What are the benefits of drying honey filtering equipment after use? Protect Your Honey Quality & Equipment Investment
- What is a potential concern associated with filtering honey? Balancing Clarity and Pollen Preservation
- What is the overall importance of using the right equipment in honey filtering? Boost Quality & Marketability