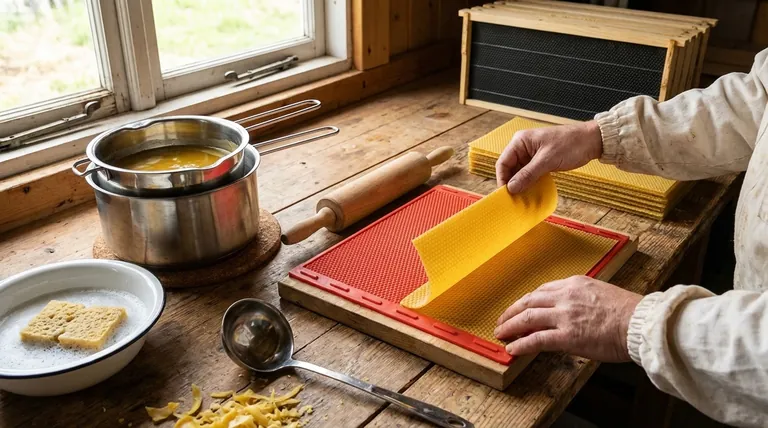
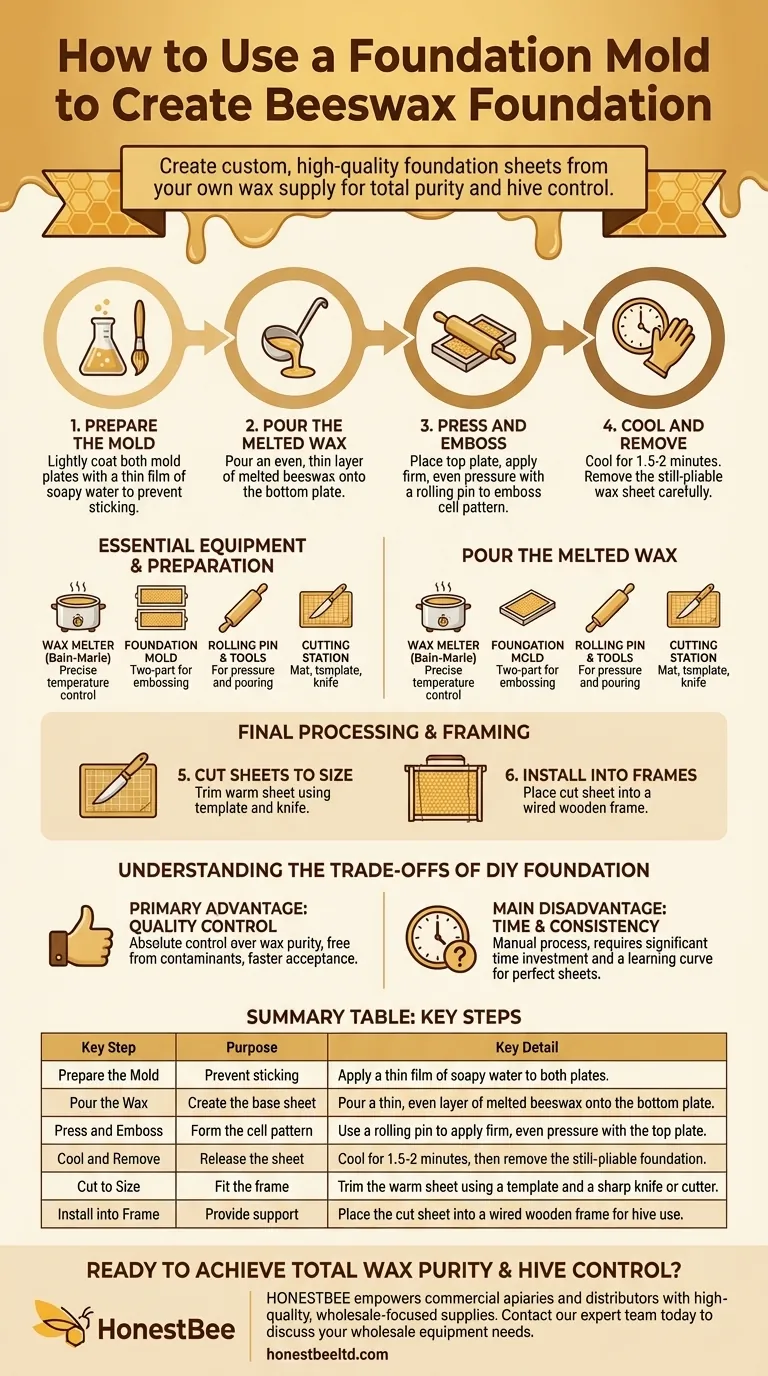
To use a Foundation Mold, you pour a thin layer of melted beeswax onto the bottom plate, place the top plate over it, and apply even pressure with a rolling pin to emboss the cell pattern. After a brief cooling period of about 1.5 to 2 minutes, the still-pliable wax sheet is carefully removed from the mold. This process allows you to create custom, high-quality foundation sheets from your own wax supply.
Creating your own beeswax foundation is less about the complexity of the steps and more about achieving consistency. Success hinges on precise temperature control of your wax and a smooth, repeatable workflow to produce uniform sheets that your bees will readily accept.
The Essential Equipment and Preparation
Before you can pour your first sheet, a proper setup is crucial. Since commercial equipment is not always readily available, many beekeepers create their own systems. The goal is control and consistency.
The Wax Melting Setup
The most critical component is your melter. You need a way to melt the wax and hold it at a stable, ideal temperature.
A bain-marie (double boiler) with a thermostat-controlled element is the professional standard. This prevents scorching and gives you the precise temperature control needed for high-quality results.
The Molding and Finishing Tools
Your workspace should be organized with all necessary tools at hand.
You will need the two-part foundation mold, a rolling pin or similar tool for applying pressure, and a wide pan or ladle for pouring the wax.
You also need a cutting station, which includes a cutting mat, a correctly sized template for your frames, and a sharp knife or pizza cutter.
Supporting Items
A few small items make the process much smoother.
Keep a bowl of soapy water nearby. A light coating acts as a release agent, making it much easier to remove the finished foundation from the mold without tearing.
The Step-by-Step Molding Process
Once your wax is melted and held at a consistent temperature and your station is prepared, you can begin the production cycle.
Step 1: Prepare the Mold
Lightly coat the inside surfaces of both the top and bottom mold plates with a thin film of soapy water. This prevents the warm beeswax from sticking.
Step 2: Pour the Melted Wax
Using your pan or ladle, pour a measured amount of melted beeswax onto the lower part of the mold. The goal is an even, thin layer that covers the entire surface.
Step 3: Press and Emboss
Carefully lay the upper part of the mold onto the lower part. Use a rolling pin to apply firm, even pressure across the entire surface of the top mold. This action presses out excess wax and cleanly embosses the hexagonal cell pattern.
Step 4: Cool and Remove
Allow the wax to cool in the mold for approximately 1.5 to 2 minutes. Do not let it cool completely.
The foundation sheet should be removed while it is still warm and pliable. Carefully separate the mold halves and peel out the freshly embossed sheet.
Final Processing and Framing
A freshly molded sheet is not yet ready for the hive. It requires two final steps to ensure it fits perfectly and provides a solid base for the bees.
Cutting Sheets to Size
Lay the warm, pliable foundation sheet on your cutting mat. Place your template on top and use a knife or pizza cutter to trim the sheet to the exact dimensions required for your hive frames.
Installing into Frames
The final step is to place the perfectly sized foundation sheet into a wired wooden frame. The wires provide crucial support, preventing the wax from sagging or breaking once it is in the hive.
Understanding the Trade-offs of DIY Foundation
Creating your own foundation offers significant benefits, but it's important to understand the challenges involved.
The Primary Advantage: Quality Control
The single greatest benefit is having absolute control over the quality of your wax. You can ensure it is pure, free from contaminants, and from your own bees, which can promote faster acceptance and healthier colonies.
The Main Disadvantage: Time and Consistency
This is a manual, hands-on process. It requires a significant time investment and a learning curve to achieve consistently perfect sheets. For beekeepers with many hives, the time required can be a major drawback compared to purchasing commercially made foundation.
Making the Right Choice for Your Apiary
Your decision to make your own foundation should align with your beekeeping goals.
- If your primary focus is self-sufficiency and wax purity: Making your own foundation is the best way to guarantee a closed-loop system for your apiary.
- If your primary focus is time-efficiency for a large operation: The manual molding process may be too slow, and purchasing high-quality foundation from a trusted source might be more practical.
Ultimately, mastering this skill empowers you with greater control over the health and productivity of your hives.
Summary Table:
| Key Step | Purpose | Key Detail |
|---|---|---|
| Prepare the Mold | Prevent sticking | Apply a thin film of soapy water to both plates. |
| Pour the Wax | Create the base sheet | Pour a thin, even layer of melted beeswax onto the bottom plate. |
| Press and Emboss | Form the cell pattern | Use a rolling pin to apply firm, even pressure with the top plate. |
| Cool and Remove | Release the sheet | Cool for 1.5-2 minutes, then remove the still-pliable foundation. |
| Cut to Size | Fit the frame | Trim the warm sheet using a template and a sharp knife or cutter. |
| Install into Frame | Provide support | Place the cut sheet into a wired wooden frame for hive use. |
Ready to Achieve Total Wax Purity and Hive Control?
Mastering DIY foundation is a game-changer for serious beekeepers focused on colony health and self-sufficiency. HONESTBEE empowers commercial apiaries and beekeeping equipment distributors with the high-quality, wholesale-focused supplies needed for precision work.
We supply the durable foundation molds, reliable wax melters, and professional tools that ensure your DIY foundation is consistent, strong, and readily accepted by your bees.
Let's build a more resilient and productive apiary together. Contact our expert team today to discuss your wholesale equipment needs.
Visual Guide
Related Products
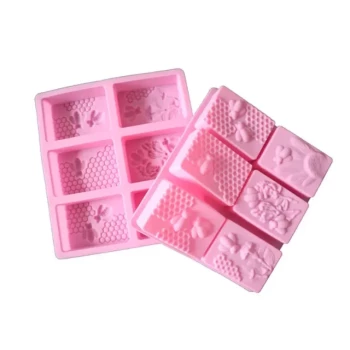
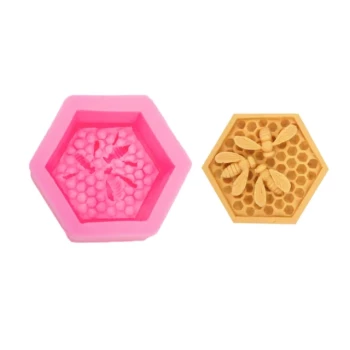
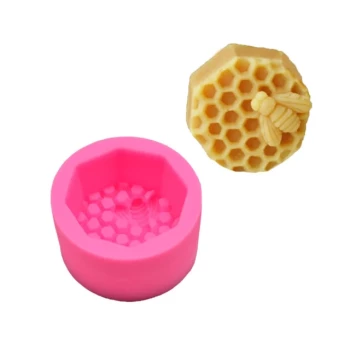
- Colorful Silicone Beeswax Foundation Mold Mould for Beekeeping
- Notebook Style Beeswax Foundation Mould Wax Foundation Mold
- Beeswax Machine Press Embosser Wax Foundation Mold Printer Bee Hive Equipment Making Sheet
- Manual Beeswax Comb Foundation Machine Wax Foundation Mill Embossing Machine
- Beeswax Foundation Sheets Beehive Foundation for Wholesale
People Also Ask
- How can you make medium or shallow foundation sheets with a deep foundation mold? Maximize Your Beekeeping Mold Utility
- How can beeswax value-addition processes be utilized to increase beekeeping revenue? Boost Your Apiary Profitability
- What is the purpose of the Foundation Mold? A Guide to Sustainable, Pure Wax Foundation
- What is a foundation mold used for? Turn Your Wax Cappings into High-Quality Foundations
- What is the first tip for pouring beeswax into a silicone mold? Ensure a Perfect Release