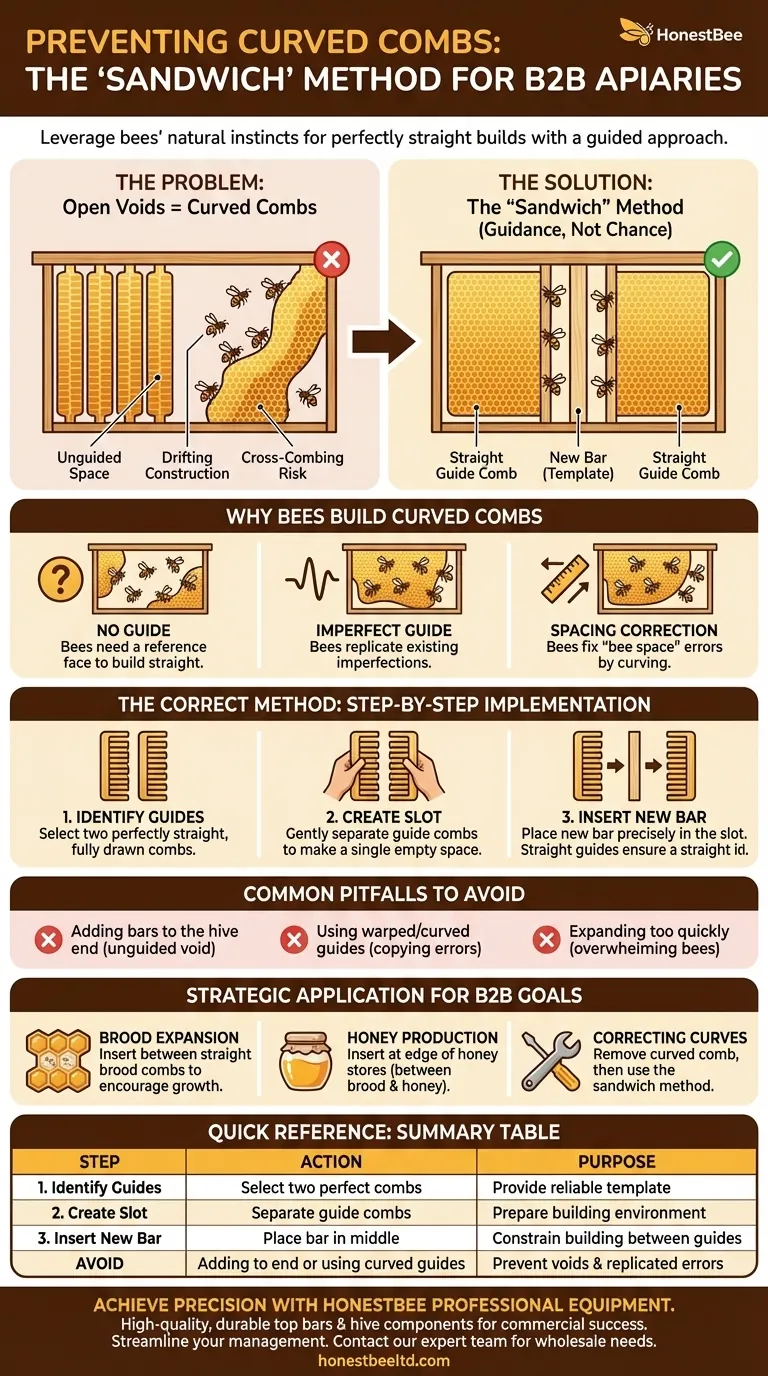
To prevent curved combs in your hive, the single most effective method is to place a new, empty top bar directly between two existing, fully drawn, and perfectly straight combs. This technique leverages the bees' natural building instincts, using the established straight combs as a definitive guide for new construction.
The core principle is guidance, not chance. Bees build based on the immediate environment, and by creating a "sandwich" with a new bar between two straight combs, you provide an unmistakable template that virtually guarantees a straight build.
Why Bees Build Curved Combs
Understanding the bees' motivation is the first step to managing it. They aren't building curved combs to be difficult; they are responding to the space and guides available to them.
The Need for a Template
Bees use the face of an existing comb as a primary guide for starting a new one. When a new bar is placed next to a single straight comb, they have a guide on one side, but the other side is open space. This allows them to drift and curve away from the bar.
The Problem with Open Voids
The most common area for curved combs to appear is at the rear of the honey storage area. When beekeepers add several empty bars at the back of the hive, it creates a large, open void with no structural guides, inviting the bees to build in whatever direction they see fit.
Maintaining "Bee Space"
Bees are meticulous about maintaining a specific distance—the "bee space"—between their combs. If a bar is slightly misplaced or the hive isn't perfectly level, they may curve a new comb to correct the spacing from the adjacent one, leading to cross-combing.
The Correct Method for Adding New Bars
Following a simple, deliberate process turns this potential problem into a routine part of hive management.
Step 1: Identify Your Guide Combs
Your most valuable assets for this task are your straightest, most perfectly drawn combs. Select two that are parallel to each other and fully built out.
Step 2: Create the "Sandwich"
Gently separate the two guide combs, creating a single empty slot between them. This is where the new construction will happen.
Step 3: Insert the New Bar
Place your new, empty bar precisely in the middle of this slot. Push the two guide combs back towards the new bar, ensuring proper spacing on both sides. The bees will now be constrained by straight guides on both sides, compelling them to build straight down the new bar.
Common Pitfalls to Avoid
Many beekeepers inadvertently encourage curved combs by making a few common mistakes.
Mistake: Adding Bars to the End of the Hive
The most frequent error is simply adding new bars to the very back of the hive. As discussed, this creates a large, unguided space and is the leading cause of severely curved or cross-attached combs.
Mistake: Using an Imperfect Guide
Never use a warped or slightly curved comb as one of your "guides." The bees will almost certainly copy the existing imperfection onto the new comb, worsening the problem over time.
Mistake: Expanding Too Quickly
Adding too many empty bars at once, even between straight combs, can overwhelm the bees' ability to build them out in a structured way. A methodical approach of adding one or two bars at a time into the core of the hive is far more reliable.
Making the Right Choice for Your Goal
How you apply this technique depends on what you are trying to achieve with your hive.
- If your primary focus is expanding the brood nest: Insert a new bar between two straight brood combs to encourage the queen to lay and the colony to grow.
- If your primary focus is maximizing honey production: Insert a new bar at the edge of the honey stores, between the last brood comb and the first honey comb (assuming both are straight).
- If your primary focus is correcting an existing curve: You must first remove the problematic curved comb and then use this sandwich method to get the bees back on a straight path.
By working with the bees' natural instincts, you can guide their construction to build a productive, healthy, and easily managed hive.
Summary Table:
| Key Step | Action | Purpose |
|---|---|---|
| 1. Identify Guides | Select two perfectly straight, fully drawn combs. | To provide a reliable template for new construction. |
| 2. Create Slot | Gently separate the two guide combs to create one empty slot. | To prepare the ideal building environment. |
| 3. Insert New Bar | Place the new, empty bar precisely in the middle of the slot. | To constrain the bees' building between two straight guides. |
| Avoid | Adding bars to the end of the hive or using curved combs as guides. | Prevents the creation of unguided voids and the replication of imperfections. |
Achieve Perfectly Straight Combs with Professional-Grade Equipment
Building a healthy, productive hive starts with the right foundation. HONESTBEE supplies commercial apiaries and beekeeping equipment distributors with high-quality, durable top bars and hive components designed for precision spacing and long-term success. Our wholesale-focused operations ensure you get the reliable equipment you need to implement techniques like the 'sandwich' method effectively.
Ready to eliminate curved combs and streamline your hive management? Contact our expert team today to discuss your wholesale needs and how our products can support your apiary's growth.
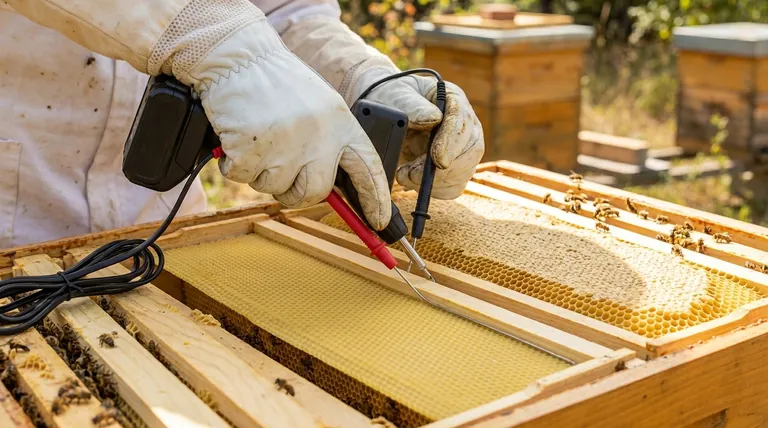
Visual Guide
Related Products
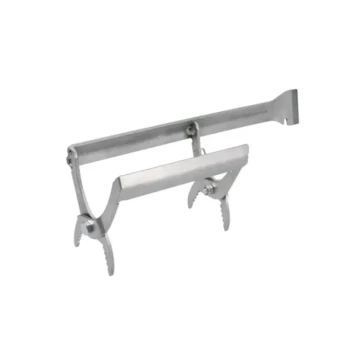
- Professional Frame Comb Fork and Lifter for Efficient Handling
- Wooden Bee Brush with Double-Row Horsehair Bristles
- HONESTBEE Professional Hive Top Bee Feeder Feeding Solution
- Wooden Bee Brush with Triple Row Artificial Fiber for Beekeeping
- Wholesales Dadant Size Wooden Bee Hives for Beekeeping
People Also Ask
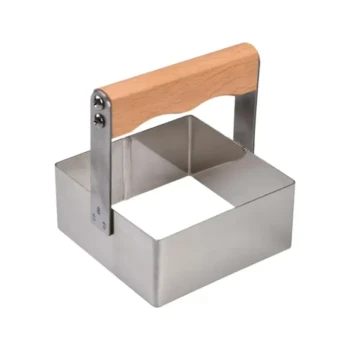
- How does the frame cleaning tool help with cut comb frames? Ensure Perfect Comb Honey Every Time
- How does balancing the number of frames impact hive productivity? Optimize Your Apiary's Biological Output
- How does the frame lifter hive tool function? Master Safe and Gentle Frame Removal
- How do wooden and plastic hive frames compare in terms of durability? Wood vs. Plastic Longevity & Repairability
- What are the main considerations when choosing between wooden and plastic bee hive frames? Optimize Your Apiary's Efficiency