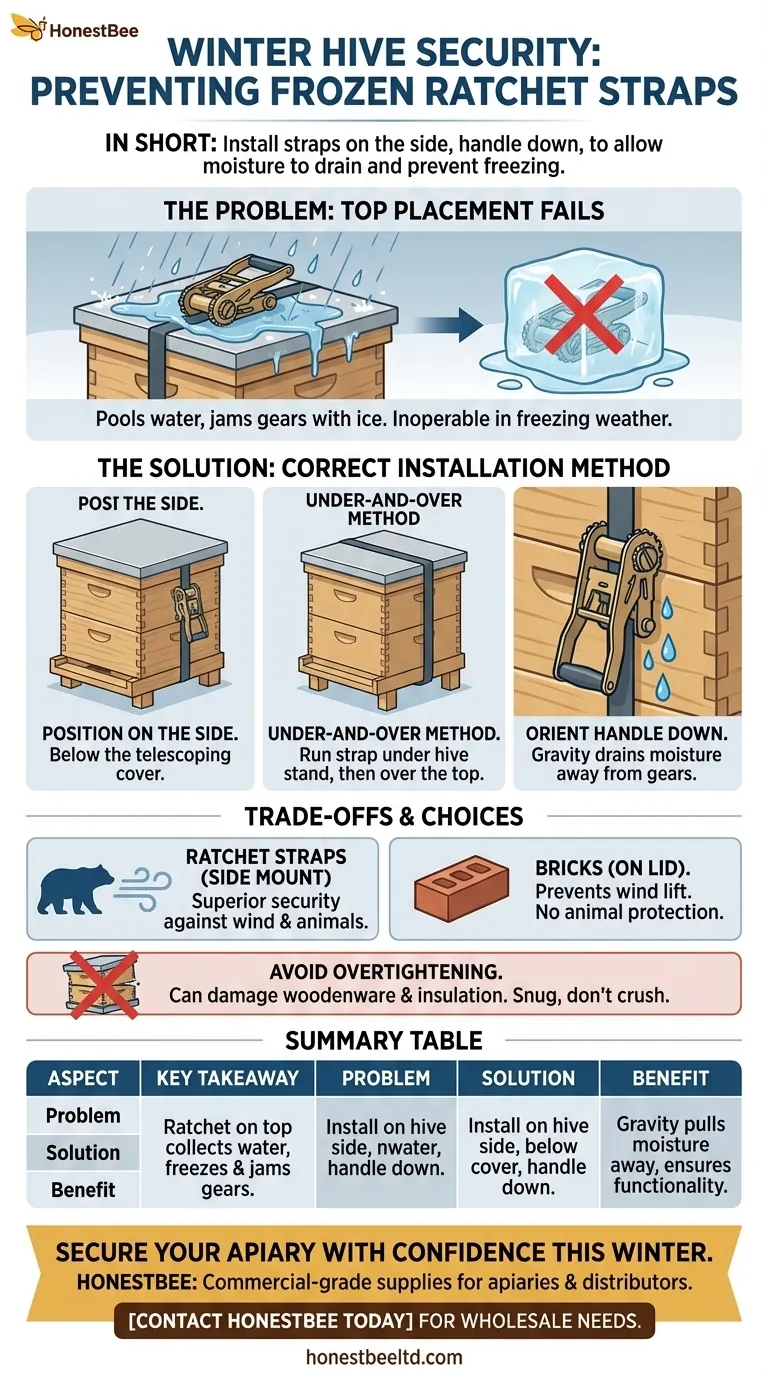
In short, you install ratchet straps below the top of the hive in freezing weather to prevent the mechanism from becoming a solid block of ice. When placed on the side of the hive with the handle facing down, rainwater and melting snow drain away from the gears and springs. This ensures the ratchet remains functional when you need to inspect the hive or adjust tension.
The placement of a ratchet strap is not about where it sits on the hive, but about how you orient the mechanical parts. The fundamental goal is to position the ratchet mechanism so that gravity pulls moisture away from it, preventing it from freezing solid and becoming inoperable.
The Physics of a Frozen Ratchet
How Water Disables the Mechanism
A ratchet strap works using a system of interlocking gears (the spool) and spring-loaded levers (the pawls). These small, precise parts have tight tolerances.
When water enters the mechanism and freezes, it expands. This ice can jam the pawls, preventing them from engaging or disengaging, and lock the spool in place, rendering the entire strap useless until it thaws.
Why Top Placement Fails
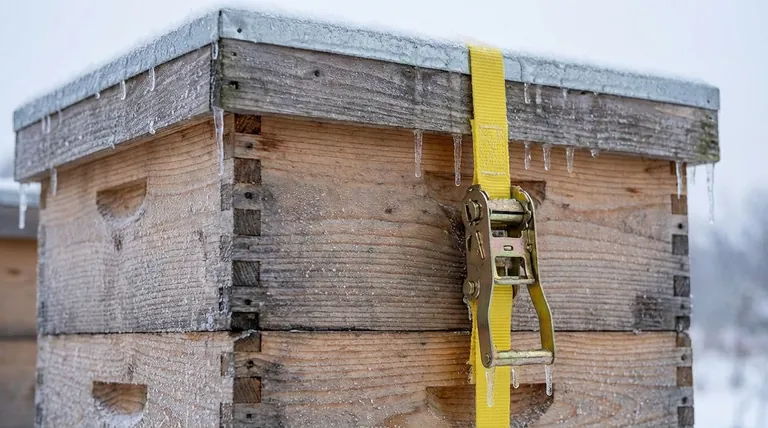
Placing a ratchet on top of the telescoping cover creates a small reservoir. Rain and melting snow pool directly in the mechanism's most vulnerable areas. This guarantees it will freeze shut in sub-zero temperatures.
The Correct Installation Method for Winter
Step 1: Position the Ratchet on the Side
The ratchet mechanism itself should never be on top of the hive. The correct location is on one of the hive's vertical sides, below the telescoping cover.
Step 2: Run the Strap Under the Hive
To achieve ideal side placement, run the loose end of the strap down, under the hive stand, and then up the other side. This is the reverse of how many install simpler cam straps.
Bring the strap up and over the top of the telescoping cover. This path naturally places the tightening mechanism low and on the side.
Step 3: Orient the Handle Downward
When you connect and tighten the strap, ensure the ratchet handle faces downward. This orientation is critical as it creates a clear drainage path for any moisture that gets into the assembly.
Understanding the Trade-offs
Ratchet Straps vs. Bricks
A simple brick or heavy rock on the lid can prevent wind from lifting it. However, this offers no protection against larger animals, like bears, or being knocked over in severe storms. Ratchet straps provide far superior security.
The Risk of Overtightening
Ratchet straps can generate immense force. It is easy to overtighten them, which can damage your woodenware, crush insulation, or warp the telescoping cover, creating new entry points for water.
The goal is to make the hive a single, solid unit—snug, not crushed. Tighten until the components no longer shift, and then stop.
Making the Right Choice for Your Goal
Properly securing a hive for winter is about balancing security with accessibility. Your technique should reflect your specific environmental challenges.
- If your primary focus is security against high winds or animals: Use a ratchet strap installed with the "under-and-over" method, ensuring the mechanism is on the side and facing down.
- If your primary focus is preventing a frozen mechanism: Always orient the ratchet on the side with the handle down to allow for drainage, ensuring you can access the hive in an emergency.
- If you are in a milder climate without animal threats: A simple brick on the lid may be sufficient and eliminates any risk of a frozen strap.
Mastering this simple technique ensures your hive remains secure from the elements and accessible to you all winter long.
Summary Table:
| Aspect | Key Takeaway |
|---|---|
| Problem | Ratchet mechanisms placed on top of the hive collect water, which freezes and jams the gears. |
| Solution | Install the ratchet on the hive's side, below the top cover, with the handle facing down. |
| Benefit | Gravity pulls moisture away, ensuring the strap remains functional for hive inspections and adjustments. |
Secure Your Apiary with Confidence This Winter
Proper equipment is key to protecting your investment from harsh weather and predators. At HONESTBEE, we supply durable, commercial-grade beekeeping supplies and equipment to apiaries and distributors through our wholesale-focused operations.
Ensure your hives are winter-ready with the right gear. Contact HONESTBEE today to discuss your wholesale needs and secure your operation for the season.
Visual Guide
Related Products
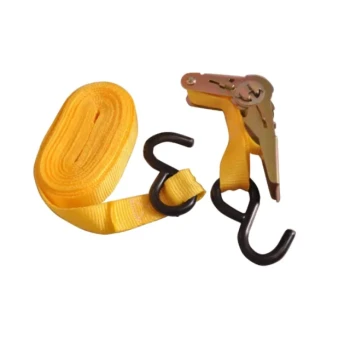
- Versatile Ratchet Hive Strap with S-Hooks for Secure Fastening
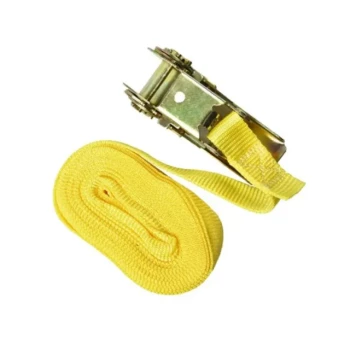
- Endless Loop Ratchet Hive Strap
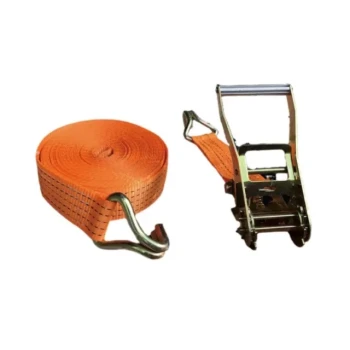
- Heavy Duty Ratchet Hive Strap
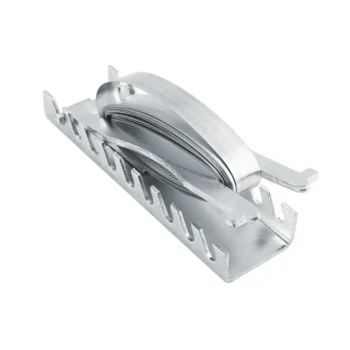
- High Security Emlock Strap System
- Professional Galvanized Hive Strap with Secure Locking Buckle for Beekeeping
People Also Ask
- How do you insert the free end of the strap into the ratchet mechanism? Master the Correct Threading for a Secure Load
- How do ratchet straps compare to cam buckle straps? Choose the Right Tie-Down for Your Load
- How is a ratchet strap loosened and removed? Master the 180-Degree Release Technique
- How do ratchet straps work? Master the Mechanism for Maximum Load Security
- How does the ratchet mechanism tighten the strap? Unlock the Power of One-Way Tension