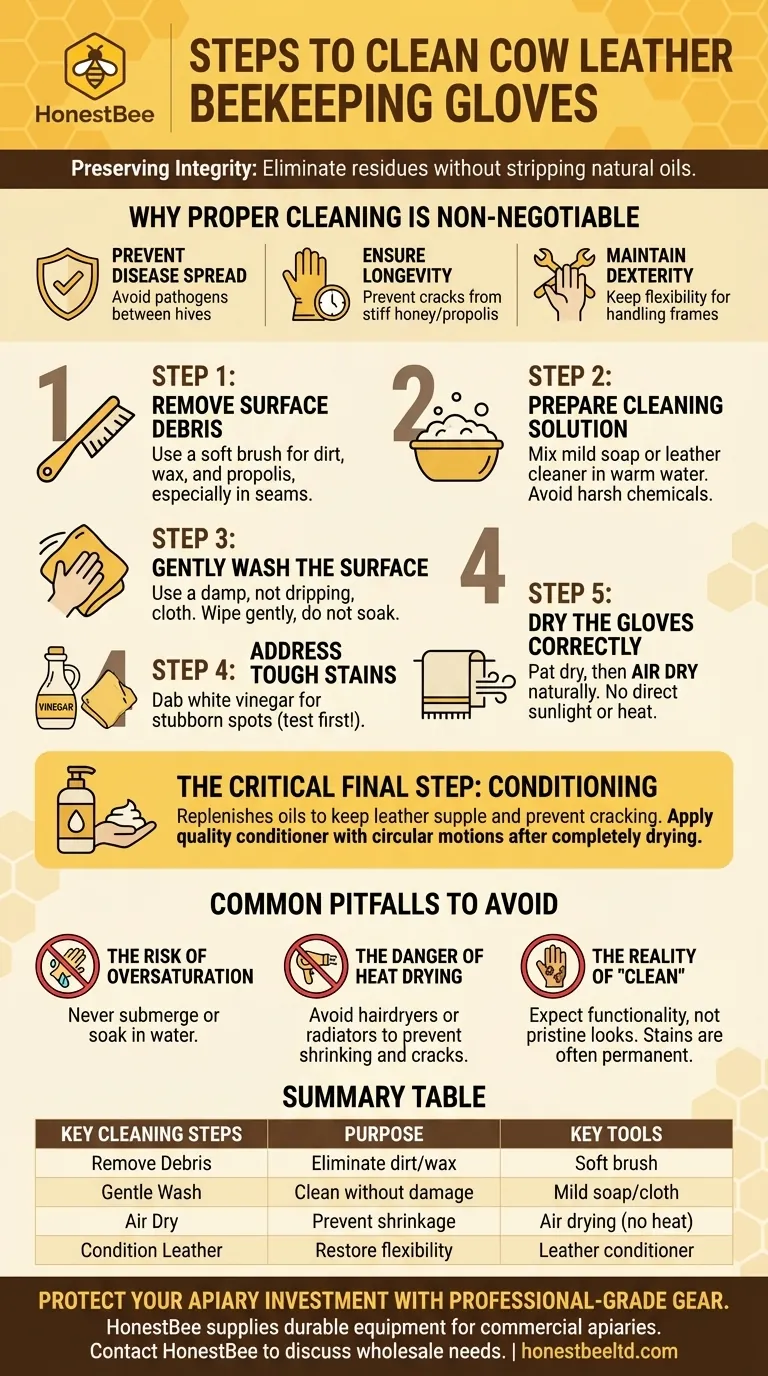
To clean cow leather beekeeping gloves, you must first brush off loose debris, then gently wash the surface with a mild soap and warm water solution without soaking the material. After patting them dry, allow the gloves to air dry completely before applying a leather conditioner to restore their flexibility and prevent cracking.
The core principle of cleaning leather beekeeping gloves is not just about removing dirt, but about preserving the material's integrity. The goal is to eliminate hive residues and potential pathogens without stripping the leather of its natural oils, which are essential for its protective qualities and longevity.

Why Proper Cleaning is Non-Negotiable
Before detailing the process, it's crucial to understand why this task is more than just cosmetic. Consistent care of your gloves directly impacts your effectiveness and the health of your hives.
To Prevent Disease Spread
Clean gloves are a fundamental part of apiary hygiene. Dirty gloves can carry pathogens and diseases from one hive to another, or even from one bee yard to another, posing a significant risk to your colonies.
To Ensure Longevity of Your Gear
Beekeeping equipment is an investment. Regular cleaning and conditioning prevent honey and propolis from stiffening the leather, which can lead to cracks and tears, ultimately extending the functional life of your gloves.
To Maintain Dexterity and Usability
Gloves caked in beeswax and honey become stiff and difficult to work with. This loss of flexibility can make handling frames and tools clumsy, increasing the risk of dropping equipment or angering the bees.
The Step-by-Step Cleaning Process
Follow this structured approach to clean your cow leather gloves effectively without causing damage.
Step 1: Remove Surface Debris
Use a soft brush to vigorously remove all loose dirt, dried mud, and bits of wax or propolis from the surface of the gloves. Pay special attention to the seams and areas between the fingers.
Step 2: Prepare the Cleaning Solution
Create a simple cleaning solution by mixing a small amount of mild soap or a dedicated leather cleaner into a bowl of warm water. Avoid harsh detergents or chemicals.
Step 3: Gently Wash the Surface
Dip a soft, clean cloth into the solution and wring it out so it is damp, not dripping. Gently wipe down the entire surface of the gloves. Avoid scrubbing aggressively or soaking the leather completely.
Step 4: Address Tough Stains
For stubborn spots like propolis stains, you can apply a small amount of white vinegar to a cloth. Always test this on an inconspicuous area first, like the inside of the cuff, to ensure it doesn't discolor the leather.
Step 5: Dry the Gloves Correctly
Use a clean, dry towel to pat the gloves and absorb any excess moisture. Then, allow them to air dry naturally. Do not place them in direct sunlight or near a heat source, as this will cause the leather to shrink and crack.
The Critical Final Step: Conditioning
Washing leather removes some of its natural oils. This final step is essential to restore the material and keep it functional.
Why Conditioning is Essential
Conditioning replenishes the oils within the leather, keeping it supple, flexible, and water-resistant. Skipping this step will result in stiff, brittle gloves that are prone to cracking.
How to Apply Conditioner
Once the gloves are completely dry, apply a small amount of a quality leather conditioner onto a clean cloth. Work the conditioner into the leather using small, circular motions until it is fully absorbed.
Common Pitfalls to Avoid
Understanding what not to do is as important as knowing the correct steps. These common mistakes can ruin an expensive pair of gloves.
The Risk of Oversaturation
Never submerge or soak leather gloves in water. Leather is porous, and excessive water will wash away its essential oils, stretch the material, and significantly lengthen the drying time, risking mildew growth.
The Danger of Heat Drying
Never use a hairdryer, radiator, or direct sunlight to speed up the drying process. Rapid heat is the primary cause of shrunken, cracked, and permanently damaged leather. Patience is key.
The Reality of "Clean"
Accept that your beekeeping gloves will never look brand new again. The goal of cleaning is hygiene and functionality, not pristine aesthetics. Stains from propolis, in particular, are often permanent.
Making the Right Choice for Your Goal
Your cleaning routine should match your specific needs and the condition of your gloves.
- If your primary focus is routine maintenance: A quick brush-off after each use and conditioning once or twice a season is sufficient to keep them in good working order.
- If your primary focus is deep cleaning after heavy use: Follow all steps meticulously, paying special attention to the slow air-drying and thorough conditioning phases to restore the leather.
- If your primary focus is disease prevention: Be diligent about cleaning after inspecting a potentially sick hive or visiting another beekeeper's apiary, focusing on the gentle washing step.
Proper care transforms your gloves from a simple accessory into a reliable, long-term asset for your beekeeping practice.
Summary Table:
| Key Cleaning Steps | Purpose | Key Tools |
|---|---|---|
| Remove Surface Debris | Eliminate wax, propolis, and dirt | Soft brush |
| Gentle Wash | Clean without damaging leather | Mild soap, warm water, cloth |
| Air Dry | Prevent shrinkage and cracking | Air drying (no heat) |
| Condition Leather | Restore flexibility and protection | Leather conditioner |
Protect your apiary investment with professional-grade gear. Proper glove maintenance is just one part of successful beekeeping. HONESTBEE supplies durable beekeeping supplies and equipment to commercial apiaries and distributors through our wholesale-focused operations. Ensure your operation has the reliable equipment it needs to thrive. Contact HONESTBEE today to discuss your wholesale needs.
Visual Guide
Related Products
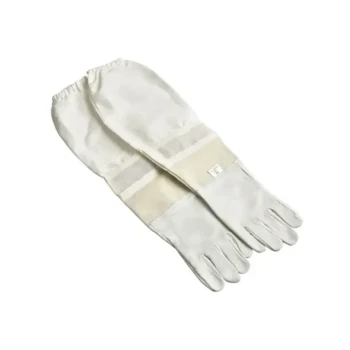
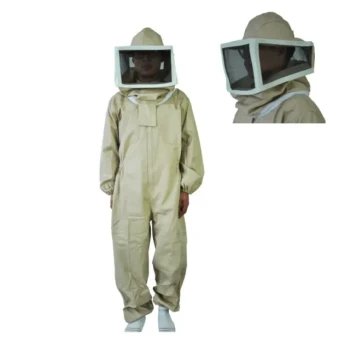
- Goatskin Leather Beekeeper Gloves with Vent Long Sleeve for Beekeeping Honey Bee Sting Proof Protection
- Beekeeping Gloves Goatskin Leather with Long Cotton Sleeve for Beekeepers
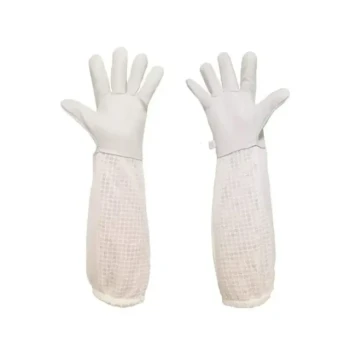
- Goat Skin Leather Bee Sting Proof Beekeeping Gloves with Canvas Sleeve
- Premium Ventilated Goatskin Beekeeping Gloves with Full 3-Layer Mesh Sleeve
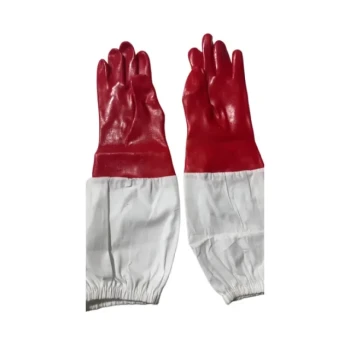
- Heavy Duty Red Rubber Beekeeping Gloves with Extended Pure Cotton Sleeves for Beekeepers
People Also Ask
- How should beekeeping gloves be maintained? Protect Your Investment and Dexterity
- How can you test the fit of beekeeping gloves before purchasing? Ensure Dexterity and Protection
- Why is it important for beekeepers to wear gloves? Essential Safety and Confidence for Hive Management
- What are the characteristics of goatskin beekeeping gloves? Enhance Dexterity and Protection in Your Apiary
- Why is it important to have gloves available even if not always worn? Essential Risk Management for Beekeepers