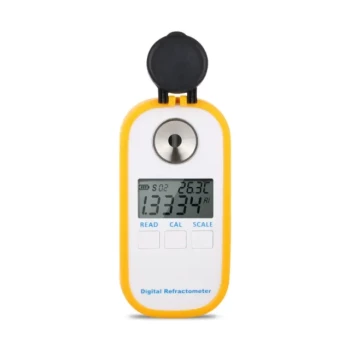
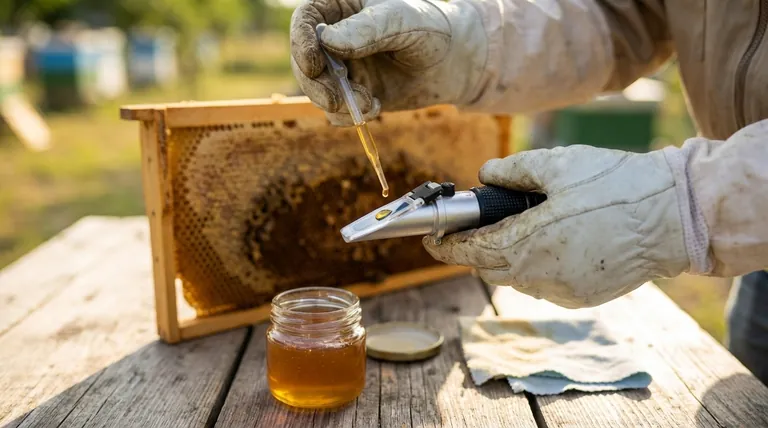
To use a honey refractometer, you must first calibrate the instrument, apply a small drop of honey to the prism, close the daylight plate, and look through the eyepiece to read the moisture content where the blue and white boundary line sits on the scale. After the reading, it is critical to clean the prism thoroughly with a soft, damp cloth.
A refractometer is more than a measurement tool; it is your primary defense against honey spoilage. Mastering its use is not about following mechanical steps but about ensuring each reading is accurate, which hinges on proper calibration, sample preparation, and meticulous cleaning.
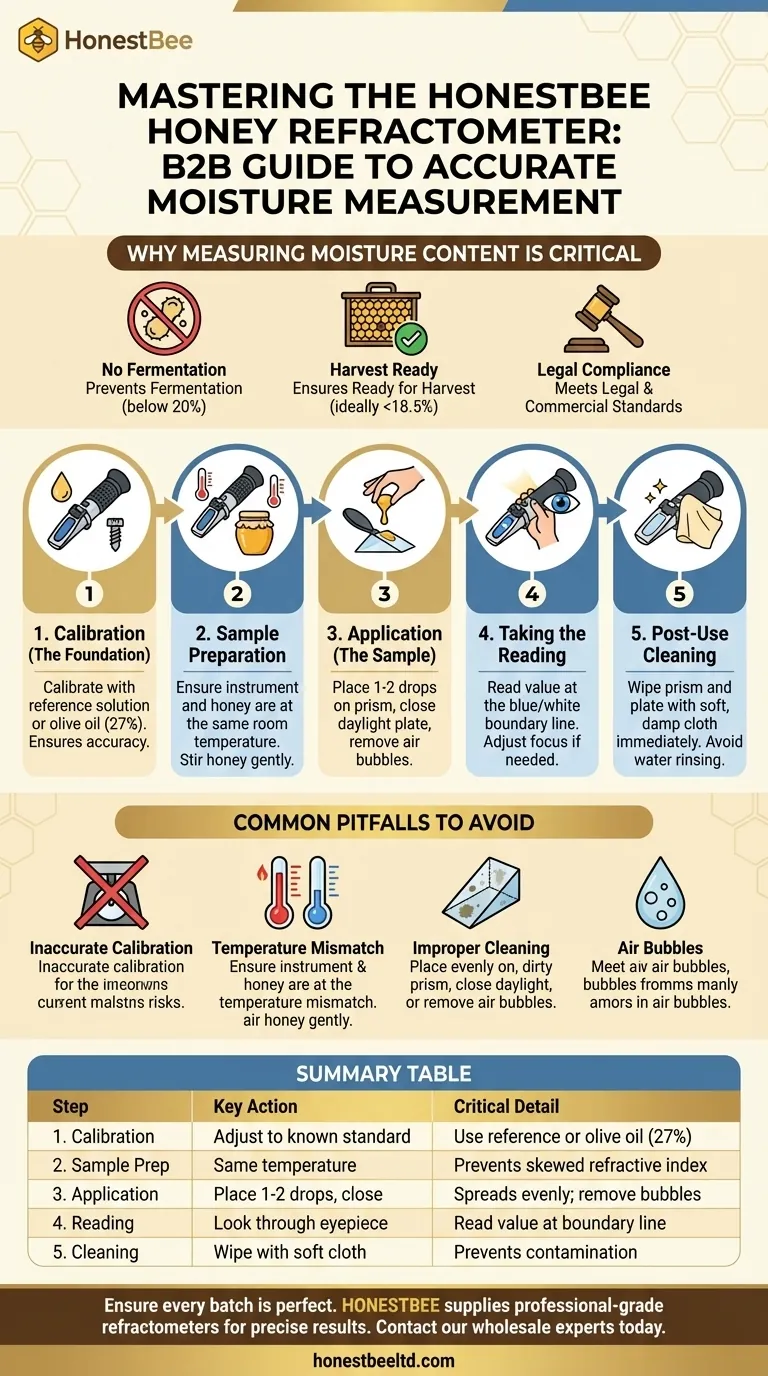
Why Measuring Moisture Content is Critical
Using a honey refractometer is fundamentally about quality control. The moisture content of honey is the single most important factor in determining its stability and grade.
Preventing Fermentation
The primary goal is to prevent fermentation. If the water content is too high (typically above 20%), dormant yeasts present in the honey can activate, converting sugars into alcohol and carbon dioxide.
This process ruins the honey, giving it a sour, undesirable taste and rendering it unusable, often referred to as baker's honey.
Ensuring Honey is Ready for Harvest
For beekeepers, the refractometer provides a definitive answer to the question, "Is the honey ready?" It allows you to verify that the bees have sufficiently dehydrated the nectar to a safe moisture level (ideally below 18.5%) before you invest the labor in extracting and jarring.
Meeting Legal and Commercial Standards
Many jurisdictions have legal standards for honey sold to the public. For instance, the moisture content must often be below a specific threshold, such as 21.0g per 100g, to be legally labeled and sold as honey. Accurate measurement ensures compliance.
The Step-by-Step Measurement Process
An accurate reading is the result of a precise and consistent process. Each step builds on the last to ensure the final measurement is reliable.
Step 1: Calibration - The Foundation of Accuracy
Before any measurement, you must calibrate the device. An uncalibrated refractometer will give you a false reading, which is worse than no reading at all.
Most units come with a reference solution with a known value. Apply this solution and turn the calibration screw until the reading matches the specified value. If you lack a reference solution, a drop of pure olive oil can be used to calibrate the scale to a reading of 27%.
Step 2: Sample Preparation and Temperature
For an accurate reading, the refractometer and the honey sample must be at the same temperature. A significant temperature difference between the two will skew the refractive index and produce an incorrect result.
Allow both the instrument and the honey to acclimate to room temperature before testing. If the honey has been stored, stir it gently to ensure a uniform consistency.
Step 3: Applying the Honey Sample
Place one or two drops of honey onto the main prism. The goal is to use just enough to cover the entire surface of the glass once the daylight plate is closed.
Gently lower the plastic daylight plate over the sample. This action will spread the honey into a thin, even layer. Wiggle the plate slightly to remove any trapped air bubbles, which can interfere with the reading.
Step 4: Taking the Reading
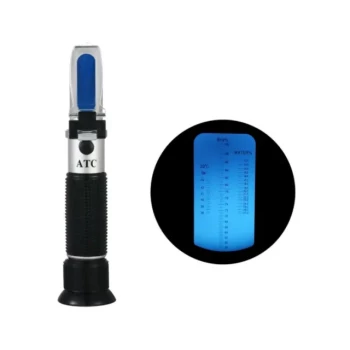
Hold the refractometer up to a natural light source and look through the eyepiece. You will see a scale, typically divided into a blue section and a white section.
The measurement is the value on the scale where the boundary line between the blue and white fields rests. If the line is blurry, turn the focusing ring on the eyepiece until it becomes sharp and clear.
Step 5: Post-Use Cleaning
Immediately after your reading, clean the instrument. Use a soft, damp cloth to wipe the honey residue off the prism and daylight plate.
Never rinse the refractometer under running water or submerge it, as this can cause moisture to seep inside and damage the internal optics. Proper cleaning prevents contamination of future samples and protects the device.
Common Pitfalls to Avoid
Mistakes in the process can easily lead to inaccurate data, defeating the purpose of the measurement.
The Risk of Inaccurate Calibration
Failing to calibrate before a session is the most common error. This can lead you to bottle honey with high moisture content, believing it is safe, only to have it ferment in storage.
Temperature Mismatches
Testing cold honey with a room-temperature refractometer (or vice versa) will produce a faulty reading. Temperature correction is a critical, and often overlooked, factor for precision.
Improper Cleaning
Dried honey residue left on the prism from a previous test will contaminate your next sample and give an artificially high or low reading. Over time, it can also permanently damage the prism's coating.
Air Bubbles and Incomplete Samples
If the honey sample doesn't cover the entire prism, or if air bubbles are trapped within it, the boundary line will be distorted or unclear. This makes an accurate reading impossible.
Making the Right Choice for Your Goal
Your measurement protocol should align with your specific objective.
- If your primary focus is harvesting at the optimal time: Use the refractometer to test honey directly from a frame to confirm the moisture is below 18.5% before pulling your supers.
- If your primary focus is ensuring storage stability: Test each batch of honey before you jar it to guarantee it will not ferment on the shelf.
- If your primary focus is meeting commercial standards: Calibrate your device before every measurement session and document the results for quality assurance and compliance.
Ultimately, mastering the refractometer empowers you to guarantee the quality and longevity of every drop of honey you handle.
Summary Table:
| Step | Key Action | Critical Detail |
|---|---|---|
| 1. Calibration | Adjust the device to a known standard | Use a reference solution or olive oil (27% reading) |
| 2. Sample Prep | Ensure instrument and honey are at the same temperature | Prevents skewed refractive index readings |
| 3. Application | Place 1-2 drops on the prism and close the plate | Spreads honey evenly; remove air bubbles |
| 4. Reading | Look through the eyepiece at a light source | Read value at the blue/white boundary line |
| 5. Cleaning | Wipe prism and plate with a soft, damp cloth | Prevents contamination and protects the optics |
Ensure every batch of your honey is perfect. Accurate moisture measurement is non-negotiable for quality control and preventing spoilage. HONESTBEE supplies commercial apiaries and beekeeping equipment distributors with the reliable, professional-grade refractometers and supplies needed for precise, consistent results. Let us equip your operation for success—contact our wholesale experts today to discuss your needs.
Visual Guide
Related Products
- Digital Honey Refractometer for Precision Measurement of Optimal Honey Quality
- Precision Honey Refractometer Instrument for Quality Assessment
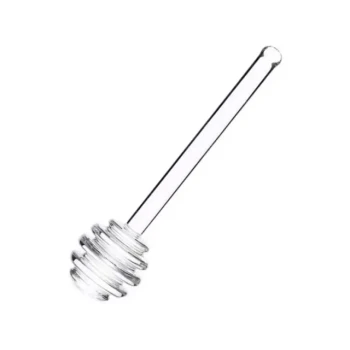
- Premium Heat-Resistant Glass Honey Dipper
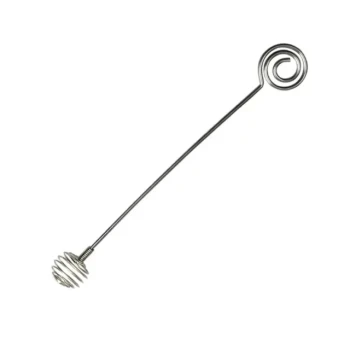
- Modern Stainless Steel Honey Dipper Stirrer
- Heavy Duty 304 Stainless Steel Honey Dipper
People Also Ask
- What should be done after taking a reading with a honey refractometer? Protect Your Investment and Ensure Accuracy
- Why is a honey refractometer considered essential for commercial beekeepers? Ensure Honey Quality and Profitability
- How is the reading taken from a honey refractometer? A Guide to Accurate Moisture Measurement
- Why is the precise control of moisture content using professional refractometers critical for honey quality?
- Why might a hobbyist beekeeper need a honey refractometer? Ensure Peak Quality and Prevent Fermentation