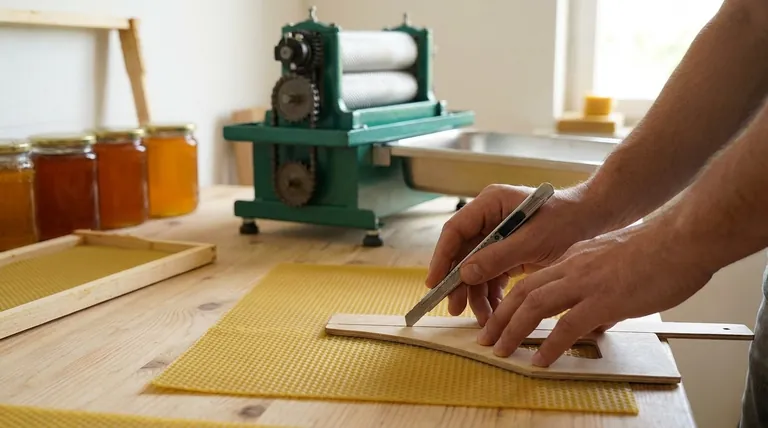
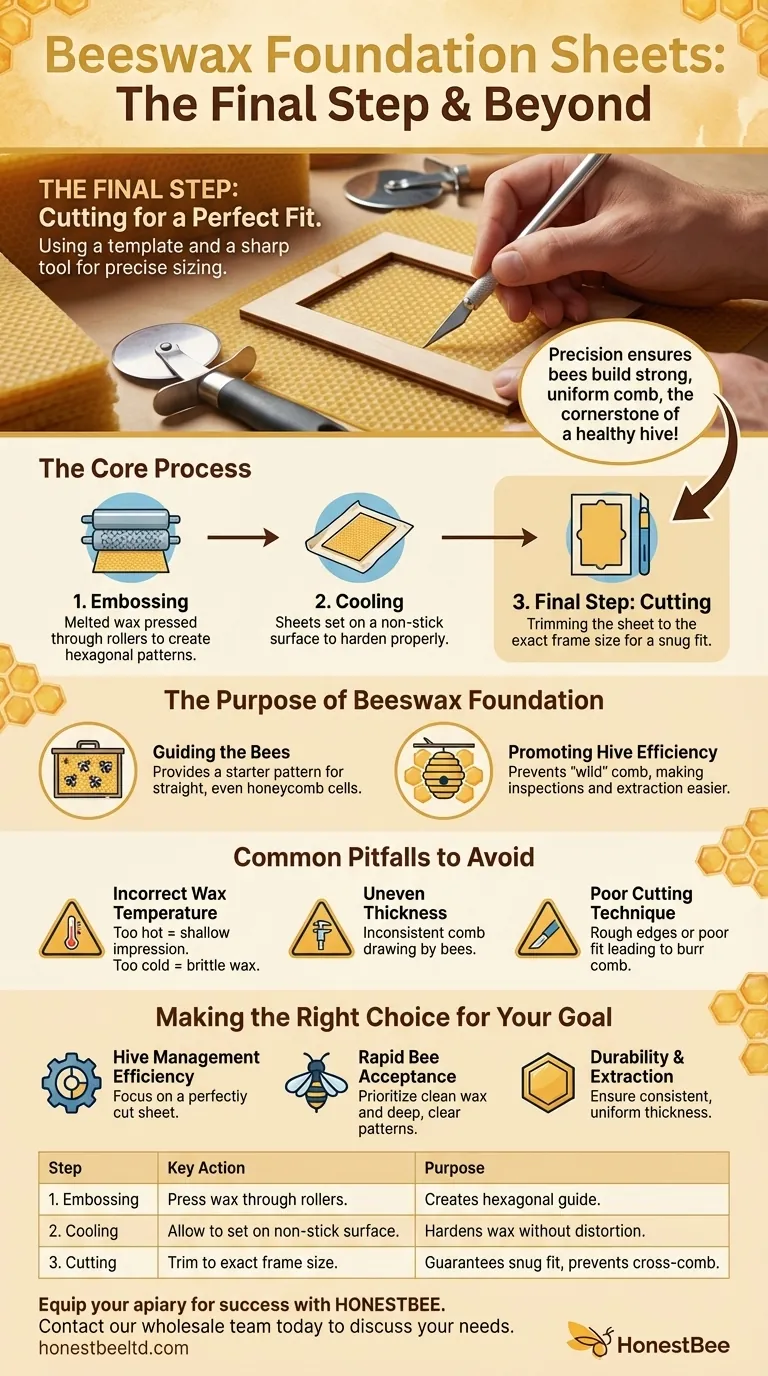
The final step in making beeswax foundation sheets is cutting the embossed wax to the precise size required for your beehive frames. This is typically done using a template and a sharp tool like a craft knife or a pizza cutter to ensure every sheet fits perfectly.
While cutting is the last physical action, the true goal is producing a consistently sized and perfectly embossed foundation. This precision is what encourages bees to build strong, uniform comb, which is the cornerstone of a healthy and productive hive.
The Purpose of Beeswax Foundation
Before detailing the process, it's crucial to understand why foundation sheets are so important. They are not just sheets of wax; they are architectural guides for the colony.
Guiding the Bees
Beeswax foundation provides a starter pattern for the bees. The hexagonal cell imprints guide them to build straight, even, and properly sized honeycomb cells within the frame.
Promoting Hive Efficiency
Without foundation, bees often build "wild" or "cross" comb that connects multiple frames, making hive inspections and honey extraction extremely difficult. Uniform comb makes the beekeeper's work more efficient and less disruptive to the colony.
The Core Process: From Wax to Embossed Sheet
The final cut is the culmination of a careful process that transforms raw beeswax into a functional guide for your bees.
The Embossing Machine
The heart of the operation is the foundation machine, which consists of two rollers engraved with the honeycomb cell pattern. These rollers are set horizontally and very close together within a frame.
Creating the Sheet
Melted and cleaned beeswax is either poured onto the rollers or a smooth sheet of wax is fed through them. As the rollers turn, they press the hexagonal pattern firmly into both sides of the wax.
Handling the Fresh Sheet
Once a sheet has been embossed, it is carefully placed on a prepared surface, often covered with parchment paper. This prevents sticking and allows the wax to cool and set properly before the final step.
The Final Step: Cutting for a Perfect Fit
This last stage ensures the foundation sheet will be accepted by the bees and function correctly within the wooden frame.
Using a Template
Precision is key. A template, cut to the exact inner dimensions of your hive frames, is laid over the embossed wax sheet. This guarantees a consistent and accurate size for every sheet.
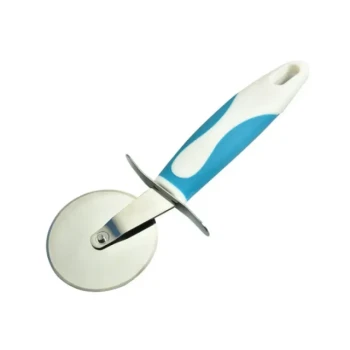
The Right Tools
A sharp, clean cutting tool is essential for a smooth edge that won't crumble. A pizza cutter is highly effective as it rolls through the wax, while a sharp utility or craft knife also works well.
The Importance of Fit
The sheet must be cut to fit snugly inside the frame. If it's too large, it will buckle; if it's too small, bees may build irregular comb in the gaps, defeating the purpose of the foundation.
Common Pitfalls to Avoid
Creating high-quality foundation requires attention to detail. Simple mistakes can lead to sheets that the bees may reject.
Incorrect Wax Temperature
If the wax is too hot when it hits the rollers, the impression will be shallow. If it's too cold, the wax can become brittle and crack during embossing or cutting.
Uneven Thickness
A sheet that is thicker on one side than the other can be problematic. This often results from uneven roller pressure and can lead to inconsistent comb drawing by the bees.
Poor Cutting Technique
Dull blades can drag through the wax, creating rough, crumbly edges. A sloppy cut can result in a sheet that doesn't fit the frame correctly, leading to burr comb and other issues.
Making the Right Choice for Your Goal
Your objective will determine where you focus your attention during the foundation-making process.
- If your primary focus is hive management efficiency: Your priority is a perfectly cut sheet that fits the frame exactly, preventing cross comb and making inspections easy.
- If your primary focus is rapid bee acceptance: Concentrate on using clean, high-quality beeswax and achieving a deep, clear cell pattern from the embossing rollers.
- If your primary focus is durability and honey extraction: Ensure the sheet has a consistent, uniform thickness before you make the final cut.
Ultimately, crafting a perfect beeswax foundation sheet is a critical step in setting your colony up for success.
Summary Table:
| Step | Key Action | Purpose |
|---|---|---|
| 1. Embossing | Press wax through rollers with a cell pattern. | Creates the hexagonal guide for bees to build comb. |
| 2. Cooling | Allow the embossed sheet to set on a non-stick surface. | Ensures the wax hardens properly without distortion. |
| 3. Final Step: Cutting | Use a template and sharp tool to trim the sheet to exact frame size. | Guarantees a snug fit to prevent cross-comb and promote bee acceptance. |
Equip your apiary for success with HONESTBEE. Perfect beeswax foundation is the cornerstone of a healthy, productive hive. We supply commercial apiaries and distributors with the high-quality beekeeping supplies and equipment needed for efficient, large-scale operations. Contact our wholesale team today to discuss your needs and discover how we can support your business's growth.
Visual Guide
Related Products
- Beeswax Machine Press Embosser Wax Foundation Mold Printer Bee Hive Equipment Making Sheet
- Fully Automatic Beeswax Embossing Machine Foundation Mill
- Electric Flatting and Embossing Machine with Tray for Beekeeping
- Electric Beeswax Flat Sheet Machine with Operating Tray for Wax Processing
- Manual Beeswax Comb Foundation Machine Wax Foundation Mill Embossing Machine
People Also Ask
- What types of beeswax foundation sheet machines are available? Find the Right Machine for Your Apiary Scale
- What miscellaneous equipment is useful when making beeswax foundation? Essential Support Tools for Beekeepers
- What are the primary technical challenges faced by beeswax foundation production machinery? Tackling Lipophilic Residues
- What equipment is needed to make beeswax foundation? A Guide to DIY Wax Sheet Production
- What specific equipment is required for making beeswax foundation? Essential Tools for High-Quality Production