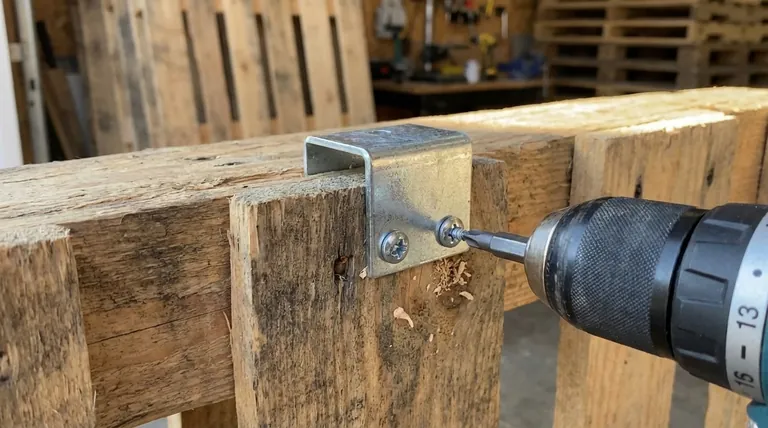
The short answer is that the metal clip is attached to the main body of the attachment using screws. It is a straightforward mechanical connection designed for a secure fit. However, it is critical to note that these screws are typically not included with the clip or connector itself.
The core issue isn't just how the clip attaches, but ensuring you have the correct hardware to create a secure and reliable connection, as the necessary screws must be sourced separately.
Why a Screw-Based Connection is Used
A screw-based system is a deliberate engineering choice for this type of attachment. Understanding the reasoning helps clarify its importance for a stable and lasting installation.
For a Secure Mechanical Lock
The primary purpose is to create a strong, non-slip connection. Screws provide significant clamping force, fastening the metal clip tightly against the attachment body. This prevents any unwanted movement, rotation, or disconnection during use.
For Field Serviceability
Using screws allows for easy installation, adjustment, or replacement in the field. Unlike permanent methods like adhesives or welding, a technician can attach or detach the clip with basic tools, simplifying maintenance and repairs.
Critical Considerations and Potential Pitfalls
While attaching the clip is simple, overlooking the details can lead to installation failure. The most significant challenge is sourcing the correct hardware.
The Missing Hardware Problem
The most common point of failure is assuming the screws are included. They are not. You must procure them yourself before you can complete the assembly.
Selecting the Correct Screws
You must use screws with the correct thread size, length, and material. Using the wrong size can damage the threads on the attachment, while screws that are too short won't provide adequate clamping force. The material (e.g., stainless steel) may also be important depending on the operating environment.
The Risk of Overtightening
It is possible to overtighten the screws. This can strip the threads in the attachment body or damage the clip itself, compromising the integrity of the entire connection. Always tighten screws to be snug and secure, but avoid using excessive force.
How to Ensure a Successful Attachment
To avoid common issues, follow a clear, methodical approach to attaching the clip.
Step 1: Procure the Right Hardware
Before you begin, identify and purchase the correct screws for your specific attachment model. Consult the manufacturer's documentation if you are unsure of the required specifications.
Step 2: Align the Components
Carefully align the screw holes on the metal clip with the corresponding threaded holes on the attachment body. Ensure there are no gaps and that the clip sits flush against the surface.
Step 3: Fasten the Screws Evenly
Insert the screws and tighten them in an alternating pattern, similar to tightening lug nuts on a wheel. This ensures even pressure distribution and a secure, level fit across the entire clip.
Making the Right Choice for Your Goal
Your approach depends on the context of your project or repair.
- If your primary focus is a new installation: Confirm you have sourced the correct, manufacturer-recommended screws before you begin the assembly process.
- If your primary focus is repairing an existing attachment: Carefully inspect the old screws and the threads on the attachment for any signs of stripping or damage before re-installing the clip.
Ultimately, a successful installation hinges on using the right hardware to create a secure mechanical bond.
Summary Table:
| Key Consideration | Why It Matters |
|---|---|
| Screws Not Included | The most common oversight; you must source them separately. |
| Correct Screw Specifications | Using the wrong size or material can damage the attachment. |
| Avoid Overtightening | Excessive force can strip threads and compromise the connection. |
| Even Fastening Pattern | Ensures a secure, level fit and even pressure distribution. |
Need reliable hardware for your beekeeping equipment installations? HONESTBEE supplies commercial apiaries and beekeeping equipment distributors with the durable, high-quality components required for secure and long-lasting assemblies. Ensure your equipment is installed correctly with the right parts from a trusted wholesale partner. Contact us today to discuss your supply needs!
Visual Guide

Related Products
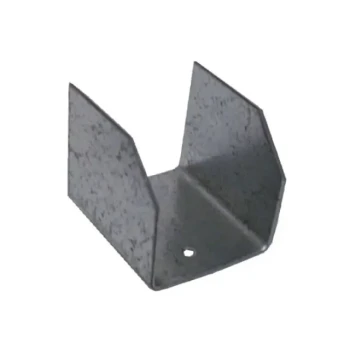
- Versatile U-Style Steel Pallet Clip
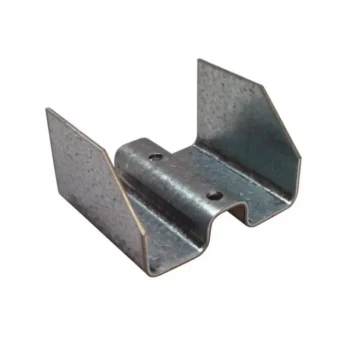
- Heavy-Duty Galvanized Steel W-Style Pallet Clip
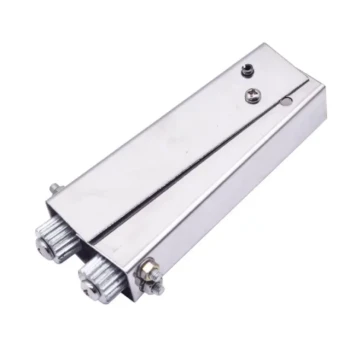
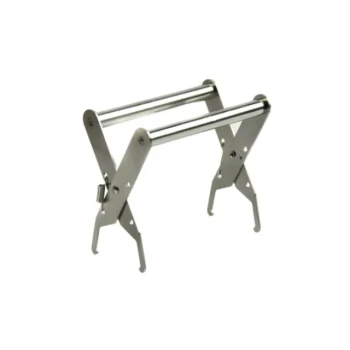
- Heavy Duty Stainless Steel Queen Bee Catcher Clip
- HONESTBEE Heavy Duty All Metal Frame Wire Crimper Tool
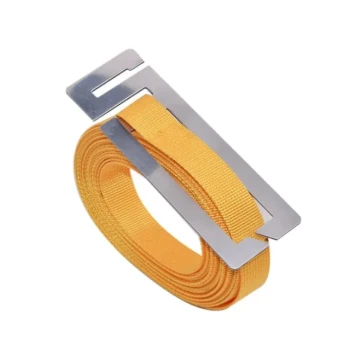
- Heavy-Duty Nylon Beehive Hive Strap with Stainless Steel Cinch Buckle
People Also Ask
- How does specialized colony transportation and palletized equipment improve agricultural pollination efficiency?
- Why are specialized carriers used for beekeeping miticides? Optimize Hive Health with Precision Delivery
- What role do IPM sticky boards play in Varroa mite monitoring? Master Colony Health with Dynamic Data
- How do industrial four-way migratory pallets improve efficiency? Mechanized Apiary Management and Logistics
- How does a four-colony pallet function within migratory beekeeping? Scale Your Apiary with Industrial Logistics