Allow the wax to cool within the mold for approximately two minutes until the mold feels cool to the touch. The sheet is ready for removal when it is warm but firm enough to hold its shape, at which point you should peel off the top of the mold and then slowly separate the sheet from the bottom.
Success relies on catching the wax in a specific transition state: it must be cool enough to hold the honeycomb pattern without deforming, yet warm enough to remain flexible so it does not crack during removal.
Monitoring the Cooling Phase
The Two-Minute Rule
After pouring, let the wax sit undisturbed for about two minutes.
While this timeframe is a standard baseline, environmental factors like room temperature may require slight adjustments.
Tactile Feedback
You can gauge readiness by touching the outside of the mold.
It should feel cool to the touch, indicating that the heat from the molten wax has sufficiently dissipated.
Visual Indicators
Watch for subtle changes in the silicone mold itself.
You may see air bubbles lifting the silicone away from the wax. This is a positive sign that the wax is shrinking slightly as it cools, naturally separating itself from the mold surface.
Executing the Release
Assessing Structural Integrity
Before you attempt to remove the sheet, ensure the wax is warm but firm.
If the wax is too soft, it will distort; if it is fully cold, it becomes brittle. The sheet must maintain its shape while retaining enough flexibility to endure the peeling process.
Separating the Halves
Begin by peeling the top part of the mold completely off.
Do this gently to ensure the wax remains seated in the bottom half without tearing.
Extracting the Sheet
Slowly and carefully peel the beeswax sheet away from the bottom part of the mold.
Avoid jerky or fast movements, which can snap the honeycomb pattern or cause the sheet to tear.
Common Pitfalls to Avoid
The Risk of Over-Cooling
If you leave the wax in the mold too long, it will become rigid and brittle.
Removing a completely cold sheet often results in cracking or shattering, rendering the sheet unusable for rolling candles.
Neglecting Mold Preparation
While cooling is critical, the release actually begins before the pour.
As noted in supplementary procedures, failing to spray the mold with water prior to pouring can cause the wax to fuse to the silicone, making intact removal nearly impossible regardless of cooling time.
Making the Right Choice for Your Project
To ensure consistent results with every pour, use these guidelines to adjust your workflow:
- If your primary focus is sheet integrity: Wait for the "air bubble" visual cue to ensure the wax has naturally released from the silicone before peeling.
- If your primary focus is workflow speed: adhere strictly to the two-minute timer, but immediately re-melt any sheet that deforms upon removal.
- If your primary focus is perfect patterning: Ensure the wax is "firm" rather than just "warm" to prevent the honeycomb cells from stretching during the release.
Mastering the tactile "warm but firm" balance is the single most important skill for producing professional-grade beeswax sheets.
Summary Table:
| Step | Process | Key Indicator |
|---|---|---|
| 1. Cooling | Wait ~2 minutes | Mold feels cool to the touch |
| 2. Shrinkage | Monitor separation | Air bubbles lifting silicone away from wax |
| 3. Removal Prep | Assess texture | Wax is warm but firm to the touch |
| 4. Extraction | Two-stage peel | Peel top first, then slowly lift from bottom |
| 5. Success Tip | Pre-pour prep | Ensure mold was sprayed with water before pouring |
Elevate Your Beekeeping Operation with HONESTBEE
At HONESTBEE, we specialize in supporting commercial apiaries and distributors with professional-grade solutions. Whether you are looking to scale production with our advanced foundation making machines or need a reliable wholesale supply of beekeeping tools and consumables, we bring industry-leading expertise to your business.
Our value to you:
- Comprehensive Equipment: From hive-making machinery to honey-filling systems.
- Wholesale Efficiency: High-quality beekeeping hardware and honey-themed cultural merchandise at scale.
- Expert Support: Tools designed for durability and precision to maximize your apiary's output.
Ready to enhance your productivity? Contact us today to explore our wholesale catalog and see how HONESTBEE can grow your business.
Related Products
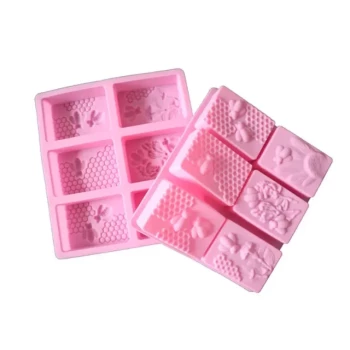
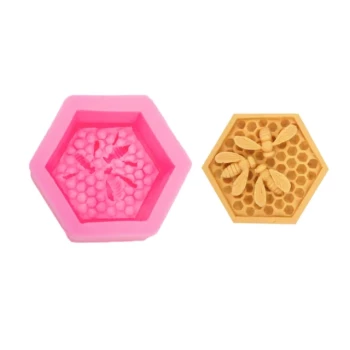
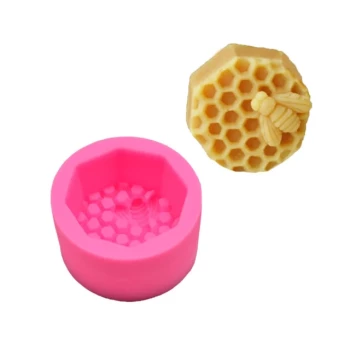
- Colorful Silicone Beeswax Foundation Mold Mould for Beekeeping
- Notebook Style Beeswax Foundation Mould Wax Foundation Mold
- Beeswax Machine Press Embosser Wax Foundation Mold Printer Bee Hive Equipment Making Sheet
- High-Efficiency 20-Cell Silicone Mold for Beeswax Bee Queen Cup Production
- Beeswax Foundation Sheets Beehive Foundation for Wholesale
People Also Ask
- How can beeswax value-addition processes be utilized to increase beekeeping revenue? Boost Your Apiary Profitability
- What is the purpose of the Foundation Mold? A Guide to Sustainable, Pure Wax Foundation
- Why are specific wax foundation molds used to downsize brood cells? Master Mechanical Pest Inhibition
- What types of molds can be used for pouring melted beeswax? Choose the Right Mold for a Perfect Release
- What is the third tip for working with beeswax in a silicone mold? Master the Critical Demolding Stage