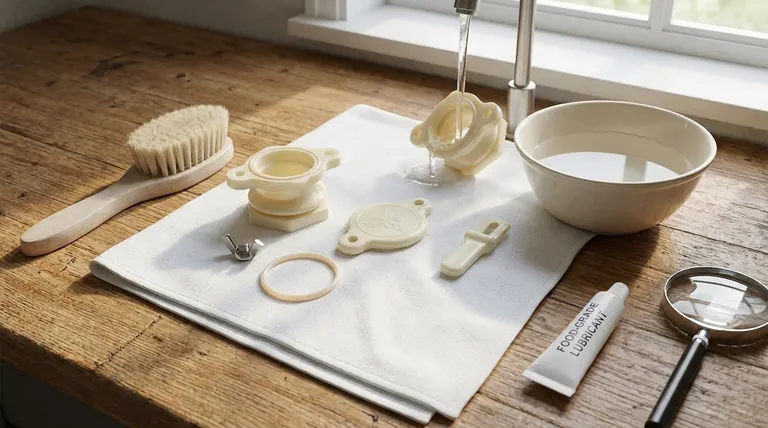
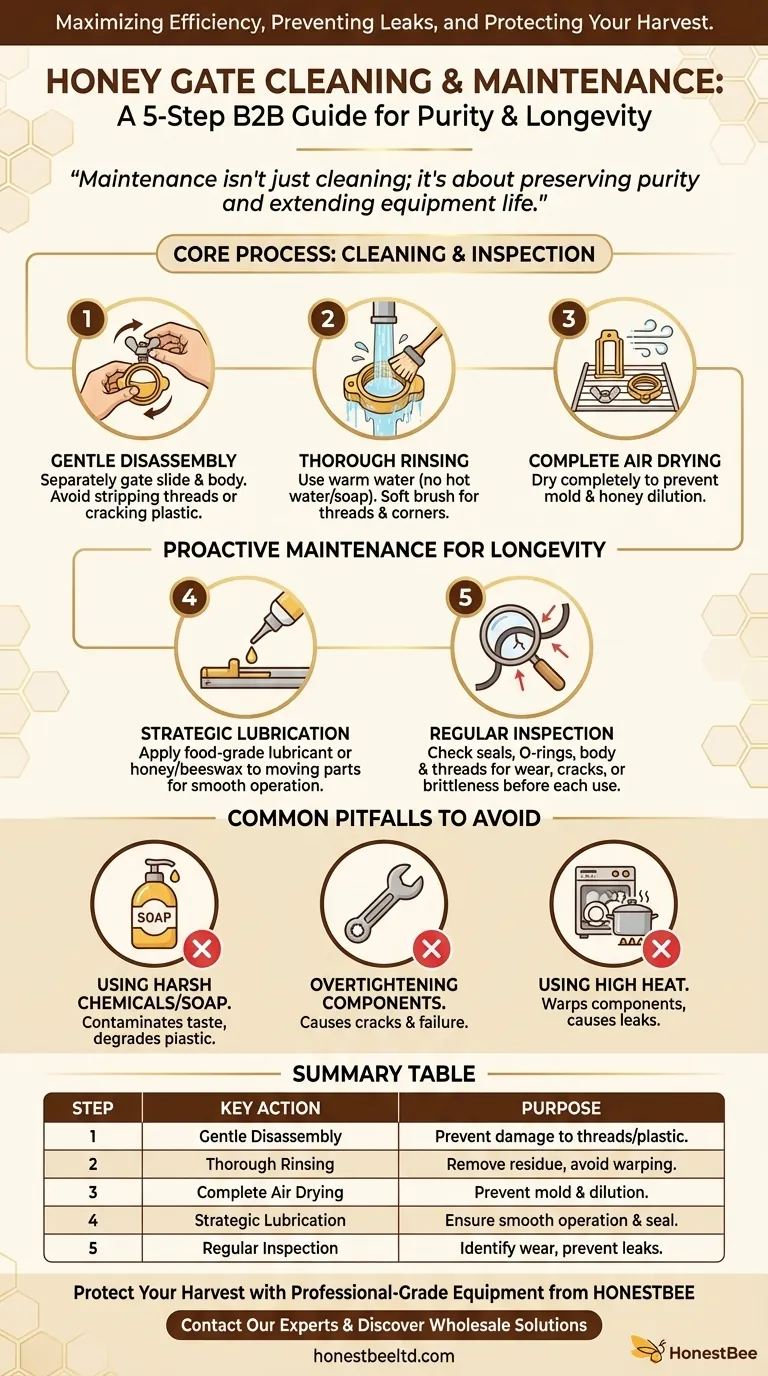
To properly clean and maintain a honey gate, you must follow a five-step process. First, gently disassemble the gate. Next, rinse all components with warm water and a soft brush, then allow them to air dry completely. Finally, apply a food-grade lubricant to any moving parts and perform a regular inspection for wear and tear before reassembly.
The goal of honey gate maintenance is not just cleaning; it's about preserving the purity of your honey, preventing costly leaks, and extending the life of your equipment through a consistent, systematic approach.
The Core Process: Cleaning and Inspection
Proper care ensures your honey gate operates smoothly and remains hygienic. Each step is designed to clean effectively without causing damage that could compromise the equipment or your honey.
Step 1: Gentle Disassembly
Before cleaning, you must carefully take the honey gate apart. This usually involves unscrewing the wing nut and separating the gate's slide mechanism from its main body.
Being gentle during this process prevents stripping threads or cracking the plastic components, which are common points of failure.
Step 2: Thorough Rinsing
Use warm water, not hot, to rinse away residual honey and wax from each part. Hot water can warp the plastic, leading to a poor seal.
A soft brush is ideal for cleaning threads and tight corners without scratching the surfaces. Scratches can harbor bacteria and become difficult to sanitize over time.
Step 3: Complete Air Drying
Allow all components to air dry completely before reassembly or storage. Trapped moisture can lead to mold or mildew growth.
Drying thoroughly also ensures that no water dilutes the honey during your next extraction, which is critical for maintaining its quality and preventing fermentation.
Proactive Maintenance for Longevity
Beyond basic cleaning, proactive maintenance is key to preventing failures during the critical harvest season. This involves lubrication and regular checks for damage.
Step 4: Strategic Lubrication
Apply a very small amount of food-grade lubricant or even a thin film of honey or beeswax to the gate's slide or moving parts.
This ensures the gate opens and closes smoothly, reducing friction and wear on the components. It also helps create a better seal when the gate is closed.
Step 5: Regular Inspection
Before each use and during cleaning, inspect all parts for signs of wear. Pay close attention to the seal or O-ring for any cracks, brittleness, or damage.
Also, check the main body and threads for hairline cracks, which can be caused by overtightening or simple aging. A compromised gate should be replaced immediately to prevent catastrophic leaks.
Common Pitfalls to Avoid
Simple mistakes can easily damage your equipment or compromise your honey. Avoiding these common errors is just as important as the cleaning process itself.
Using Harsh Chemicals or Soap
Never use harsh detergents or soaps. These can leave behind residues that will contaminate the taste of your honey and can degrade the plastic over time. Warm water is sufficient.
Overtightening Components
When reinstalling the gate on your tank or reassembling it after cleaning, tighten it just enough to be secure. Overtightening the mounting nut or the gate's wing nut is a primary cause of cracks and equipment failure.
Using High Heat to Clean
Never use a dishwasher or boiling water to clean a plastic honey gate. The high temperatures will almost certainly warp the components, rendering the gate useless and prone to leaks.
Applying This to Your Goals
Your approach to maintenance should align with your specific priorities as a beekeeper.
- If your primary focus is honey purity: Prioritize thorough rinsing and complete drying to prevent contamination from bacteria or residual cleaning agents.
- If your primary focus is preventing leaks: Concentrate on the regular inspection of the seal and avoid overtightening the gate during installation.
- If your primary focus is equipment lifespan: Consistently apply food-grade lubricant and handle all components gently during disassembly and cleaning.
A well-maintained honey gate is a reliable tool that protects the quality and integrity of your hard-earned harvest.
Summary Table:
| Step | Key Action | Purpose |
|---|---|---|
| 1 | Gentle Disassembly | Prevent damage to threads and plastic components |
| 2 | Thorough Rinsing | Remove honey/wax residue without warping plastic |
| 3 | Complete Air Drying | Prevent mold and honey dilution |
| 4 | Strategic Lubrication | Ensure smooth operation and a better seal |
| 5 | Regular Inspection | Identify wear and prevent catastrophic leaks |
Protect Your Harvest with Professional-Grade Equipment
A reliable honey gate is essential for commercial apiaries and distributors. At HONESTBEE, we supply durable, wholesale-focused beekeeping supplies designed to withstand rigorous use and simplify your maintenance routine.
Let us help you maximize efficiency and protect your honey's quality. Contact our experts today to discuss your equipment needs and discover how our products can support your operation's success.
Visual Guide
Related Products
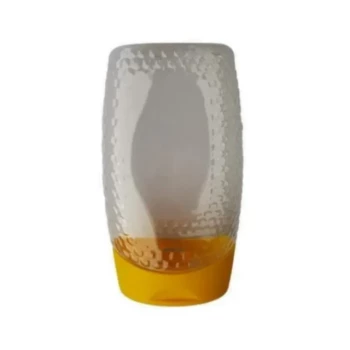
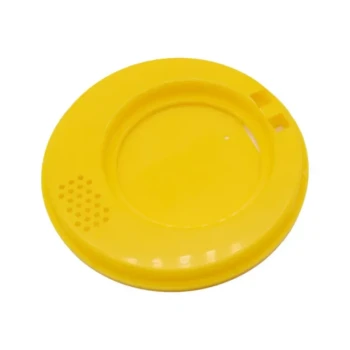
- Honey Gate Valve with Ergonomic Ball Handle Plastic Bee Honey Tap for Beekeeping Bottling and Honey Extractor Equipment
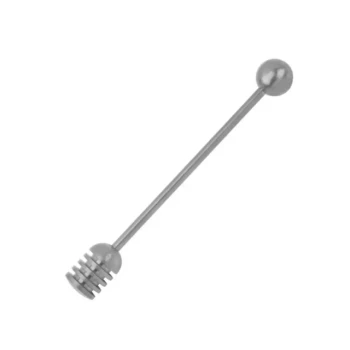
- Stainless Steel Honey Gate Valve Tap Tool for Honey Extractor
- Plastic Honey Gate Spout with Wing Nut for Beekeeping Honey Bucket
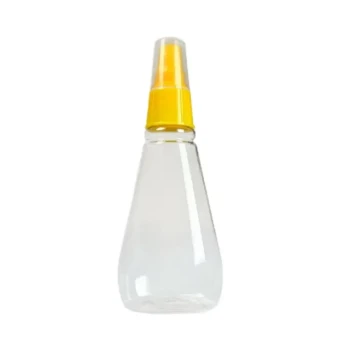
- Inverted Squeezable Honey Jar with No Drip Flip Top Cap for Easy Pouring
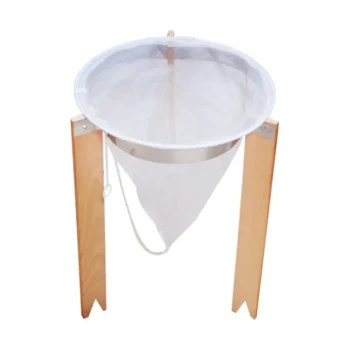
- Professional Honey Filter with Tripod Support Stand
People Also Ask
- What is a honey gate and what is its primary function? Control Your Honey Flow Efficiently
- Can a honey gate be reused? Maximize the Lifespan of Your Beekeeping Extraction Equipment
- What is a honey gate and what is its purpose? Master Precision Bottling and Waste Reduction
- How is the flow of honey controlled using a honey gate valve? Master Precise Bottling and Extraction Techniques
- How do you adjust the flow of honey using a honey gate valve? Master Precision Control for Your Bottling Line