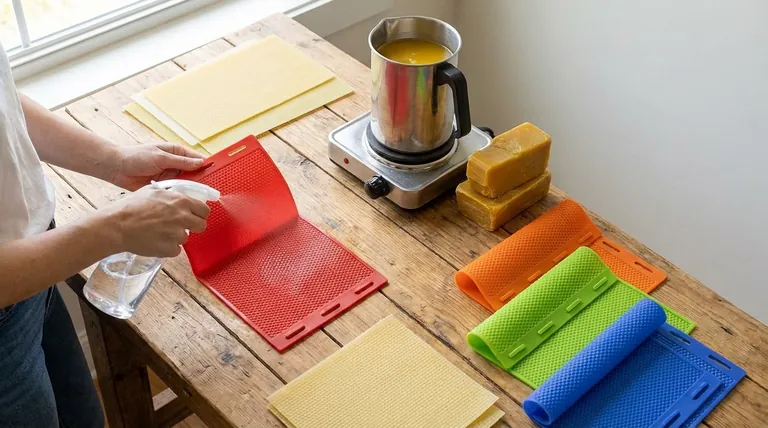
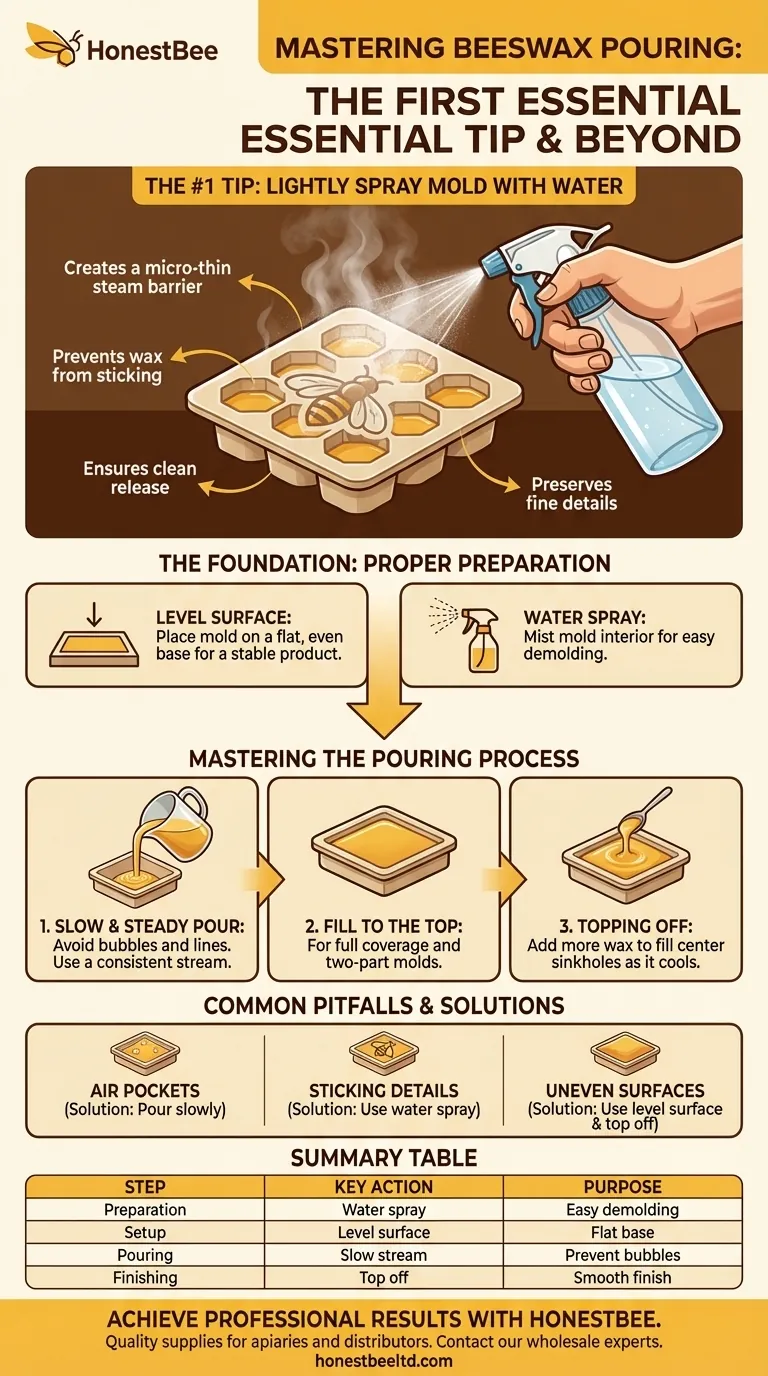
The most important first tip for pouring beeswax into a silicone mold is to lightly spray the inside of the mold with water. This simple preparatory step creates a micro-thin barrier between the silicone and the hot wax. As a result, it dramatically improves the release process, ensuring your finished piece comes out cleanly without sticking or losing fine details.
The key to a flawless beeswax creation is not just the pour itself, but the preparation that precedes it. A controlled, steady pour into a properly prepared mold is the principle that separates amateur results from professional-quality work.
The Foundation: Proper Mold Preparation
Before you even think about pouring the wax, setting up your mold correctly is the most critical phase. This initial stage dictates the final quality and ease of the entire process.
Why Preparation is Non-Negotiable
The goal of preparation is twofold: to guarantee a clean, easy release and to ensure the final product has a perfect, level finish. Skipping these steps is the primary cause of imperfections and frustration.
The Water Spray Technique
A very fine mist of water inside the mold is all that is needed. This acts as a natural release agent without introducing any chemicals. The hot wax will turn the water to steam, which prevents the wax from bonding to the silicone surface.
The Critical Role of a Level Surface
Always place your mold on a completely level surface before pouring. Beeswax will settle according to gravity, and an uneven surface will result in a lopsided or slanted base on your candle or casting.
Mastering the Pouring Process
With your mold prepared, the technique of the pour itself determines the internal and external integrity of the final piece. A rushed or inconsistent pour is the main culprit behind common flaws.
Pour Slowly and Steadily
Pour the melted beeswax in a slow, consistent stream. Avoid stopping and starting, as this can create visible lines in the finished product. A steady hand prevents splashing and, more importantly, reduces the introduction of air bubbles.
Fill to the Top
Pour the wax until it reaches the very top of the mold. For two-part molds used for making beeswax sheets, you will pour into the bottom half and then gently press the top half on, allowing the wax to spread evenly.
Topping Off for a Smooth Finish
As beeswax cools, it shrinks. This often creates a small sinkhole or well near the center, especially around a wick. After a few minutes of cooling, you may need to "top off" the mold by adding a small amount of additional melted wax to fill this depression and create a perfectly flat surface.
Common Pitfalls and How to Avoid Them
Understanding the common mistakes is the fastest way to improve your technique. Nearly all issues can be traced back to a failure in preparation or pouring speed.
Problem: Air Pockets and Voids
This is almost always caused by pouring the wax too quickly. A fast pour traps air within the liquid, which then gets locked in place as the wax cools, creating unsightly bubbles or empty pockets in your final piece.
Problem: Sticking and Damaged Details
If your finished beeswax piece is difficult to remove or fine details are torn away, the cause is a lack of a release agent. This is a direct result of skipping the initial water spray preparation step.
Problem: Uneven or Sunken Surfaces
An uneven base is caused by not using a level surface. A sunken top is caused by wax shrinkage and can be easily fixed by topping off the mold as it begins to set.
Applying This to Your Project
Your specific goal will determine which part of the process you need to focus on most.
- If your primary focus is a clean release with perfect detail: The single most important step is lightly misting the mold with water before you pour.
- If your primary focus is a flawless, professional surface: Concentrate on pouring onto a level surface and remember to top off the wax to correct for shrinkage.
- If your primary focus is overall consistency and avoiding defects: Combine all principles—prepare the mold with water, place it on a level surface, and use a slow, steady pour.
Ultimately, a patient and methodical approach to both preparation and pouring is the key to achieving beautiful, professional results every time.
Summary Table:
| Step | Key Action | Purpose |
|---|---|---|
| 1. Preparation | Lightly spray mold with water. | Creates a release barrier for easy demolding. |
| 2. Setup | Place mold on a completely level surface. | Ensures a flat, even base for the finished piece. |
| 3. Pouring | Pour wax in a slow, steady stream. | Prevents air bubbles and ensures consistency. |
| 4. Finishing | Top off the mold after initial cooling. | Corrects for wax shrinkage and creates a smooth surface. |
Achieve professional results consistently with the right supplies from HONESTBEE.
Whether you're a commercial apiary producing candles and casts or a distributor supplying beekeepers, the quality of your beeswax products starts with quality equipment and expert technique. HONOSTBEE supplies the durable, reliable beekeeping and wax-working supplies you need to operate efficiently at scale.
Contact our wholesale experts today to discuss your specific needs and discover how we can support your business's growth.
Visual Guide
Related Products
- High-Efficiency 20-Cell Silicone Mold for Beeswax Bee Queen Cup Production
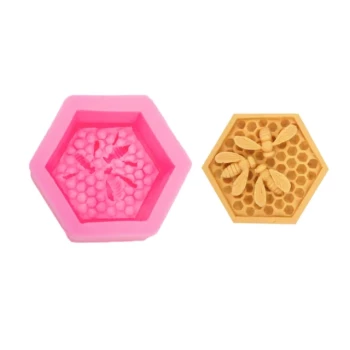
- Colorful Silicone Beeswax Foundation Mold Mould for Beekeeping
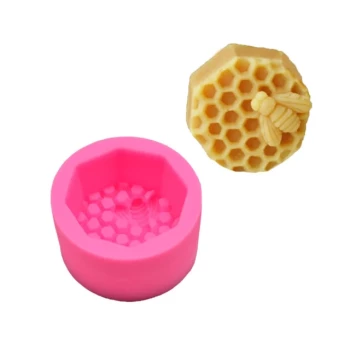
- 3D Square Honeycomb Pillar Silicone Candle Molds for Making Beeswax Candles
- 10-Cell Silicone Beeswax Bee Queen Cups Forming Mold
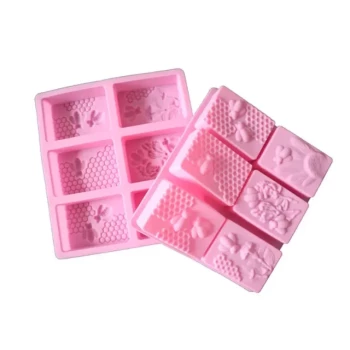
- Premium 6-Cavity Bee and Floral Themed Silicone Soap Mold
People Also Ask
- What are the technical advantages of using precision silicone molds for the manufacturing of beeswax queen cups? - Scale
- What is a queen cup? The Key to Understanding Your Colony's Intentions
- What is the purpose of specialized queen cell molds? Maximize Efficiency in the Doolittle Queen Rearing Method
- What is the difference between a queen cup and a queen cell? Master Hive Management for a Thriving Apiary
- What is the biological function of beeswax queen cell cups? Boost Acceptance in Artificial Queen Rearing