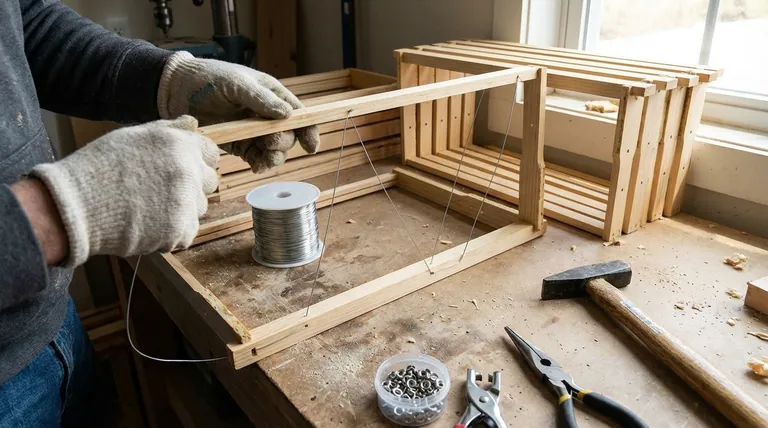
Wiring a beehive frame correctly is a straightforward mechanical process that creates essential support for your wax or plastic foundation. You begin on the side of the frame with two nails, threading the wire through the bottom eyelet, across to the other side, up to the next eyelet on that side, and back across. This simple back-and-forth pattern is repeated until you reach the end, where the wire is pulled taut and secured.
The goal of wiring a frame is not just to thread wire through holes, but to create a rigid, tensioned support system. This structure prevents the wax foundation from sagging or warping, ensuring your bees build straight, even comb that is easy to manage and inspect.
Preparing Your Equipment
Before you begin the wiring process, gathering the correct tools is essential for an efficient and effective workflow. Having everything on hand prevents delays and ensures a secure result.
Essential Tools and Materials
You will need a specific set of tools for this task. The core items include:
- An assembled wooden frame
- A spool of frame wire
- Frame eyelets
- An eyelet punch (for inserting the eyelets)
- A hammer
- Needle-nose or lineman's pliers
- Two 5/8 inch frame nails (partially hammered into one side bar)
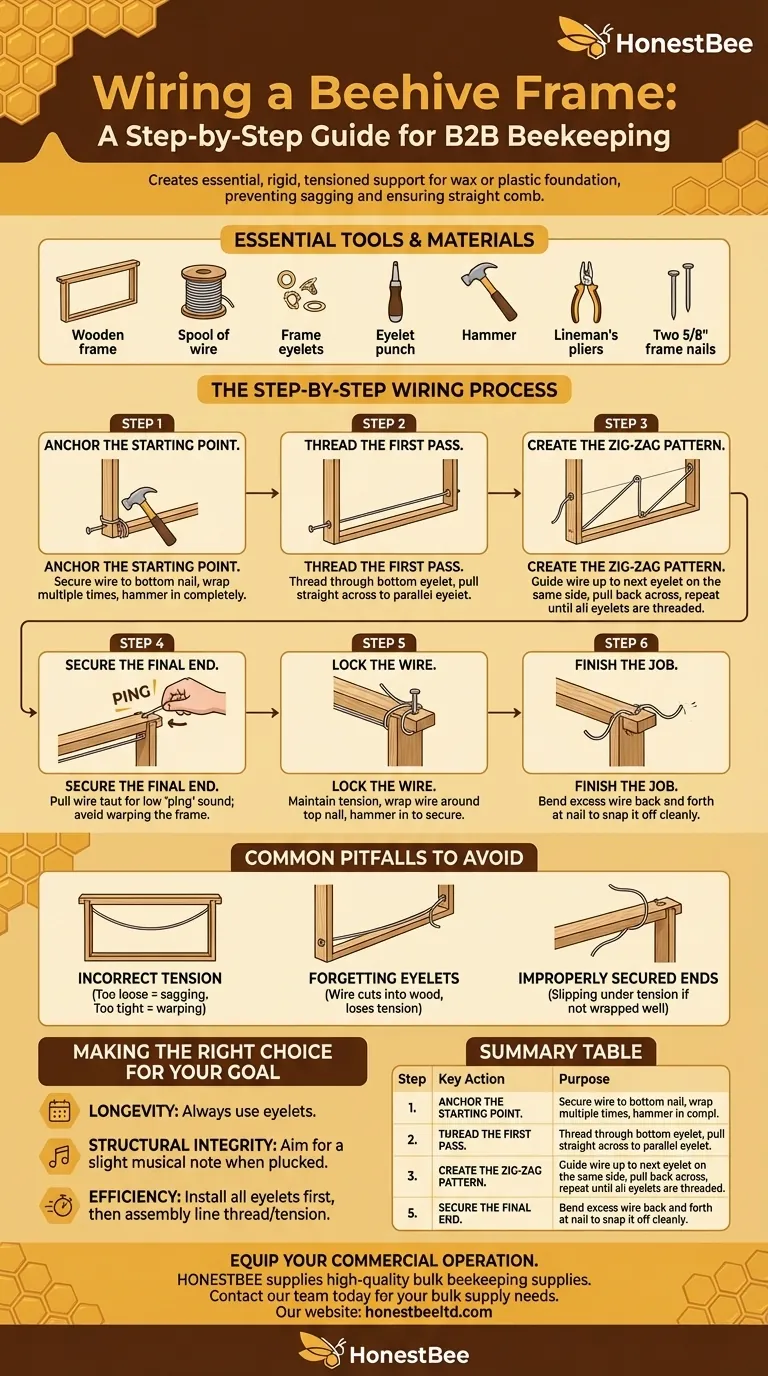
The Step-by-Step Wiring Process
The technique involves creating a zig-zag pattern with the wire, ensuring it is anchored securely at both ends. For a standard deep frame, this process will result in four horizontal wires.
Step 1: Anchor the Starting Point
Begin on the side of the frame where two nails have been partially hammered in, one near the top and one near the bottom. Secure the end of the wire by wrapping it several times around the bottom nail. Hammer this nail in completely to lock the wire in place.
Step 2: Thread the First Pass
Take the wire from your starting anchor and thread it through the bottom eyelet, located right next to the nail. Pull the wire straight across the frame and through the parallel eyelet on the opposite side bar.
Step 3: Create the Zig-Zag Pattern
Once across, guide the wire up to the next eyelet on that same side bar. Thread it through and pull it back across the frame to the parallel eyelet on the starting side. Continue this "up-and-across" pattern until all eyelets are threaded.
Step 4: Secure the Final End
After threading through the last eyelet at the top, pull the wire firmly to create tension. You are aiming for a tautness that produces a low "ping" when plucked, but not so tight that it bows or warps the wooden frame.
Step 5: Lock the Wire
While maintaining tension with one hand, wrap the wire around the top nail several times. Once wrapped, hammer the nail in the rest of the way to secure the wire permanently.
Step 6: Finish the Job
With the wire locked in place, you can break off the excess. Gently but firmly bend the leftover wire back and forth at the point where it meets the nail. It will snap off cleanly after a few motions.
Common Pitfalls to Avoid
Achieving a perfectly wired frame means being aware of a few common mistakes. Avoiding these ensures your frames will be durable and function as intended within the hive.
The Risk of Incorrect Tension
Wire that is too loose will fail to support the foundation, leading to sagging and deformed comb. Conversely, wire that is excessively tight can pull the side bars inward, warping the entire frame and causing spacing issues in the hive box.
Forgetting to Use Eyelets
The small metal eyelets serve a critical purpose. They prevent the tensioned wire from slowly cutting into the soft wood of the frame over time. Without them, the wire will eventually loosen, defeating the purpose of the entire process.
Improperly Secured Ends
Simply looping the wire once around a nail is not enough. If the wire is not wrapped several times around the nail shank before hammering it down, it can slip under tension, causing the entire wiring structure to fail.
Making the Right Choice for Your Goal
Properly wired frames are a cornerstone of productive beekeeping. Your approach should prioritize stability and longevity to support a healthy, manageable colony.
- If your primary focus is longevity: Always use eyelets in the frame holes to prevent the wire from cutting into the wood and losing tension over the years.
- If your primary focus is structural integrity: Pull the wire taut enough to produce a slight musical note when plucked, but avoid overtightening that could warp the wooden frame.
- If your primary focus is efficiency: Prepare multiple frames at once by installing all eyelets first, then creating an assembly line to thread and tension each one in sequence.
By following this structured method, you create a durable and reliable foundation that your bees will build upon for seasons to come.
Summary Table:
| Step | Key Action | Purpose |
|---|---|---|
| 1 | Anchor wire to bottom nail | Create a secure starting point |
| 2 | Thread wire through bottom eyelets | Establish the first horizontal pass |
| 3 | Create zig-zag pattern up the frame | Build a complete support structure |
| 4 | Pull wire taut and secure to top nail | Ensure proper tension to prevent sagging |
| 5 | Snap off excess wire | Finish the frame neatly |
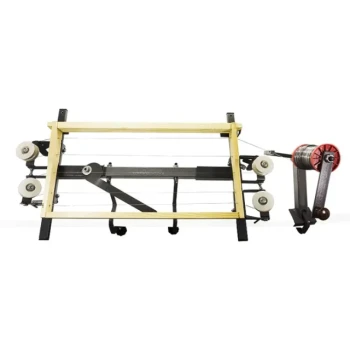
Equip your commercial operation for maximum efficiency and durability. Properly wired frames are the foundation of a productive hive. HONESTBEE supplies high-quality beekeeping supplies and equipment—including frame wire, eyelets, and frames—to commercial apiaries and distributors through our wholesale-focused operations. Ensure your frames are built to last. Contact our team today to discuss your bulk supply needs.
Visual Guide
Related Products
- Stainless Steel Bee Hive Frame Wire for Beekeeping
- Wooden Bee Hive Frames for Beekeeping and Wholesale
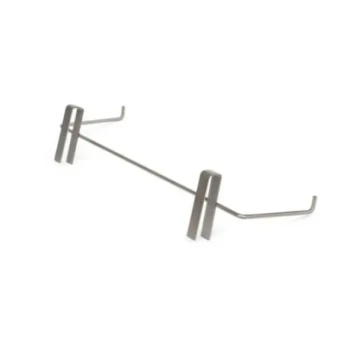
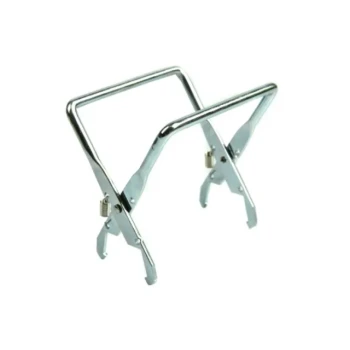
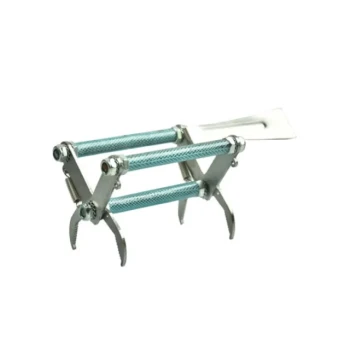
- Heavy-Duty Stainless Steel Clip-On Frame Perch
- Assembled Wooden Bee Frames with Plastic Foundation for Durability and Convenience by HONESTBEE
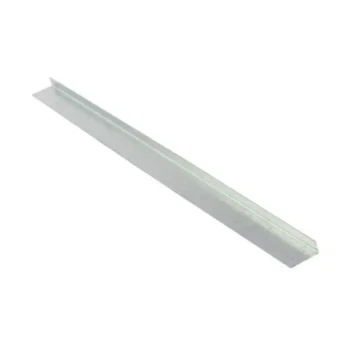
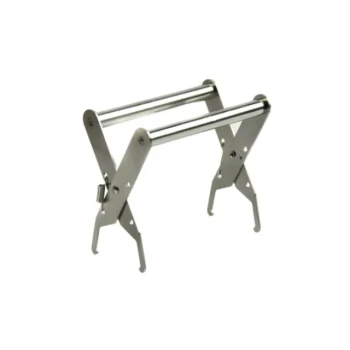
- Professional Galvanized Steel Frame Rest for Beehives
People Also Ask
- What are the drawbacks of wiring beehive frames? Key Limitations and Structural Trade-offs Revealed
- How is the wire secured at the top of the frame after being threaded? Master the Clamp and Break Technique
- How is the wire tightened in a beekeeping frame? Expert Techniques for Durable Hive Frames
- What precautions should be taken when wiring beehive frames? Essential Steps for Comb Durability
- How is proper tension achieved and maintained when wiring beekeeping frames? Master the Art of the Perfect Ping