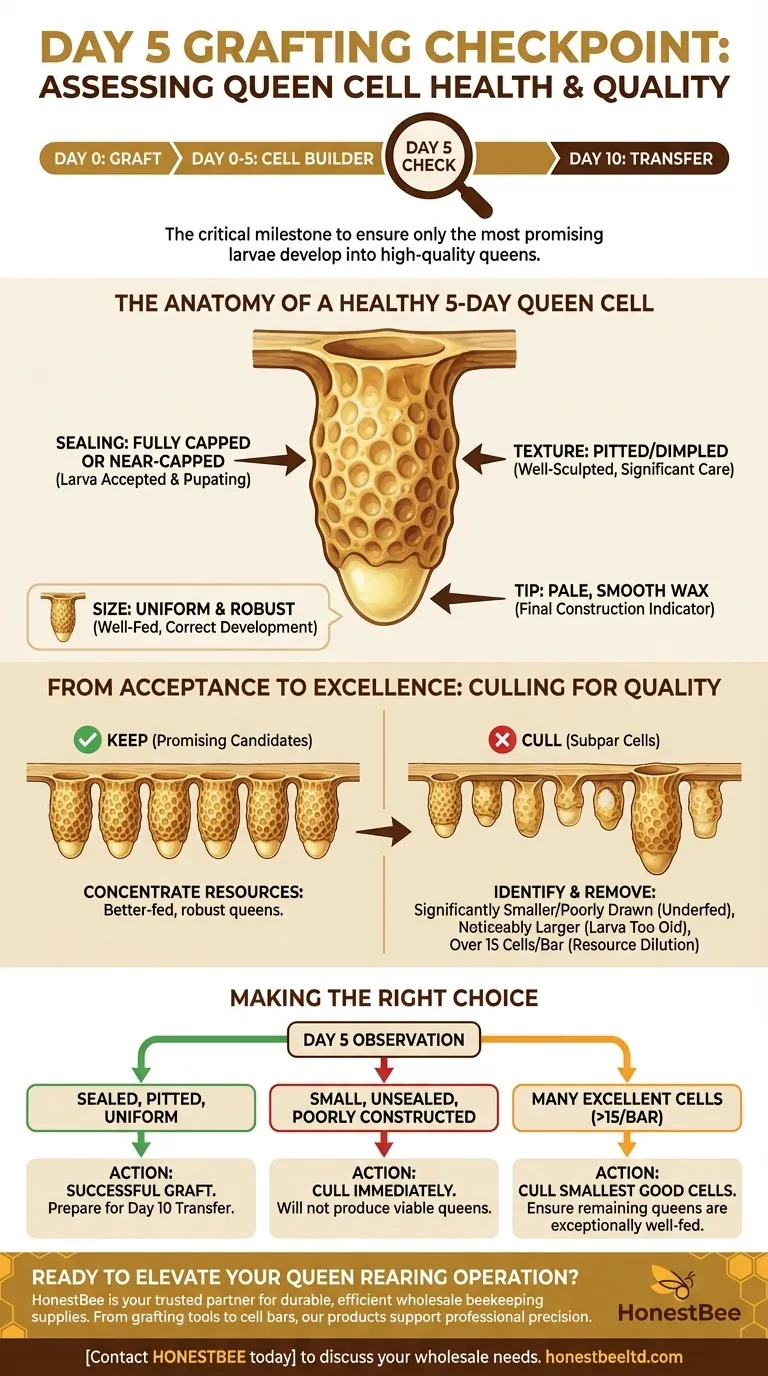
Five days after grafting, a healthy queen cell should be fully sealed by the worker bees or on the verge of being sealed. The cell will have a distinct, well-sculpted appearance, resembling a peanut shell with a characteristic pitted texture created by the bees, except for the very tip, which will be made of pale, smooth wax.
The five-day mark is a critical checkpoint in queen rearing. It is your first major opportunity to assess the success of your graft and cull subpar cells, ensuring that only the most promising candidates develop into high-quality queens.

The Anatomy of a Healthy 5-Day Queen Cell
Observing the specific characteristics of the cells at this stage provides clear indicators of the health and viability of the developing queen within.
Sealing: The Critical Milestone
The most important sign of success is that the cell is fully capped or just hours away from it. This indicates the larva was accepted, has been fed copious amounts of royal jelly, and has entered the pupal stage.
Cell Texture: A Sign of Good Care
A healthy cell will be well-sculpted with a pitted or dimpled appearance. This texture is a byproduct of the worker bees meticulously constructing the cell walls with wax. A robust, textured cell signifies that the bees have invested significant resources into its development.
The Pale Tip: Final Construction
The very bottom tip of the queen cell will typically be a pale, smooth wax. This is the last part of the cell to be constructed and sealed by the bees. This smooth tip is a classic indicator of a recently capped, healthy cell.
From Acceptance to Excellence: Culling for Quality
Just because a graft was accepted does not guarantee it will produce a superior queen. The five-day inspection is your chance to be selective and improve the quality of your stock.
Why Culling is Non-Negotiable
A strong cell-builder colony might accept and feed more larvae than it can optimally care for. Culling allows you to concentrate the colony's resources on a smaller number of the most promising cells, leading to better-fed, more robust queens.
Identifying Cells to Remove
Cull any cells that are significantly smaller than the others or appear poorly drawn out, as this indicates the larva was not well-fed.
Also, remove any cells where the larva looks noticeably larger than others at the time of grafting; this often means the larva was too old when selected, which results in an inferior queen. For optimal results, aim for no more than 15 queen cells per bar.
The Queen Rearing Timeline: Context for Day 5
Understanding where this five-day check fits into the overall process is key to successful queen rearing.
Day 0: The Graft
This process begins with grafting, where you transfer a very young larva (less than 24 hours old) from a worker cell into an artificial queen cup.
Day 0-5: The Cell Builder Phase
The frame of grafted cells is placed into a strong, queenless "cell builder" colony. The nurse bees in this colony are responsible for feeding the larvae royal jelly and drawing out the wax queen cells. Proper handling during this transfer—keeping cells covered with a damp cloth—is crucial.
Day 10: Preparing for Emergence
Around ten days after grafting, the cells are considered "ripe." This is the ideal time to carefully remove them from the cell builder colony and place them into mating nucs or queenless colonies. This provides enough time for the new queen to emerge safely in her new home.
Making the Right Choice for Your Goal
Your observations on day five directly inform your next steps.
- If your cells are sealed, pitted, and uniform in size: Your graft was successful, and you can confidently prepare for transferring the cells around day ten.
- If your cells are small, unsealed, or poorly constructed: These should be culled immediately, as they will not produce viable, high-quality queens.
- If you have many excellent cells (over 15 per bar): Cull the smallest of the good cells to ensure the remaining queens are exceptionally well-fed and developed.
This five-day inspection is the most important quality control step in producing truly excellent queens.
Summary Table:
| Healthy Cell Indicator | What to Look For | Why It Matters |
|---|---|---|
| Sealing | Fully capped or on the verge of being sealed. | Indicates larval acceptance and entry into the pupal stage. |
| Texture | Well-sculpted, pitted, or dimpled appearance. | Signifies significant resource investment and good care from worker bees. |
| Tip | Pale, smooth wax at the very bottom. | A classic indicator of a recently and properly sealed, healthy cell. |
| Size | Uniform and robust compared to others on the bar. | Suggests the larva was well-fed and is developing correctly. |
Ready to Elevate Your Queen Rearing Operation?
Producing high-quality queens requires not just skill but also the highest-quality equipment. HONESTBEE is your trusted partner, supplying durable and efficient beekeeping supplies to commercial apiaries and distributors through our wholesale-focused operations.
From reliable grafting tools to robust cell bars, our products are designed to support the precision work of professional beekeepers. Let us help you build a stronger, more productive business.
Contact HONESTBEE today to discuss your wholesale needs and discover how our equipment can contribute to your success.
Visual Guide
Related Products
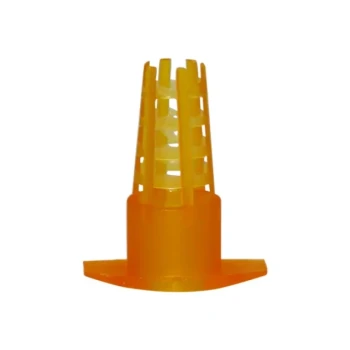
- Clear Black Plain Polystyrene Queen Bee Grafting Cell Cups No Lug for Bee Queen Cup
- Retractable Chinese Queen Rearing Grafting Tools Equipment
- Plastic Chinese Queen Grafting Tool for Bee Queen Rearing
- Stainless Steel Queen Grafting Tool for Beekeeping and Bee Queen Grafting
- Black 2 Pack Beekeeper Queen Grafting Tool for Bee Queen Larva Transferring Needle
People Also Ask
- What materials are used to make artificial queen cell cups for grafting? Beeswax vs. Plastic Guide
- What is the importance of using high-purity natural beeswax for queen cups? Ensure Scientific Integrity & Health
- What are queen cups and how are they used in honey bee queen replacement? The Essential Guide to Queen Rearing
- What roles do specialized queen cell cups play in royal jelly production? Optimize Your Hive's Secretion and Yield
- Why are cell cups primed before grafting, and what is used for this process? Boost Your Queen Rearing Success