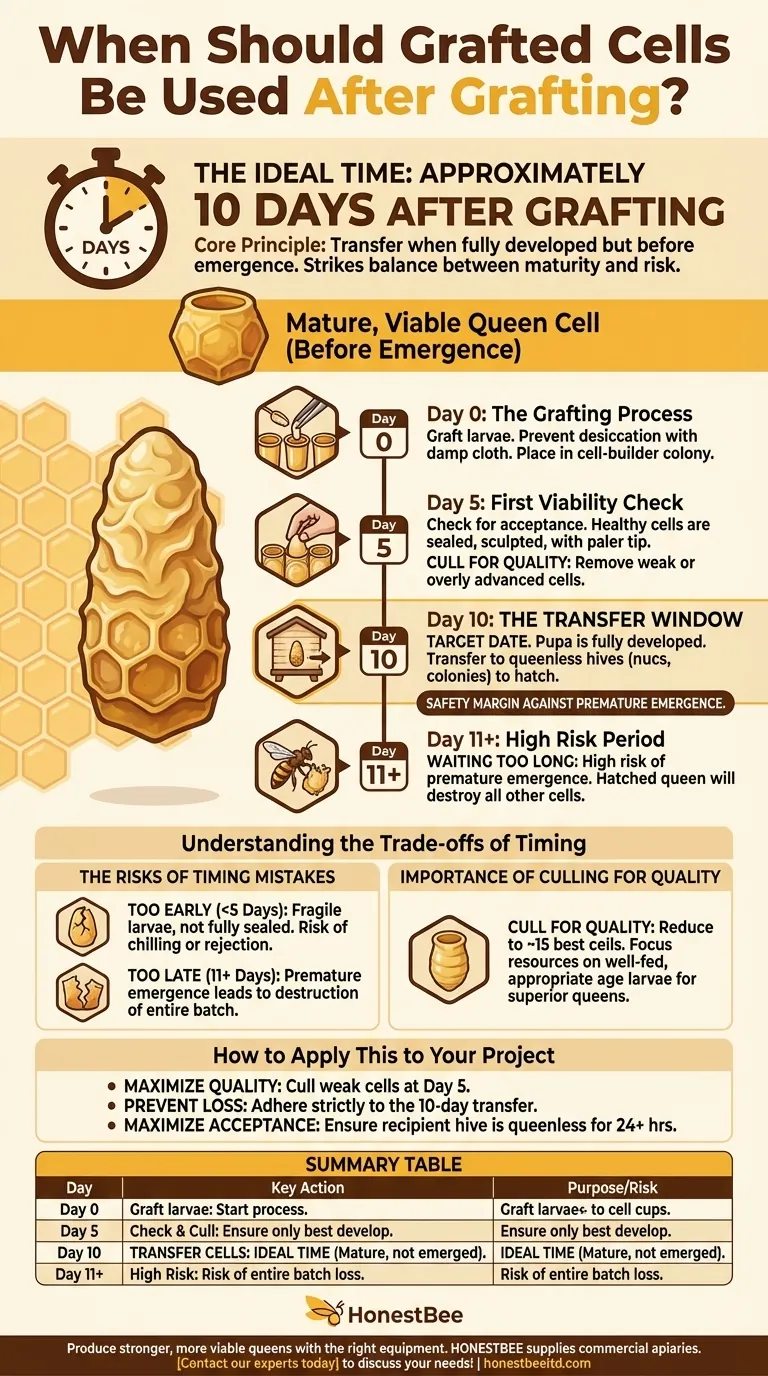
The ideal time to use a grafted queen cell is approximately 10 days after the initial graft was performed. This timing is critical because the cell is mature and viable, but the virgin queen has not yet emerged. Moving the cell at this stage provides a necessary safety margin in case a queen develops slightly faster than average.
The core principle of queen cell timing is to transfer the cell when it is fully developed but before the queen emerges. The 10-day mark strikes this precise balance, maximizing your chances of success while minimizing the risk of a newly emerged queen destroying the other cells.
The Queen Cell Development Timeline
Understanding the key milestones in a queen cell's development is essential for successful queen rearing. The process isn't just about waiting 10 days; it's about monitoring and managing the cells correctly.
Day 0: The Grafting Process
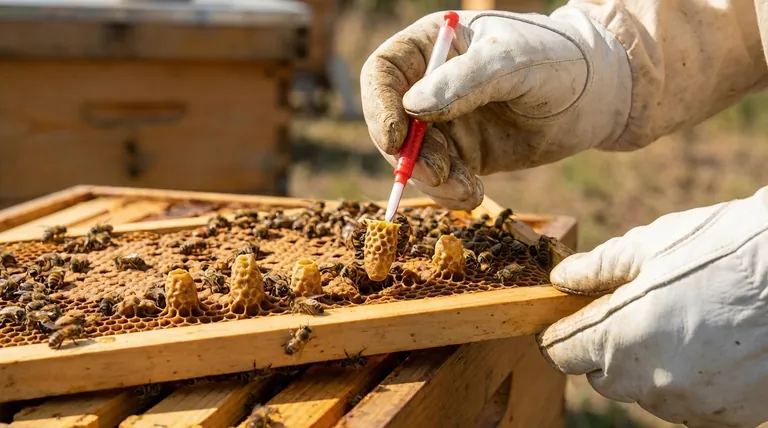
Immediately after grafting larvae into cell cups, the primary concern is preventing desiccation. The bar of cells should be covered with a damp cloth during transport.
The frame containing the cells is then placed into the center of a prepared cell-builder colony. It is transported with the cell cups facing up but inverted before being lowered into the hive.
Day 5: The First Viability Check
Five days after grafting is your first critical checkpoint. You should inspect the cells to confirm they have been accepted and are developing properly.
Healthy cells will be sealed or on the verge of being sealed by the worker bees. They will have a characteristic sculpted, pitted appearance, with a paler, smoother tip made of new wax.
Day 10: The Transfer Window
This is the target date for moving the mature queen cells. At 10 days, the pupa inside is fully developed and robust enough to be moved into a new colony.
The cells can be carefully placed into mini-nucs, standard 2-5 frame nucleus colonies, or even full-sized, queenless colonies to hatch.
Understanding the Trade-offs of Timing
The 10-day rule is not arbitrary; it is based on mitigating specific, costly risks. Deviating from this timeline can lead to failure.
The Risk of Waiting Too Long
The greatest risk in queen rearing is a premature emergence. If one queen hatches before you have moved the cells, her first instinct will be to seek out and destroy all other competing queen cells on the frame.
Waiting until day 11 or 12 dramatically increases this risk. The 10-day transfer provides a crucial buffer against losing your entire batch of queens to the first one that emerges.
The Problem with Moving Cells Too Early
Moving cells before they are sealed (before day 5) is also problematic. The young larvae are extremely fragile and the cells have not yet been fully built out and secured by the bees.
Transferring them at this stage can lead to chilled larvae or cause the recipient colony to reject and destroy the immature cells.
The Importance of Culling for Quality
For the best results, not all accepted cells should be raised to maturity. To produce the best possible queens, you should cull the frame down to no more than 15 of the best cells.
Remove any cells where the larvae looked significantly larger than others at the time of grafting, as this indicates an older larva was chosen. Also, cull any cells that do not appear to be well-fed with an abundance of royal jelly.
How to Apply This to Your Project
Your specific goal will determine which part of this process you need to emphasize most.
- If your primary focus is producing the highest quality queens: Cull weak or overly advanced cells around the 5-day mark to ensure resources are focused on the best candidates.
- If your primary focus is preventing cell loss: Adhere strictly to the 10-day transfer schedule to move cells before any queens have a chance to emerge and destroy their rivals.
- If your primary focus is maximizing acceptance rates: Ensure the recipient hive (nuc or full colony) is queenless and stable for at least 24 hours before you introduce the mature 10-day-old cell.
Mastering this developmental timeline is the key to consistently producing viable, high-quality queen bees.
Summary Table:
| Day | Key Action | Purpose/Risk |
|---|---|---|
| Day 0 | Graft larvae into cell cups. | Start the queen rearing process. |
| Day 5 | Check for acceptance; cull weak cells. | Ensure only the best, well-fed larvae develop. |
| Day 10 | Transfer cells to queenless hives. | Ideal time: Cell is mature but queen has not emerged, preventing destruction by a hatched queen. |
| Day 11+ | High risk of emergence. | Risk of losing entire batch if a queen hatches and destroys other cells. |
Produce stronger, more viable queens with the right equipment. HONESTBEE supplies commercial apiaries and beekeeping equipment distributors with the durable, wholesale-focused supplies needed for successful grafting and queen rearing. Let us help you build a more productive operation. Contact our experts today to discuss your needs!
Visual Guide
Related Products
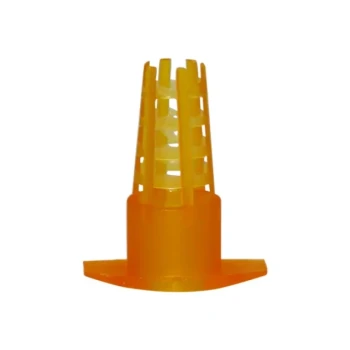
- Clear Black Plain Polystyrene Queen Bee Grafting Cell Cups No Lug for Bee Queen Cup
- Retractable Chinese Queen Rearing Grafting Tools Equipment
- Plastic Chinese Queen Grafting Tool for Bee Queen Rearing
- Stainless Steel Queen Grafting Tool for Beekeeping and Bee Queen Grafting
- Black 2 Pack Beekeeper Queen Grafting Tool for Bee Queen Larva Transferring Needle
People Also Ask
- What materials are used to make artificial queen cell cups for grafting? Beeswax vs. Plastic Guide
- Why is a diluted royal jelly solution applied to queen cell cups? Boost Acceptance in Artificial Grafting
- What are queen cups and how are they used in honey bee queen replacement? The Essential Guide to Queen Rearing
- What types of cell cups are commonly used in grafting? Plastic vs. Wax for Queen Rearing Success
- What roles do specialized queen cell cups play in royal jelly production? Optimize Your Hive's Secretion and Yield