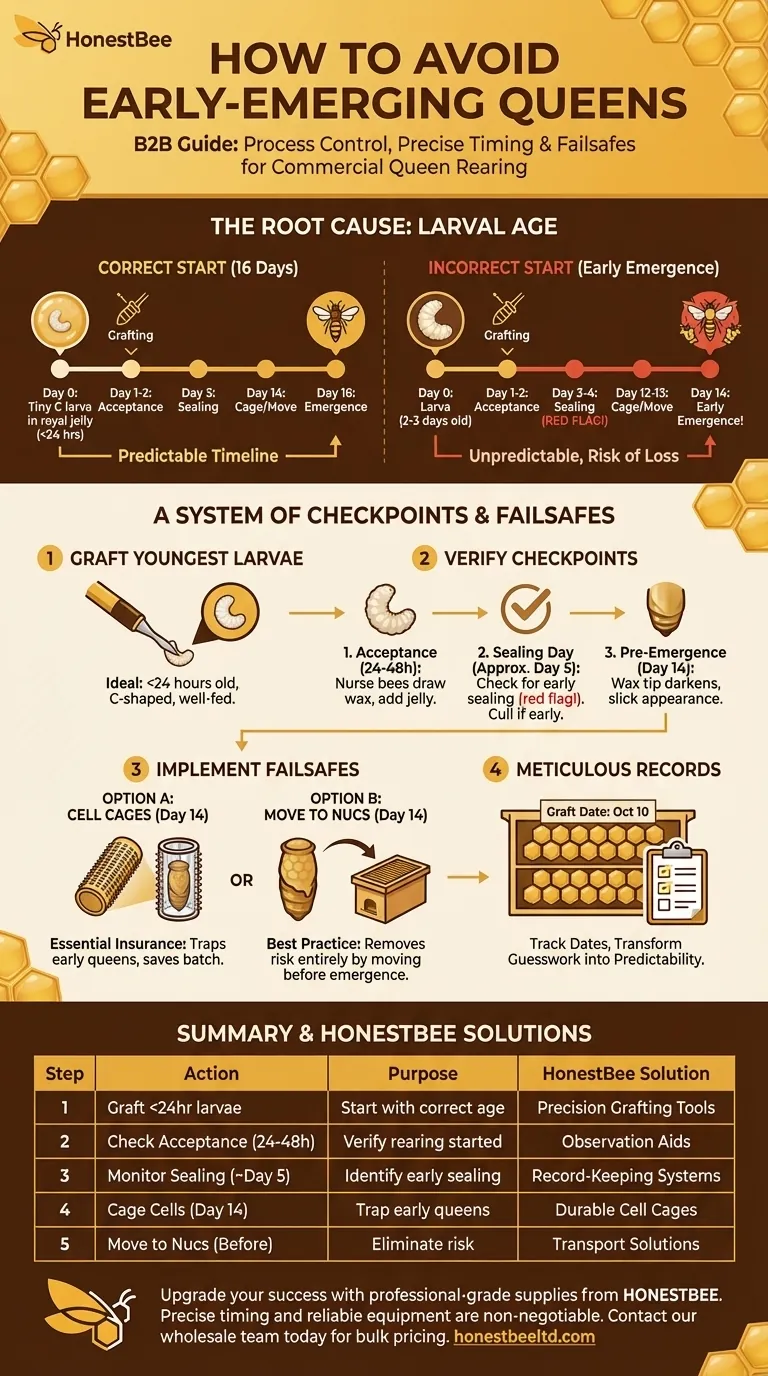
To prevent early-emerging queens, you must implement a strict system of process control centered on precise timing. The key is to graft only the youngest larvae, verify their development at critical checkpoints, and use physical barriers like cell cages as a final failsafe. Meticulous record-keeping underpins this entire process.
The core issue behind an "early" queen is not that she developed faster, but that the process began with a larva that was older than intended. Every subsequent step is a check or a failsafe designed to catch this initial timing error.
The Root Cause: Larval Age
The entire queen development timeline is predictable, but only if you start the clock at the right moment. An early emergence is almost always a sign that the starting point was misjudged.
Why Larval Age Is Everything
A worker bee larva is chosen to become a queen on its first day. The total development time from egg to emerged queen is about 16 days.
Grafting involves transferring a very young worker larva (ideally less than 24 hours old) into a queen cup. If you accidentally select a 2- or 3-day-old larva, you have effectively shortened the time it will spend in the cell by 1-2 days, leading to a queen that emerges "early" and destroys the other cells.
The Goal: Grafting the Youngest Larvae
The ideal larva is tiny, C-shaped, and floating in a generous pool of royal jelly. This indicates it is very young and has been well-fed, making it a prime candidate for raising as a queen.
A System of Checkpoints and Failsafes
Once you have grafted, your job shifts to verification. Each step is a checkpoint to confirm your timing was correct and a failsafe to protect your investment.
First Checkpoint: Larval Acceptance
Within 24-48 hours of grafting, check the cells. The nurse bees should have added a significant amount of royal jelly and begun drawing out the wax cup. This confirms they have accepted the larva and the queen-rearing process has begun.
Second Checkpoint: Sealing Day
Cells should be sealed by the nurse bees approximately 5 days after grafting. If you notice cells are sealed a day or two earlier, this is a major red flag.
An early sealing day is a definitive sign that you grafted an older larva. This cell must be culled or, at a minimum, isolated immediately.
Final Checkpoint: Pre-Emergence Inspection
About 24-48 hours before the expected emergence date (around day 14 or 15 from the egg), inspect the cells. The wax tip of the queen cell will darken and may appear slick as the virgin queen inside prepares to emerge.
Understanding the Critical Failsafes
Even with careful checks, mistakes can happen. Failsafes are not optional; they are essential insurance against losing your entire batch of queens.
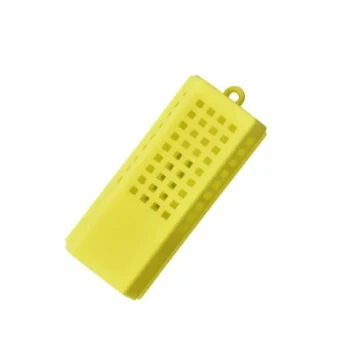
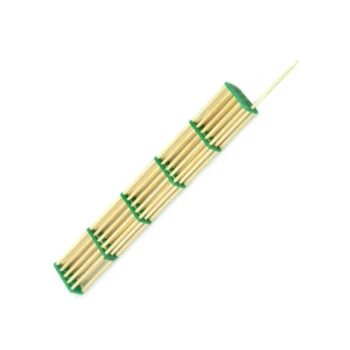
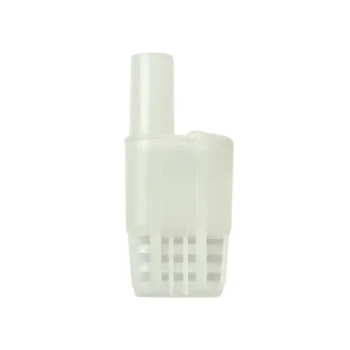
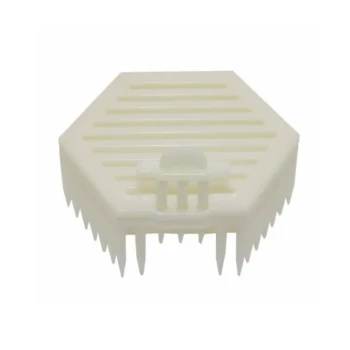
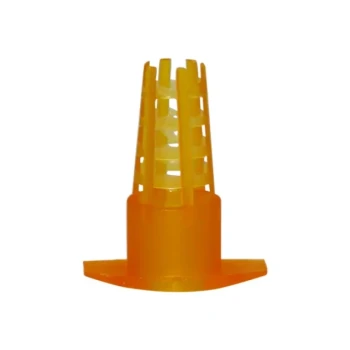
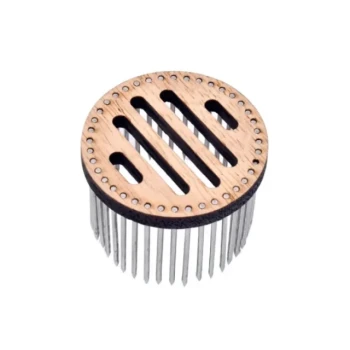
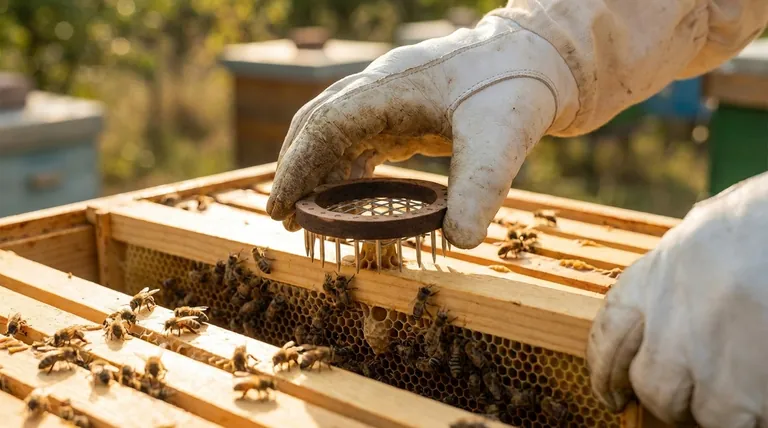
Caging Queen Cells
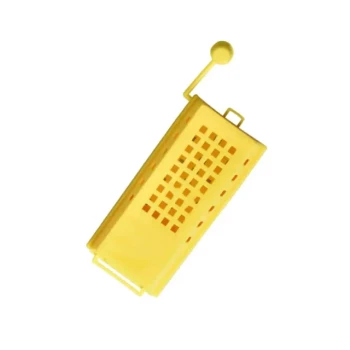
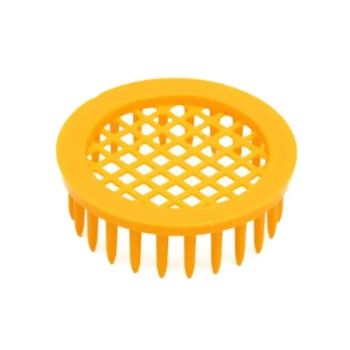
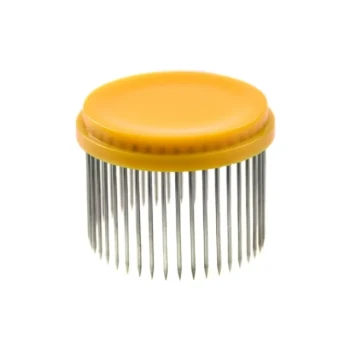
This is your most important insurance policy. Around day 14, place each queen cell into a "hair roller" cage or a similar commercial product.
If a queen emerges early, she is trapped within her cage. She cannot move through the colony to find and sting her sisters in their cells, thereby saving the rest of your batch.
Using Cells Before Emergence
The best practice is to move the sealed queen cells to their destination mating nucs or queenless hives on day 14. By moving them before they can emerge, you completely eliminate the risk of a virgin queen destroying the other cells in the cell builder colony.
The Power of Meticulous Records
Good records are not just about tracking genetics. A simple label with the grafting date on your cell bar frame is crucial.
This record-keeping allows you to know exactly when to perform your checks, when to cage the cells, and when to expect emergence. It transforms queen rearing from guesswork into a predictable process.
Making the Right Choice for Your Operation
Your approach should be dictated by your tolerance for risk and your operational goals.
- If your primary focus is maximizing success: Master the art of identifying and grafting only 12- to 24-hour-old larvae and keep impeccable records of your timing.
- If your primary focus is risk mitigation: Always cage your queen cells before they are due to emerge, as this is the only foolproof method to prevent a single early queen from destroying an entire batch.
- If your primary focus is efficiency: Plan your workflow to move all sealed cells into mating nucs on day 14, which removes the risk entirely and is the standard practice for most professionals.
By implementing this system of careful selection, verification, and failsafes, you gain control over the queen-rearing process and ensure a predictable, successful outcome.
Summary Table:
| Step | Action | Purpose |
|---|---|---|
| 1 | Graft larvae <24 hours old | Start with correct larval age |
| 2 | Check acceptance in 24-48h | Verify nurse bees have started rearing |
| 3 | Monitor sealing day (~5 days post-graft) | Identify early sealing as red flag |
| 4 | Cage cells on day 14 | Trap early queens to protect batch |
| 5 | Move cells to nucs before emergence | Eliminate risk of queen destruction |
Upgrade your queen-rearing success with professional-grade supplies from HONESTBEE.
For commercial apiaries and beekeeping equipment distributors, precise timing and reliable equipment are non-negotiable. HONESTBEE supplies the durable, precision-crafted cell cages, grafting tools, and record-keeping systems that form the backbone of the failsafe system described in this article.
Let us help you eliminate guesswork and protect your investment in queen production. Contact our wholesale team today to discuss your specific needs and bulk pricing.
Visual Guide
Related Products
- Professional Queen Cage with Sliding Gate and Feeder Plug
- Professional Queen Bee Introduction and Transport Cage
- Durable Galvanized Steel Spring Queen Bee Cage
- JZBZ Style Professional Battery Box with 20 Shipping Cages
- Professional Multi-Functional Queen Bee Cage
People Also Ask
- How is a queen bee released from a queen cage? Ensure Safe Colony Integration & Hive Success
- What is the step-by-step process for installing a queen bee's cage onto a frame? Ensure Hive Acceptance Safely
- Why are specialized queen bee cages used for the banking of mated queen bees? Maximize Commercial Apiary Storage Efficiency
- How long does it typically take for bees to adjust to a new queen? Master the 2-7 Day Requeening Window
- What should be done if the queen is still inside her cage when the hive is inspected? Master Queen Introduction Safety