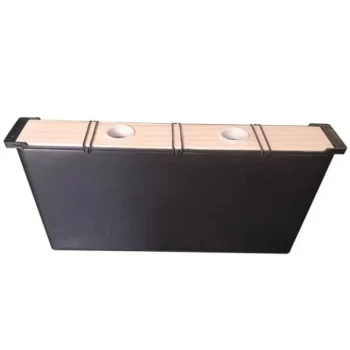
To waterproof a feeder box, the primary method is to seal all interior joints and surfaces using melted beeswax. This natural, non-toxic approach creates a durable, water-tight barrier that is safe for its intended use, especially in beekeeping.
The core principle of waterproofing a feeder box is not just applying a sealant, but ensuring a complete, gap-free barrier. This is achieved through a multi-step process of meticulously sealing the structural joints before coating the entire interior surface with beeswax.
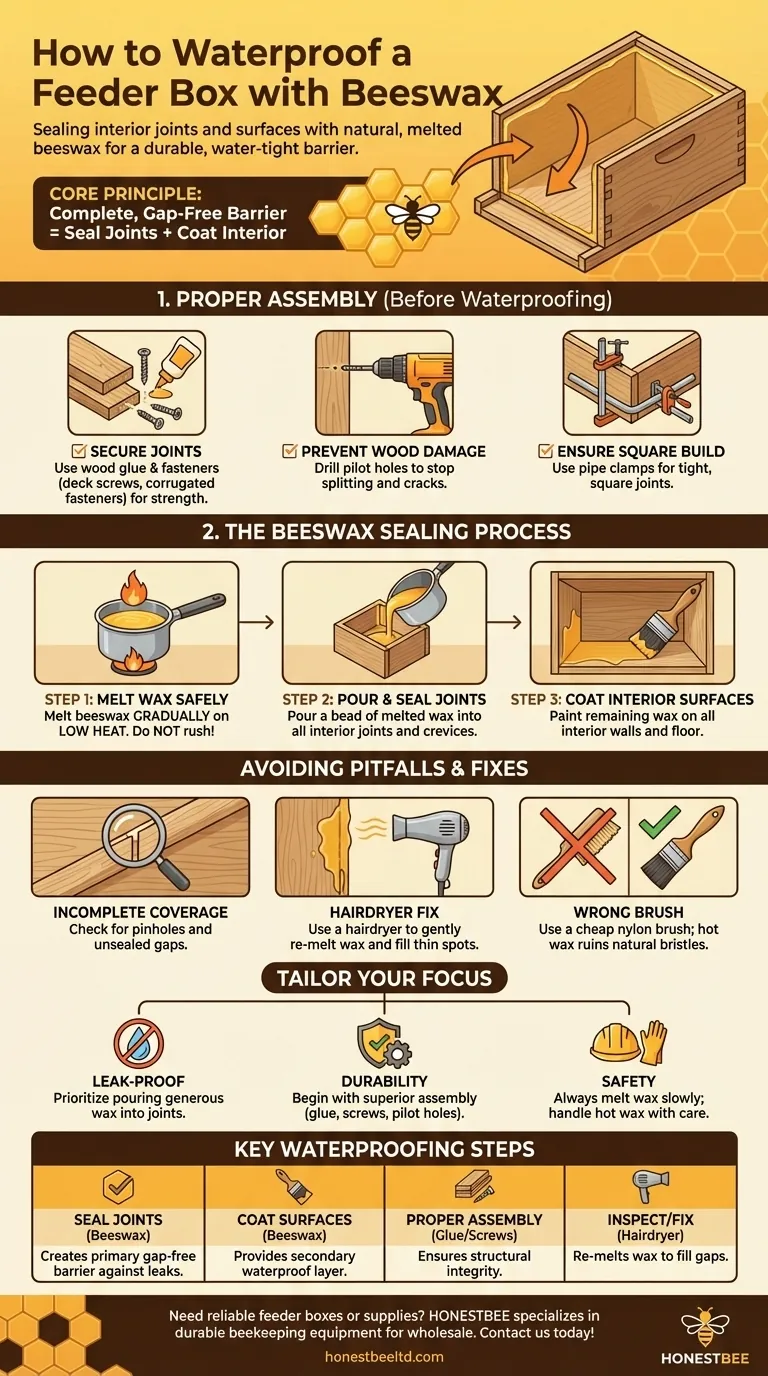
The Role of Proper Assembly
Before waterproofing can begin, the structural integrity of the box must be sound. A poorly constructed box will be difficult, if not impossible, to seal effectively.
Securing the Joints
The box components can be joined with deck screws, corrugated fasteners, or a combination of methods. Using a quality wood glue in the joints before fastening adds significant strength and helps to minimize initial gaps.
Preventing Wood Damage
Always drill pilot holes before driving screws. This is a critical step that prevents the wood from splitting, which would otherwise create large cracks that are difficult to seal with wax.
Ensuring a Square Build
Use pipe clamps to hold the box firmly together and ensure all corners are square during assembly. A square box has tighter, more consistent joints, making the waterproofing process much more effective.
The Beeswax Sealing Process
With a well-assembled box, you can proceed with the waterproofing. The key is to work methodically to create a continuous, unbroken seal.
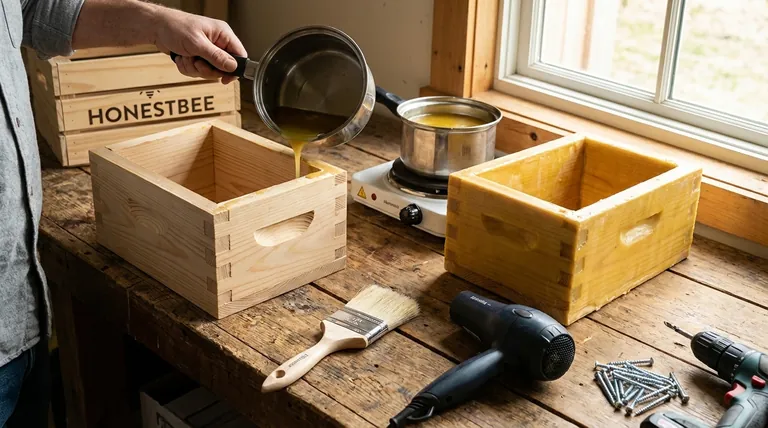
Step 1: Melt the Beeswax Safely
Place beeswax in a pot and melt it gradually on low heat. Rushing this process by using high heat is a significant safety hazard and can scorch the wax.
Step 2: Pour and Seal the Joints
Once the wax is fully melted, carefully pour a bead of wax directly into all interior joints and corners of the feeder box. The hot wax will flow into any small crevices, creating the primary seal.
Step 3: Coat the Interior Surfaces
Using an old nylon paintbrush, paint the remaining melted beeswax onto the entire interior floor and all interior walls. This creates a secondary waterproof layer over the wood itself.
Understanding the Trade-offs and Pitfalls
A successful outcome depends on avoiding common mistakes during the sealing process. Rushing these steps is the most common cause of leaks.
Incomplete Coverage
The most frequent error is failing to create a complete seal. Any pinhole or unsealed gap in a joint will eventually become a leak point.
The Hairdryer Fix
After the wax has cooled, carefully inspect every joint and surface. If you find any small gaps or areas where the seal looks thin, you can use a hairdryer to gently re-melt the wax in that spot, allowing it to flow and fill the void.
Using the Wrong Brush
Do not use a natural bristle brush. The hot wax will ruin it. A cheap nylon paintbrush is effective and can be considered disposable for this task.
Making the Right Choice for Your Goal
To ensure your feeder box is durable and leak-proof, tailor your focus to the most critical aspects of the project.
- If your primary focus is a leak-proof seal: Prioritize pouring a generous amount of wax directly into the joints first before painting the surfaces.
- If your primary focus is long-term durability: Begin with superior assembly, using both glue and screws with pilot holes to create the tightest possible joints.
- If your primary focus is safety: Always melt the beeswax slowly on low heat and handle the hot liquid wax with extreme care.
By combining careful construction with a meticulous wax application, you will create a perfectly sealed and reliable feeder box.
Summary Table:
| Key Waterproofing Steps | Purpose & Benefit |
|---|---|
| Seal Joints with Beeswax | Creates the primary, gap-free barrier against leaks. |
| Coat Interior Surfaces | Provides a secondary waterproof layer over the wood. |
| Use Proper Assembly (Glue & Screws) | Ensures structural integrity for a better seal. |
| Inspect and Fix with a Hairdryer | Allows for re-melting wax to fill any missed gaps. |
Need reliable, ready-to-use feeder boxes or high-quality beekeeping supplies?
As HONESTBEE, we specialize in supplying durable beekeeping equipment and supplies to commercial apiaries and distributors through our wholesale-focused operations. We understand the critical need for leak-proof, long-lasting equipment that saves you time and protects your investment.
Let us provide you with the dependable tools your operation depends on.
Contact HONESTBEE today for wholesale inquiries and expert support!
Visual Guide
Related Products
- Styrofoam Mini Mating Nuc Box with Frames Feeder Styrofoam Bee Hives 3 Frame Nuc Box
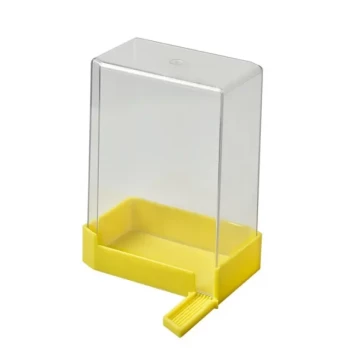
- Rapid Bee Feeder White Plastic 2L Round Top Feeder for 8 or 10-Frame Bee Hives
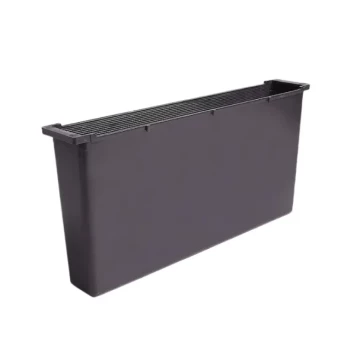
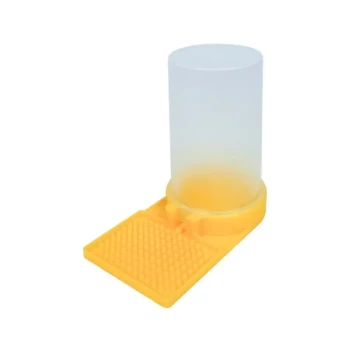
- HONESTBEE Entrance Bee Feeder Efficient Hive Front Liquid Feeding Solution for Beekeeping
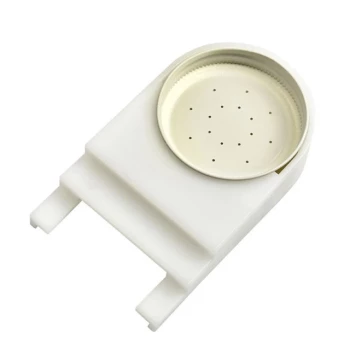
- White Plastic 0.5L Beekeeping Entrance Feeder for Bees
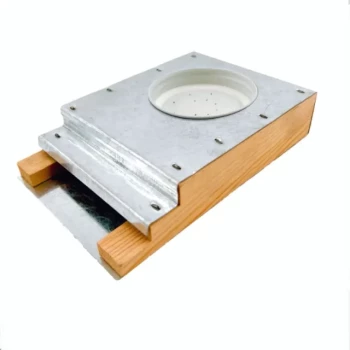
- Boardman Entrance Bee Feeder Durable Galvanized Steel and Wood Construction for Beekeeping
People Also Ask
- How are nuc boxes used in queen rearing? The Essential Tool for Reliable Queen Mating
- How long can bees be kept in a nuc box? Expert Timeline for Hive Transfer
- What are nuc boxes used for in beekeeping? Essential Tools for Queen Rearing and Colony Growth
- What are the common sizes and types of nuc boxes? A Guide to the Perfect Fit for Your Apiary
- What are the common sizes and material types of nuc boxes? Choose the Best Housing for Your Colonies