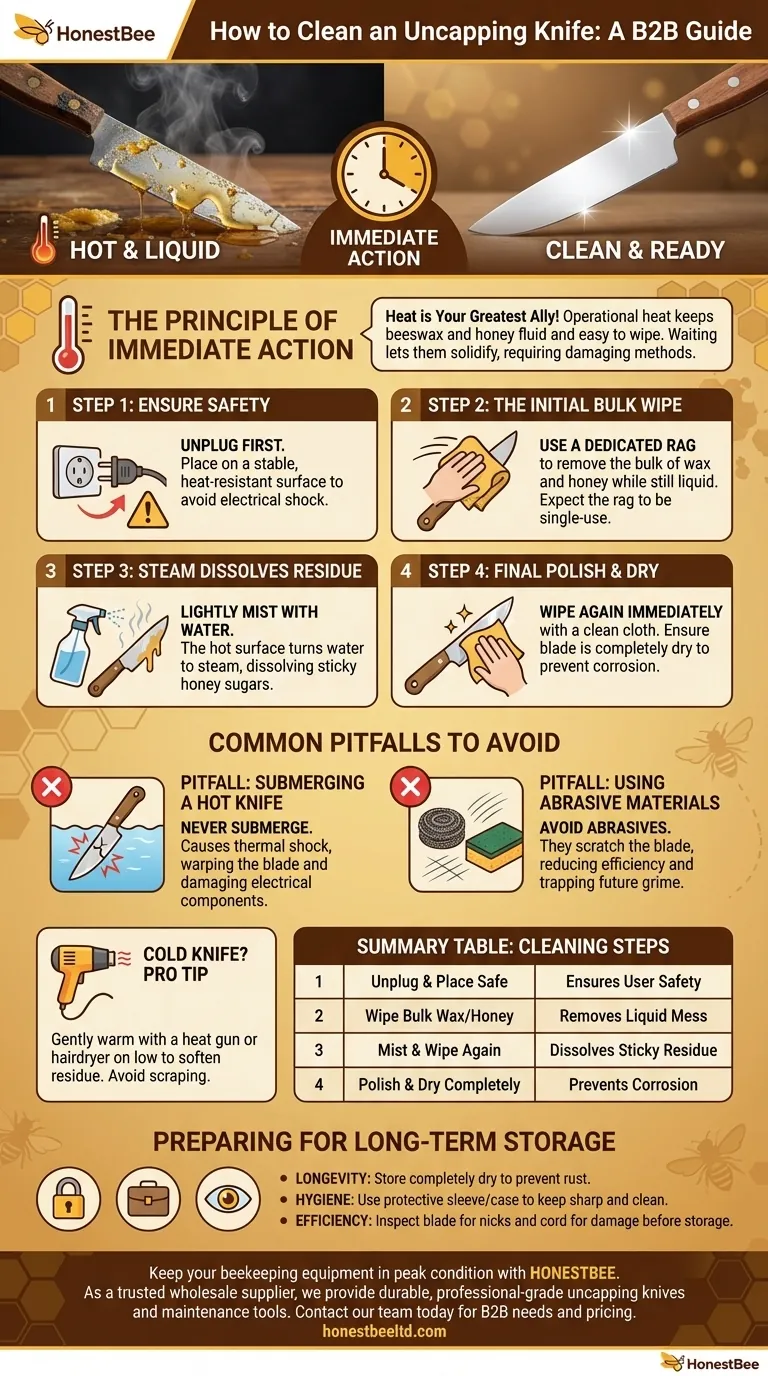
To properly clean an uncapping knife, you must act immediately after use while the blade is still hot. Wipe the hot knife with a dedicated rag or paper towels to remove the bulk of the wax and honey. For the remaining sticky residue, lightly spray the blade with water and wipe it clean again, allowing the knife's residual heat to steam away the honey before the water evaporates.
The most critical factor in cleaning an uncapping knife is not the tool you use, but the timing. Addressing the cleanup while the knife is hot transforms a difficult, sticky chore into a simple and effective wipe-down.

The Principle of Immediate Action
Cleaning an uncapping knife is a lesson in thermodynamics. The state of the wax and honey—liquid or solid—determines the difficulty of the job. Your goal is to work with them in their liquid state.
Why Heat is Your Greatest Ally
The operational heat of the knife keeps both the beeswax and honey in a fluid, low-viscosity state. In this condition, they have very little adhesion and can be wiped away with minimal effort.
The Problem with Waiting
Once the knife cools, the beeswax solidifies into a hard, stubborn coating. The honey thickens into a glue-like substance. Removing this combination requires scraping, harsh solvents, or reheating the entire mess, all of which are far more time-consuming and risk damaging the tool.
A Step-by-Step Cleaning Protocol
Follow this procedure immediately after you finish uncapping your frames for a fast, safe, and effective cleaning.
Step 1: Ensure Safety
First, unplug the electric knife. Although you need its residual heat, you must remove the risk of electrical shock, especially as you will be introducing water. Place the hot knife on a stable, heat-resistant surface.
Step 2: The Initial Bulk Wipe
Using a thick rag or sturdy paper towels dedicated to this task, carefully wipe down both sides of the blade. The goal here is to remove the majority of the visible wax and honey. This material will make the rag unusable for anything else, so consider it a "wax rag."
Step 3: Use Steam to Dissolve Residue
With the bulk material removed, you will see a thin, sticky film of honey. Use a spray bottle to apply a light mist of water to the blade. The hot surface will instantly turn this water into a small amount of steam, which dissolves the remaining sugars.
Step 4: The Final Polish and Dry
Immediately wipe the blade again with a clean part of your rag or a new paper towel. This removes the dissolved honey solution. It is crucial to ensure the blade is completely dry to prevent water spots or potential corrosion during storage.
Common Pitfalls to Avoid
Proper technique not only makes cleaning easier but also protects your equipment from damage. Avoiding these common mistakes is critical for the longevity of your tool.
Pitfall: Submerging a Hot Knife
Never plunge a hot electric knife into a sink of water. The extreme temperature change, known as thermal shock, can warp or even crack the metal blade. Furthermore, submerging the tool risks irreversible damage to the heating element and electrical components.
Pitfall: Using Abrasive Materials
Avoid using steel wool, abrasive sponges, or harsh scouring powders. These materials will scratch the surface of the blade. A scratched blade is less effective at slicing through cappings and ironically becomes more difficult to clean in the future as wax and honey get trapped in the abrasions.
What If the Knife Is Already Cold?
If you've waited too long, do not resort to scraping. You can carefully use a heat gun or hairdryer on a low setting to gently warm the blade, softening the wax and honey enough to wipe them away. This is less effective than cleaning it while hot but far safer than improper methods.
Preparing Your Knife for Long-Term Storage
A clean knife is only half the battle. Proper storage ensures it is ready for your next harvest.
- If your primary focus is longevity: Ensure the knife is completely dry before storing it to prevent any risk of rust or corrosion on the blade or electrical contacts.
- If your primary focus is hygiene: Store the clean knife in a protective sleeve or its original case to keep the blade sharp and free from dust between seasons.
- If your primary focus is next season's efficiency: Before storing, perform a quick visual inspection of the blade for nicks and the power cord for any signs of wear or damage.
A few moments of proper care after each use guarantees your equipment remains a reliable asset for years to come.
Summary Table:
| Step | Action | Key Benefit |
|---|---|---|
| 1 | Unplug knife; place on heat-safe surface. | Ensures user safety. |
| 2 | Wipe blade with a dedicated rag. | Removes bulk wax/honey while liquid. |
| 3 | Lightly mist with water; wipe again. | Steam dissolves sticky honey residue. |
| 4 | Polish and dry blade completely. | Prevents corrosion and water spots. |
Keep your beekeeping equipment in peak condition with HONESTBEE. As a trusted wholesale supplier for commercial apiaries and distributors, we provide the durable, professional-grade uncapping knives and maintenance tools you rely on. Let our expertise help you streamline your operation. Contact our team today to discuss your equipment needs and wholesale pricing.
Visual Guide
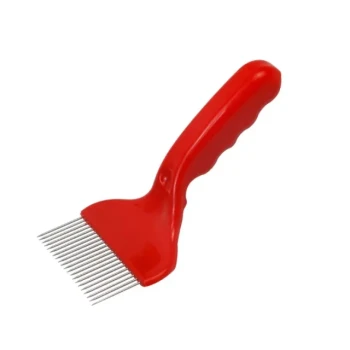
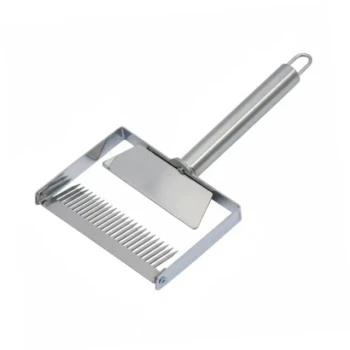
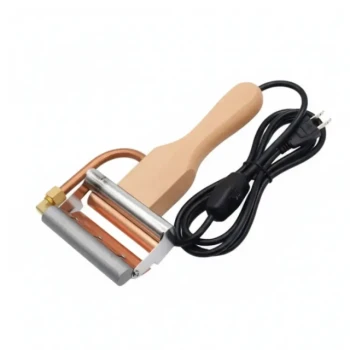
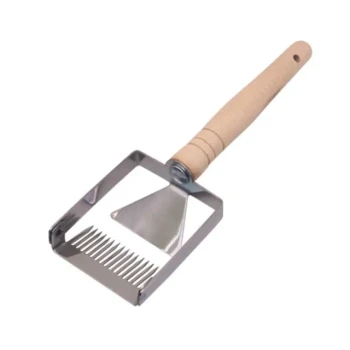
Related Products
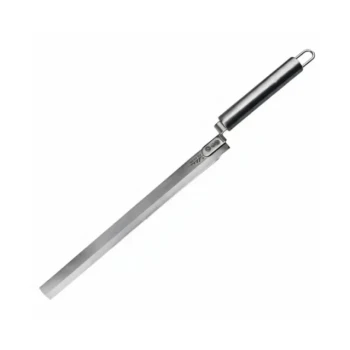
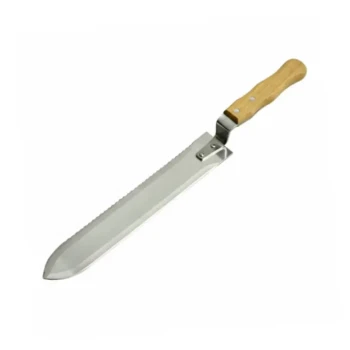
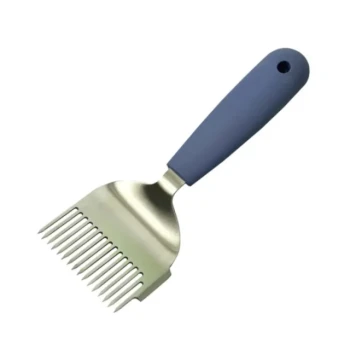
- Professional All-Stainless Steel Uncapping Knife for Beekeeping
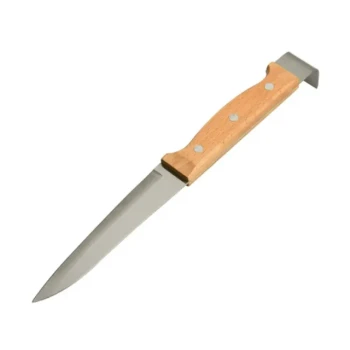
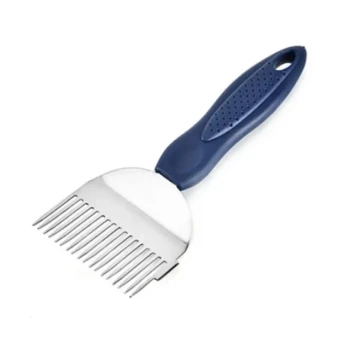
- Professional Z-Shaped Multi-Function Uncapping Knife for Beekeeping
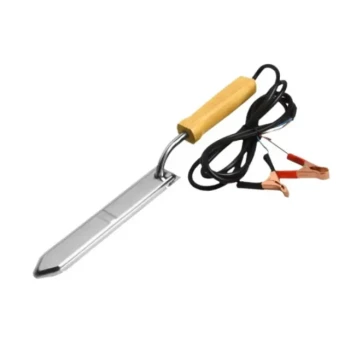
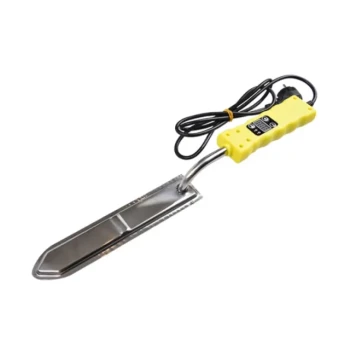
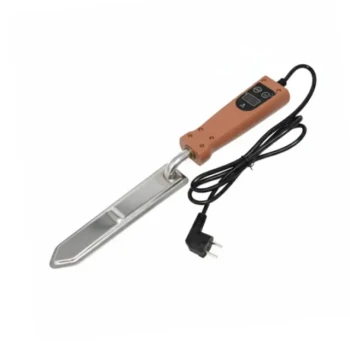
- Professional 12V DC Electric Uncapping Knife for Beekeeping
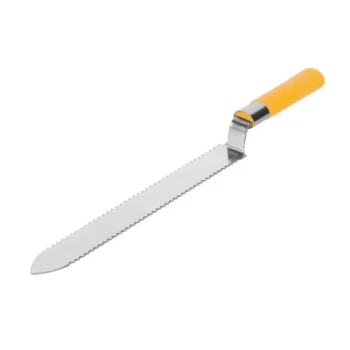
- Professional Serrated Double-Sided Uncapping Knife for Beekeeping
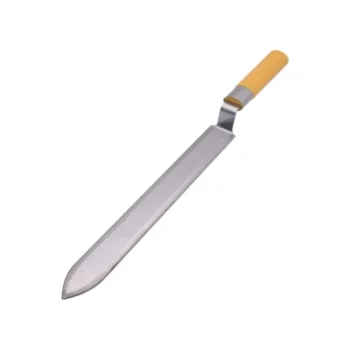
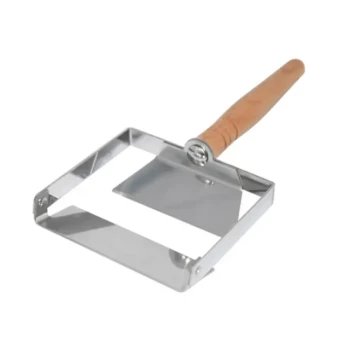
- Professional Stainless Steel Double-Sided Honey Uncapping Knife
People Also Ask
- What is the purpose of an uncapping knife in the honey extraction workflow? Maximize Yield and Protect Your Combs
- Why is a disinfected uncapping knife required when preparing honey source samples? Ensure Precise Analysis Accuracy
- What is the function of uncapping knives or uncapping forks? Expert Tools for Honey Harvesting Productivity
- What is the function of an uncapping knife in the honey extraction workflow? Boost Your Harvest Efficiency
- What is the function of an uncapping knife in the honey extraction process? Unlock Efficiency and Preserve Comb Integrity