Grafting is the precise, manual process of transferring a chosen honeybee larva from its original worker cell into an artificial queen cell cup. This technique is used by beekeepers to select desirable genetics and raise a large number of new queen bees on demand.
The core principle of grafting is not just the physical transfer, but the selection of an extremely young larva (under 24 hours old) and moving it completely undisturbed on its original bed of royal jelly. Success hinges entirely on this delicate combination of timing and technique.
The Goal: Simulating a Queen-Rearing Impulse
Bees naturally raise new queens when the old one is failing (supersedure) or when the colony swarms. Grafting essentially hijacks this natural impulse.
Creating an Artificial "Emergency"
By moving a chosen larva into a specially designed queen cup and placing it in a strong, queenless colony (or "cell builder"), you signal to the worker bees that they need to raise a new queen.
Selecting for Desired Traits
This process gives the beekeeper complete control over the genetics of the next generation. Larvae are selected from a "breeder colony" that exhibits desirable traits like gentleness, disease resistance, or high honey production.
Preparing for a Successful Graft
Proper preparation is more than half the battle. A rushed or disorganized setup will almost certainly lead to poor results.
Selecting the Larvae Frame
Choose a frame from your breeder colony that contains larvae of the correct age. When ready to graft, gently brush all the bees off this frame and take it to your grafting location.
Establishing Your Workspace
Position the frame so that good light illuminates the inside of the cells, making the tiny larvae visible. Avoid working in direct sunlight, as this can quickly dry out the delicate larvae. Your posture should be comfortable to ensure a steady hand.
The Grafting Process: A Step-by-Step Guide
The physical act of grafting requires a steady hand and a focus on gentleness. The larva must not be touched or harmed in any way.
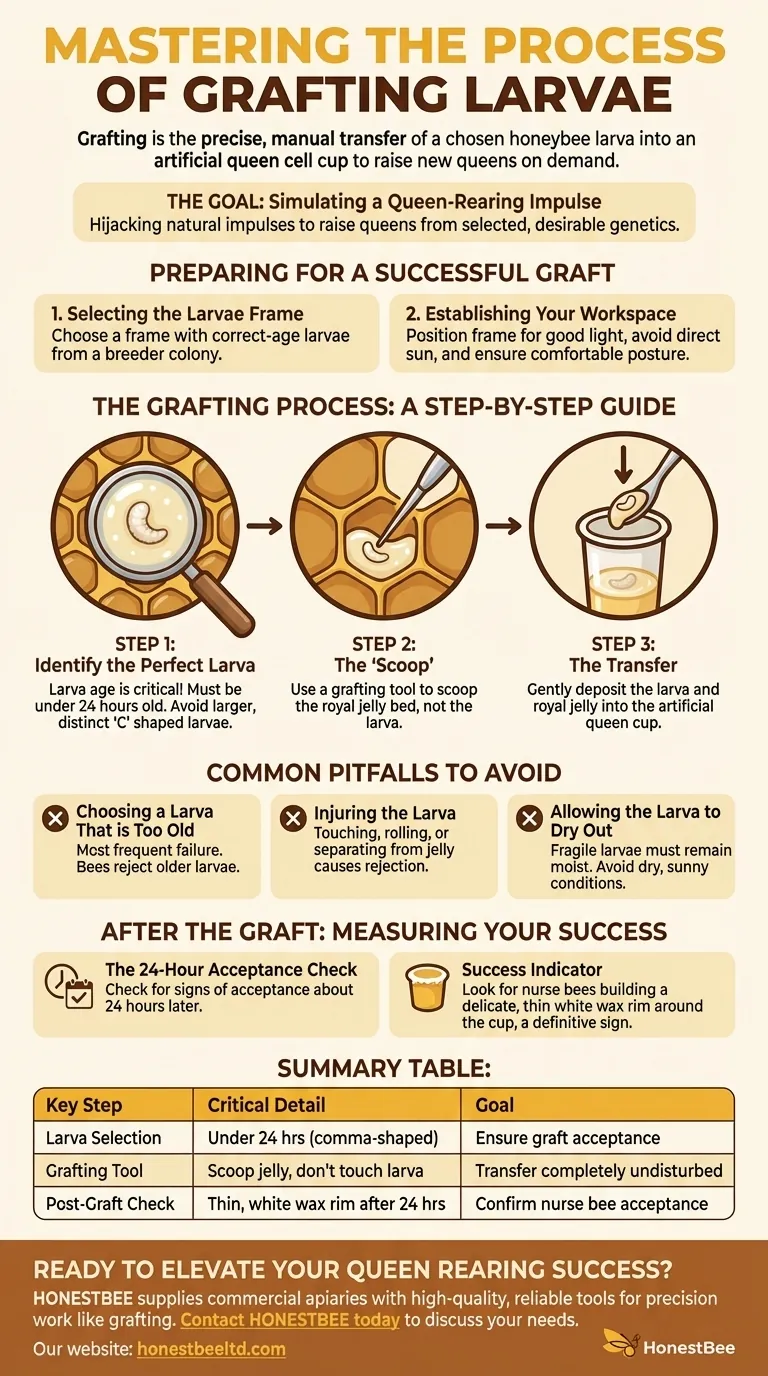
Step 1: Identify the Perfect Larva
The single most critical factor is larva age. You must select a larva that is less than 24 hours old.
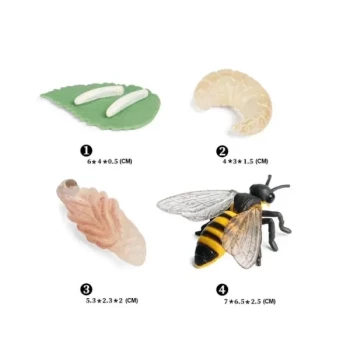
Look for a larva that is barely larger than an egg. It will be a very small, slightly curved "comma" shape, floating in a generous pool of milky royal jelly. Larvae that are larger and formed into a more distinct "C" shape are too old.
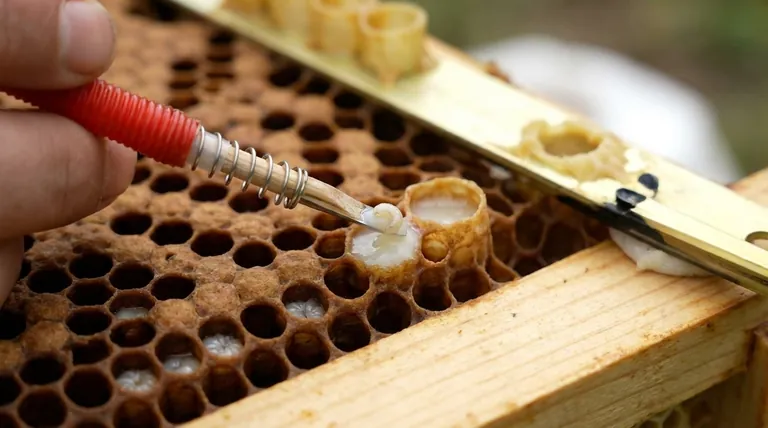
Step 2: The "Scoop"
Using a specialized grafting tool, approach the larva. Slide the tip of the tool down the inside wall of the worker cell.
The goal is to follow the curve of the cell and slip the tool underneath the royal jelly, lifting the larva on its "raft" of food. You are scooping the jelly, not the larva itself.
Step 3: The Transfer
Gently lift the tool, with the larva and jelly on its tip, out of the worker cell.
Move it over to the artificial queen cup. Deposit the larva by drawing the tip of the tool gently across the base of the cup, leaving the larva and its royal jelly behind.
Common Pitfalls to Avoid
With practice, a success rate of over 80% is achievable. Most failures can be traced back to a few common mistakes.
Choosing a Larva That is Too Old
This is the most frequent cause of failure. Bees are very particular and will reject larvae that are too old to be viable queens. If in doubt, choose a larva that seems too small.
Injuring the Larva
Touching the larva with the tool, rolling it, or separating it from its bed of royal jelly will cause the bees to reject and remove it. The transfer must be completely seamless and undisturbed.
Allowing the Larva to Dry Out
The larva is incredibly fragile and must remain moist. Working too slowly in a dry environment or under direct sun can desiccate the larva, making it non-viable.
After the Graft: Measuring Your Success
Once you have grafted your desired number of cells, the cell bar is placed into a strong "cell builder" colony to be cared for.
The 24-Hour Acceptance Check
About 24 hours after grafting, you can check for acceptance. Successful grafts will be easy to spot.
The nurse bees will have accepted the larva and started building out the sides of the cup with fresh, white wax. This delicate, thin wax rim is a definitive sign that they have begun the process of raising your graft into a new queen.
Making the Right Choice for Your Goal
- If your primary focus is learning the technique: Concentrate exclusively on identifying the smallest, comma-shaped larvae and ignore all others.
- If you are struggling with low acceptance rates: Perfect your tool-handling to ensure the larva is always lifted and placed on its bed of royal jelly without being touched or rolled.
- If you want to improve efficiency and consistency: Establish a dedicated, well-lit, and comfortable grafting station to minimize environmental stress and physical mistakes.
Mastering this delicate skill empowers you to actively manage and improve the genetic quality of your apiary.
Summary Table:
| Key Step | Critical Detail | Goal |
|---|---|---|
| Larva Selection | Choose larvae under 24 hours old (small, comma-shaped) | Ensure bees accept the graft |
| The Grafting Tool | Scoop the larva on its bed of royal jelly, do not touch it | Transfer larva completely undisturbed |
| Post-Graft Check | Look for a thin, white wax rim on the cell after 24 hours | Confirm acceptance by the nurse bees |
Ready to Elevate Your Queen Rearing Success?
Mastering grafting is fundamental to advancing your beekeeping operation. HONESTBEE supplies commercial apiaries and beekeeping equipment distributors with the high-quality, reliable tools needed for precision work like grafting. From durable grafting tools to specialized cell builders, our wholesale-focused operations ensure you get the professional-grade equipment required for consistent results and improved genetic management.
Contact HONESTBEE today to discuss how our supplies can support your queen rearing goals and enhance the productivity of your operation.
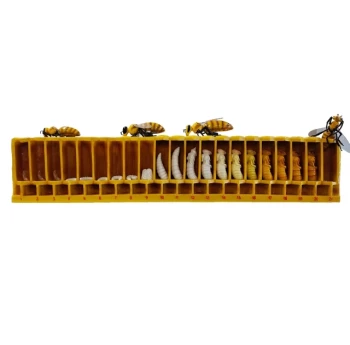
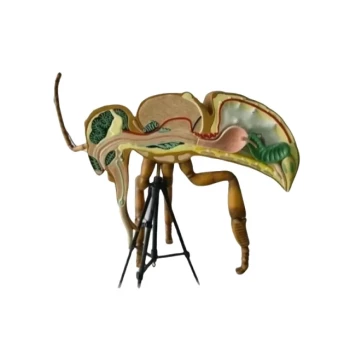
Visual Guide
Related Products
- Plastic Beekeeping Honey Bee Larvae Grafting Tools for Queen Rearing and Chinese Grafting
- Stainless Steel Beekeeping Queen Grafting Tool for Honey Bee Rearing
- Black 2 Pack Beekeeper Queen Grafting Tool for Bee Queen Larva Transferring Needle
- Retractable Chinese Queen Rearing Grafting Tools Equipment
- Plastic Chinese Queen Grafting Tool for Bee Queen Rearing
People Also Ask
- What is the process of grafting in honey bee queen rearing? A Master Guide for Commercial Success
- What is the proper technique for grafting a honey bee larva? Master Precision Queen Rearing Techniques
- What is the significance of a Larvae Grafting Tool in Royal Jelly production? Unlock Maximum Hive Yield
- Why is it necessary for migratory beekeeping enterprises to utilize professional queen bee rearing tools? Boost Resilience
- What is the primary function and technical requirement of a larvae grafting tool? Master Precision Queen Rearing