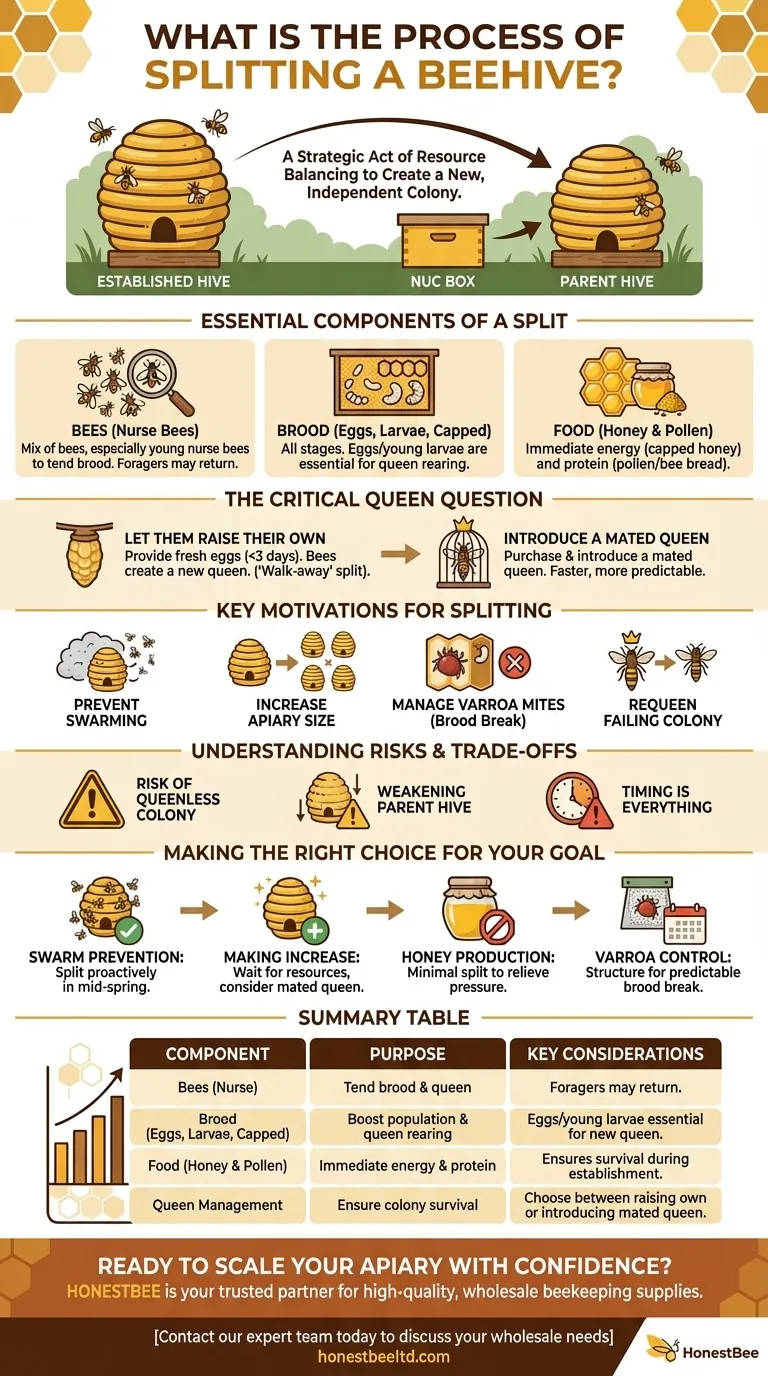
To split a beehive is to intentionally create a new, separate colony by taking a portion of the resources—bees, brood, and food—from an established hive. This new collection of resources, typically housed in a smaller "nucleus" or "nuc" box, is given what it needs to grow into a full-sized, independent colony.
A successful hive split is fundamentally an act of resource balancing. It's not merely about dividing bees; it's about ensuring both the parent hive and the new split have a viable queen (or the means to create one) and enough bees, brood, and food to thrive independently.
The Core Principle: Replicating a Viable Colony
A hive split mimics the honey bee's natural method of reproduction: swarming. By dividing the colony yourself, you control the process to achieve specific management goals.
The Essential Components of a Split
To create a self-sufficient new colony, you must transfer a balanced portfolio of resources from the parent hive.
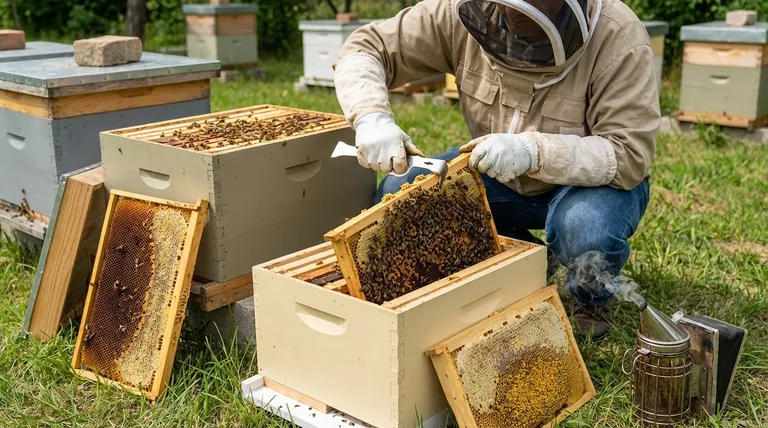
- Bees: You need a mix of bees, but nurse bees are the most critical. These are the younger bees that tend to the brood and queen. Forager bees will often fly back to the original hive location.
- Brood: A healthy split requires frames containing brood in all stages. Eggs and young larvae are essential for the new colony to raise its own queen if necessary, while capped brood will soon emerge to boost the new colony's population.
- Food: The new colony needs immediate access to energy and protein. This means transferring frames that contain both capped honey (carbohydrates) and pollen or "bee bread" (protein).
The Critical Queen Question
The most crucial variable in any split is the queen. A colony cannot survive without one. You have two primary paths to ensure the new split is "queenright."
- Let Them Raise Their Own: If you provide the new split with frames containing fresh eggs (less than three days old), the worker bees can select a larva and feed it royal jelly to create a new queen. This is known as a "walk-away" split.
- Introduce a Mated Queen: You can purchase a mated queen from a supplier and introduce her to the new split. This method is faster and more predictable, as the new queen can begin laying eggs almost immediately.
Key Motivations for Splitting a Hive
Beekeepers split hives for several strategic reasons beyond simply wanting more bees.
To Prevent Swarming
A strong, congested hive is likely to swarm in the spring. Splitting the hive relieves this population pressure, resetting the bees' impulse to leave and preserving your workforce.
To Increase Your Apiary Size
Splitting is the most sustainable and cost-effective way to grow your number of colonies. A beekeeper can turn one strong hive into two or even three new colonies in a single season.
To Manage Varroa Mites
Creating a split allows you to intentionally create a "brood break"—a period where there is no capped brood in the hive. Because Varroa mites reproduce inside capped brood cells, this break disrupts their lifecycle and allows for highly effective mite treatments.
To Requeen an Old or Failing Colony
If a hive has an old or poorly performing queen, you can perform a split and introduce a new, purchased queen with better genetics into one half.
Understanding the Trade-offs and Risks
While powerful, splitting a hive is not without risks that must be carefully managed.
Risk of a Queenless Colony
The greatest risk is that the queenless half of your split fails to raise a new queen. This can happen due to poor weather, a lack of viable eggs, or other issues. A failed queen means the colony will dwindle and die if you don't intervene.
Weakening the Parent Hive
Every frame of bees and brood you remove from the parent hive reduces its population. A heavy split can significantly weaken the original colony, drastically reducing its honey production for the season and making it more vulnerable to pests.
Timing is Everything
Splitting a hive requires strong resource availability. Performing a split too early in the spring before the nectar flow begins can cause both colonies to starve. Splitting too late in the season may not give the new colony enough time to build up its population and food stores for winter.
Making the Right Choice for Your Goal
Your reason for splitting the hive should dictate your method and timing.
- If your primary focus is swarm prevention: Split the hive proactively in mid-spring as soon as you see signs of congestion, like a high bee population and the creation of queen cups.
- If your primary focus is making increase: Wait until the hive is booming with resources, then perform a larger split and consider introducing a mated queen to accelerate the new colony's growth.
- If your primary focus is honey production: Do not split your strongest hives, or perform only a minimal split (2-3 frames) to relieve swarm pressure while retaining a maximum foraging workforce.
- If your primary focus is Varroa control: Structure your split to ensure one half goes through a predictable brood break, allowing you to apply mite treatments when they are most effective.
By understanding these principles, you can transform a hive split from a simple task into a strategic tool for managing a healthy and productive apiary.
Summary Table:
| Component | Purpose | Key Considerations |
|---|---|---|
| Bees (Nurse Bees) | Tend to brood and queen | Forager bees may return to the original hive. |
| Brood (Eggs, Larvae, Capped) | Boost population & allow for queen rearing | Eggs/young larvae are essential for raising a new queen. |
| Food (Honey & Pollen) | Provide immediate energy and protein | Ensures the new colony's survival while it establishes. |
| Queen Management | Ensure colony survival | Choose between letting bees raise a queen or introducing a mated queen. |
Ready to Scale Your Apiary with Confidence?
A successful split depends on having the right equipment and supplies. HONESTBEE is your trusted partner, supplying commercial apiaries and beekeeping equipment distributors with the high-quality, wholesale-focused supplies needed for every stage of hive management—from nuc boxes and frames to protective gear and mite treatments.
Let us help you build a stronger, more productive operation. Contact our expert team today to discuss your wholesale needs and optimize your beekeeping strategy.
Visual Guide
Related Products
- Beehive Handle and Frame Rest Cutting Machine: Your Specialized Hive Machine
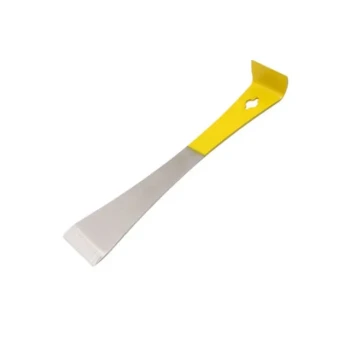
- HONESTBEE Professional Long Handled Hive Tool with Precision Cutting Blade
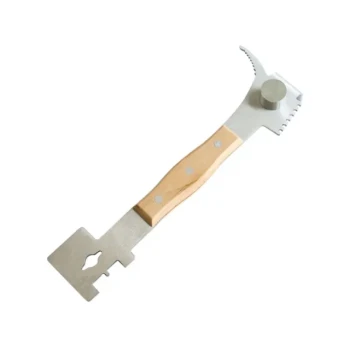
- Multi-Function Hive Tool with Integrated Hammer for Beekeeping
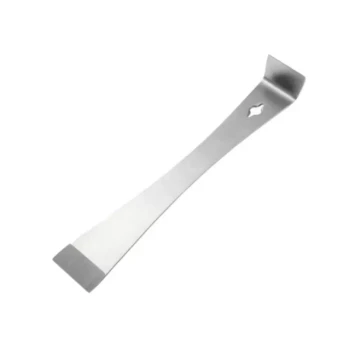
- Professional Dual-End Stainless Steel Hive Tool for Beekeeping
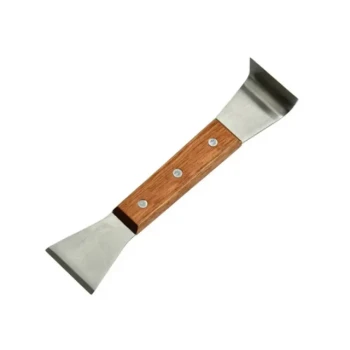
- Professional Multi-Function Stainless Steel Hive Tool
People Also Ask
- What is the importance of specialized beehive-making machinery? Ensure Precision for Sensor-Based Hive Monitoring
- How do specialized beehive handling machines contribute to efficiency? Streamline Your Mobile Beekeeping Logistics
- How do professional beehive and frame manufacturing machines contribute to commercial apiary management? Boost Efficiency
- What is the economic significance of hive and frame manufacturing machinery? Maximize ROI in Commercial Beekeeping
- How do bee hive handles facilitate the evaluation of food stores? Use the Lift Test for Winter Survival