To properly incorporate a queen excluder, you must place it directly on top of your uppermost brood box, right before adding the honey supers. The key to success is not the installation itself, but ensuring your hive is strong enough and that you add the excluder at the beginning of a major nectar flow, not when temperatures are too cold.
The success of a queen excluder depends entirely on correct timing and hive condition. Using it on a weak colony or adding it too early in the season can hinder hive growth and even endanger your queen.
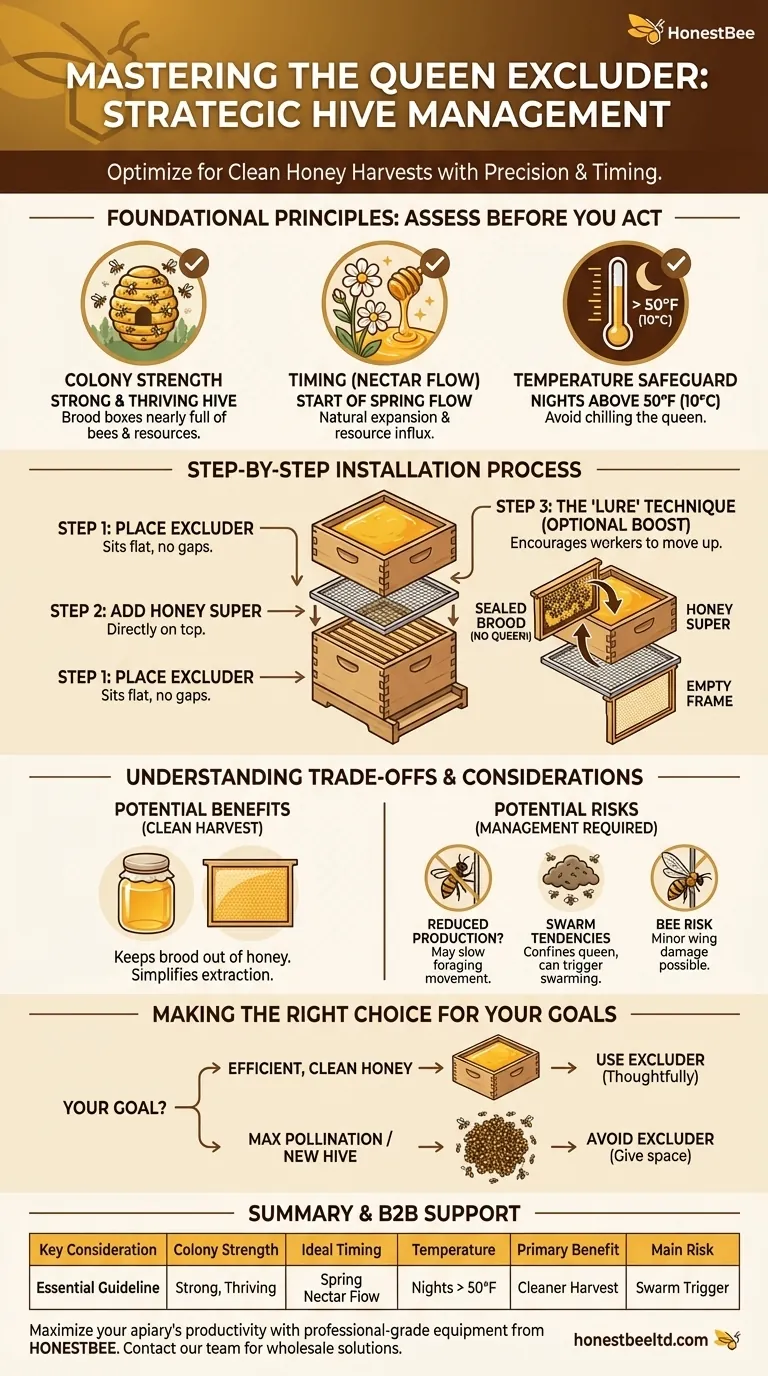
Foundational Principles: When to Use an Excluder
Before you even touch an excluder, you must assess the state of your colony. Its readiness is the single most important factor for success.
Assess Your Colony's Strength
A queen excluder should only be used on a strong, thriving hive.
Before adding an excluder, inspect your brood boxes. They should be nearly full of bees, brood, pollen, and honey. A weak or small hive will struggle with the barrier and may not have the foraging force to build up honey stores effectively.
Timing is Everything: The Nectar Flow
The ideal time to add an excluder is at the beginning of the main spring nectar flow.
This is when the colony is naturally expanding and workers are motivated to move upward into the honey supers to store the incoming resources.
Heed the Temperature
Never add an excluder when nighttime temperatures are consistently below 50°F (10°C).
If placed too early, the excluder can trap the queen in the lower, colder part of the hive, away from the main cluster. This separation can cause her to freeze and die.
The Step-by-Step Installation Process
Once your hive is strong and the nectar is flowing, the process of adding the excluder is straightforward. You will need your hive tool to gently separate the hive bodies.
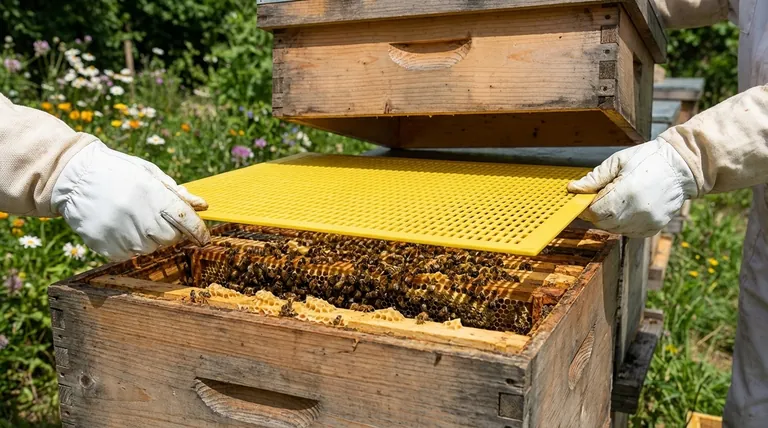
Step 1: Place the Excluder
Carefully place the queen excluder so it sits flat and securely on top of the uppermost brood box. Ensure there are no gaps around the edges where the queen could slip through.
Step 2: Add the Honey Super
Position your honey super (the box with frames for honey collection) directly on top of the queen excluder.
Step 3: Use the 'Lure' Technique for Best Results
To encourage worker bees to move up through the barrier, you can "lure" them into the honey super.
Gently remove one or two frames containing sealed brood from the brood box. Crucially, confirm the queen is not on these frames. Place these brood frames in the center of the honey super above the excluder, and replace them in the brood box below with empty foundation or drawn comb. The nurse bees will move up through the excluder to care for the brood, drawing the rest of the workforce with them.
Understanding the Trade-offs
A queen excluder is a management tool, and like any tool, it comes with benefits and potential downsides that require your attention.
Potential for Reduced Honey Production
For some beekeepers, the excluder acts as a barrier that can slow down the movement of foraging bees. This bottleneck can sometimes reduce the overall efficiency of honey storage.
Increased Swarm Tendencies
By confining the queen to the brood box, you limit her laying space. If the brood nest becomes too crowded with bees and resources, it can be a powerful trigger for the colony to begin swarm preparations.
Risk to Bees
The metal or plastic wires of the excluder can sometimes be rough on bees, potentially causing minor damage to their wings as they pass through repeatedly over the season.
Making the Right Choice for Your Hive
A queen excluder is not a mandatory piece of equipment; it is a strategic choice based on your beekeeping goals.
- If your primary focus is efficient, clean honey harvesting: An excluder is an invaluable tool for keeping brood and the queen out of your honey frames.
- If your primary focus is maximizing colony population for pollination: You might choose to avoid an excluder to give the queen unrestricted laying space.
- If you are managing a new or developing hive: Do not use an excluder until the colony is robust and fully occupies its brood boxes.
Used thoughtfully, a queen excluder gives you precise control over your hive's structure and simplifies your honey harvest.
Summary Table:
| Key Consideration | Essential Guideline |
|---|---|
| Colony Strength | Use only on a strong, thriving hive with nearly full brood boxes. |
| Ideal Timing | Install at the start of the main spring nectar flow. |
| Temperature Warning | Do not use if nighttime temps are consistently below 50°F (10°C). |
| Primary Benefit | Keeps brood out of honey supers for a cleaner harvest. |
| Main Risk | Can trigger swarming if the brood nest becomes too crowded. |
Maximize your apiary's productivity with professional-grade equipment from HONESTBEE.
As a trusted wholesale supplier to commercial apiaries and beekeeping equipment distributors, we provide the durable, reliable tools you need for large-scale success. Our queen excluders are designed for easy use and long-term performance in demanding conditions.
Let our expertise support your operation. Contact our team today to discuss your wholesale needs and discover how HONESTBEE can help your business thrive.
Visual Guide
Related Products
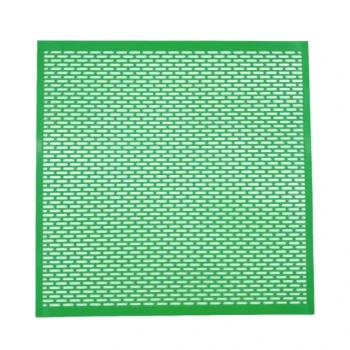
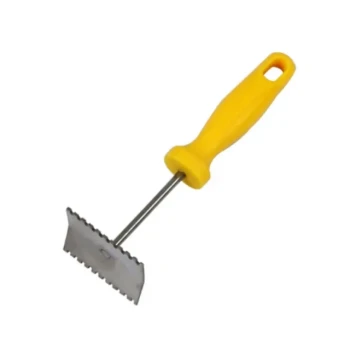
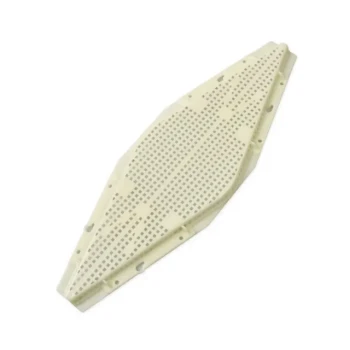
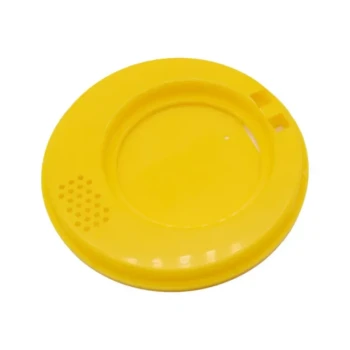
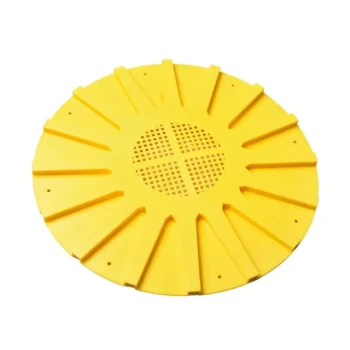
- High Performance Plastic Queen Excluder for Beekeeping and Apiary Management
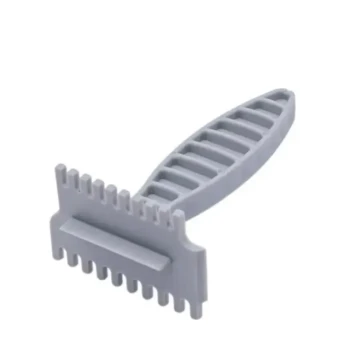
- Lightweight Durable Plastic Queen Excluder Scraper for Beekeeping
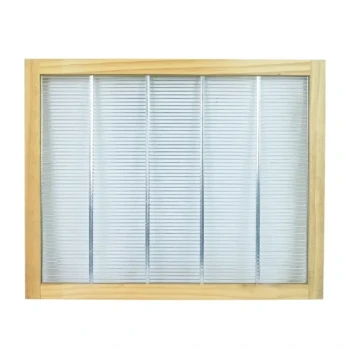
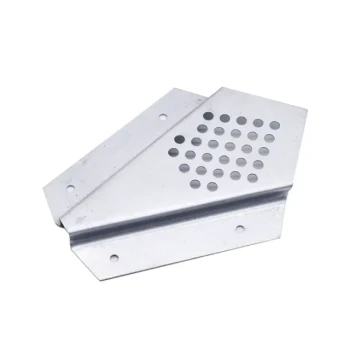
- Premium Wood Framed Metal Wire Queen Bee Excluder
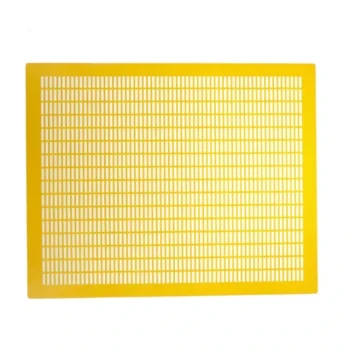
- Professional Plastic Queen Excluder for Modern Beekeeping
- Metal Queen Bee Excluder for Beekeeping
People Also Ask
- What are the advantages of using plastic queen excluders? Boost Apiary Efficiency and Pest Control
- What are the advantages and disadvantages of plastic queen excluders? Find the Right Fit for Your Apiary
- What types of queen excluders are available for beekeepers? Choose the Right Tool for Your Hive
- What is the function of a Queen excluder in experiments? Achieving Precise Age Control for Honeybee Larvae
- Do plastic queen excluders work? A Cost-Effective Solution for Modern Apiaries