To properly install a queen excluder, you must place it directly on top of the uppermost brood box, ensuring it sits flat without any gaps. Once positioned, you then place your honey supers directly on top of the excluder. This creates a barrier that confines the queen to the brood chamber while allowing smaller worker bees to pass through to the honey supers above.
The queen excluder is a strategic tool for hive management. Its correct placement is simple, but understanding its purpose—to separate the queen's brood-rearing area from the colony's honey storage—is the key to a more organized hive and a cleaner honey harvest.
What is a Queen Excluder and Why Use One?
A queen excluder is a fundamental tool for beekeepers who want to exert more control over their hive's internal structure. Its effective use hinges on understanding its simple but powerful function.
The Core Principle: A Selective Barrier
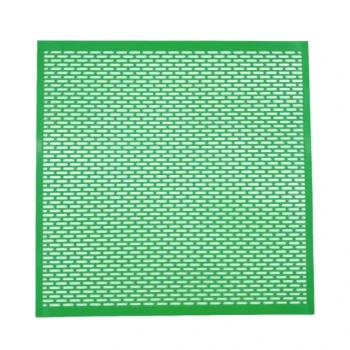
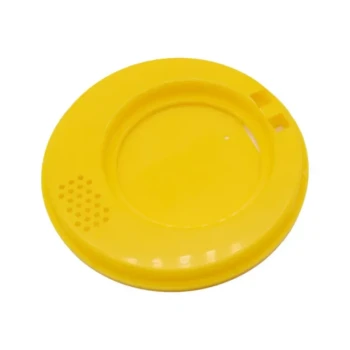
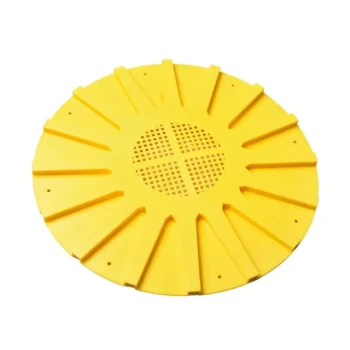
A queen excluder is a flat grid, typically made of metal or plastic. The openings in the grid are precisely engineered to be large enough for worker bees to pass through but too small for the larger queen and drones.
This selective barrier effectively creates a one-way ceiling for the queen.
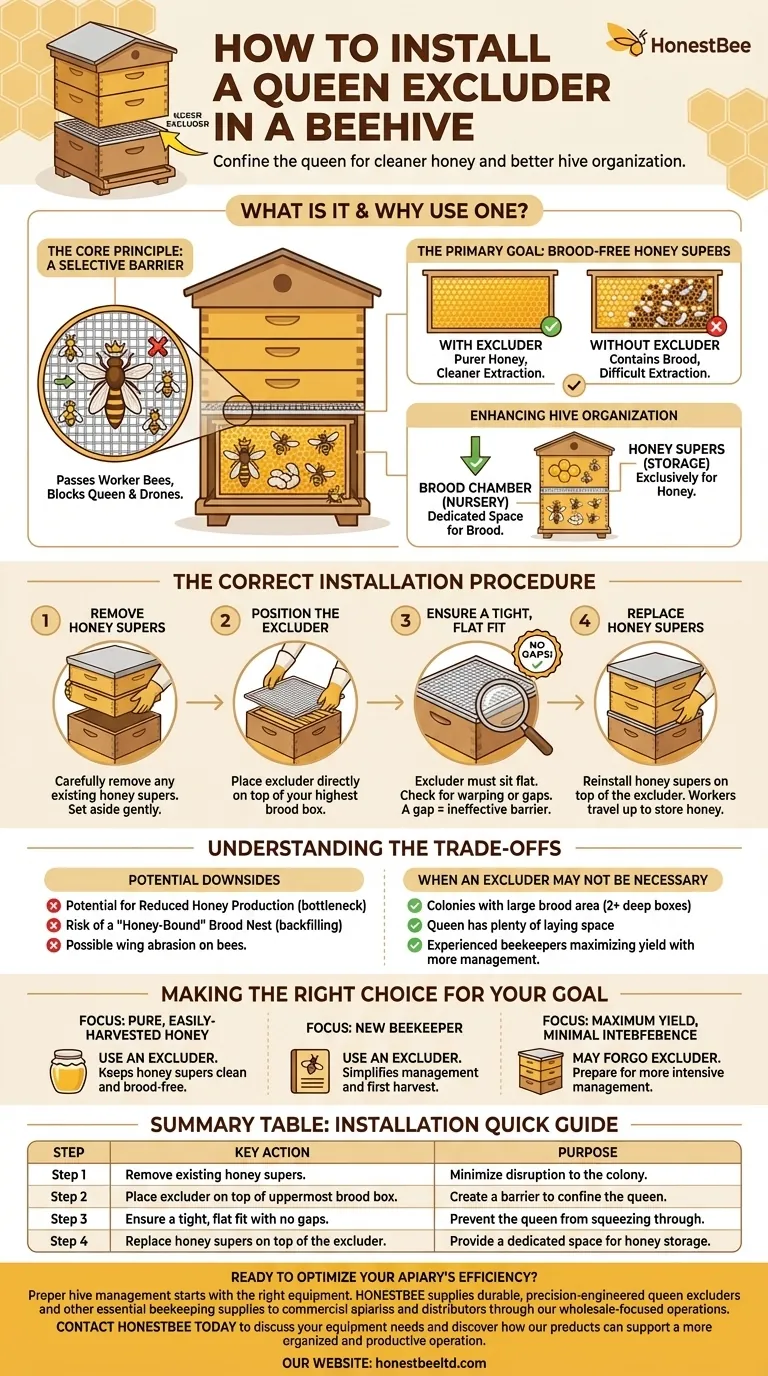
The Primary Goal: Brood-Free Honey Supers
The main reason to use an excluder is to prevent the queen from laying eggs in the honey supers. This ensures the frames designated for honey storage contain only honey, not eggs, larvae, or pupae.
Keeping honey supers free of brood results in purer honey and makes the extraction process significantly cleaner and easier.
Enhancing Hive Organization
By confining the queen to the lower brood boxes, you create a dedicated "nursery" area. This leaves the upper boxes exclusively for honey storage.
This clear division simplifies hive inspections and management, as you know exactly where to look for brood and where to check for surplus honey.
The Correct Installation Procedure
Proper installation is critical to the excluder's success. A poorly fitted excluder can be ineffective or even disruptive to the colony.
Step 1: Remove the Honey Supers
Begin by carefully removing any honey supers that are currently on the hive. Set them aside gently to minimize disruption to the bees.
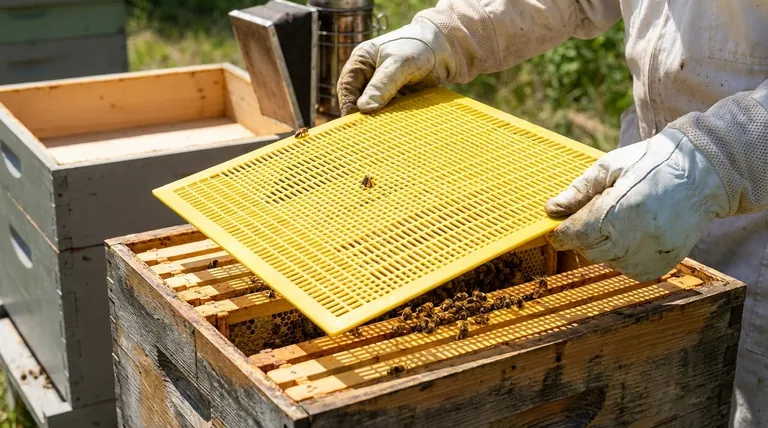
Step 2: Position the Excluder
Place the queen excluder directly on top of your highest brood box. This is the box where you want the queen's activity to end.
Step 3: Ensure a Tight, Flat Fit
The excluder must sit completely flat against the top edges of the brood box. Check for any warping in the equipment or gaps along the edges.
Any gap could provide enough space for a determined queen to squeeze through, defeating the purpose of the device.
Step 4: Replace the Honey Supers
Once the excluder is securely in place, you can reinstall your honey supers directly on top of it. The worker bees will now travel up through the excluder to deposit nectar and build honeycomb.
Understanding the Trade-offs
While beneficial, a queen excluder is not without its considerations. An objective beekeeper understands both the advantages and the potential downsides.
Potential for Reduced Honey Production
The excluder can sometimes create a bottleneck for bee traffic. Foraging bees returning with nectar may be slowed as they navigate the barrier, which can, in some cases, slightly reduce the rate of honey production.
Some beekeepers believe the excluder can also be abrasive on bees' wings over time.
The Risk of a "Honey-Bound" Brood Nest
If worker bees are reluctant to cross the excluder, they may begin to store excess honey in the brood chamber instead of the supers.
This can "backfill" the cells, leaving the queen with limited space to lay eggs and potentially leading to swarming if not managed properly.
When an Excluder May Not Be Necessary
In colonies with a large brood area, such as hives with two or more deep brood boxes, the queen often has plenty of space to lay. In these cases, she is naturally less inclined to move into the honey supers.
Many experienced beekeepers who run multiple brood chambers choose not to use excluders at all.
Making the Right Choice for Your Goal
Deciding whether to use a queen excluder depends entirely on your beekeeping philosophy and objectives.
- If your primary focus is pure, easily-harvested honey: An excluder is an invaluable tool for keeping your honey supers clean and free of brood.
- If your primary focus is maximizing honey yield with minimal interference: You might forgo an excluder, but be prepared for more intensive management to keep the queen down.
- If you are a new beekeeper: Using an excluder simplifies hive management and makes your first honey harvests significantly more straightforward.
Ultimately, the queen excluder is a tool that allows you to manage your hive with greater intention.
Summary Table:
| Installation Step | Key Action | Purpose |
|---|---|---|
| Step 1 | Remove existing honey supers. | Minimize disruption to the colony. |
| Step 2 | Place excluder on top of the uppermost brood box. | Create a barrier to confine the queen. |
| Step 3 | Ensure a tight, flat fit with no gaps. | Prevent the queen from squeezing through. |
| Step 4 | Replace honey supers on top of the excluder. | Provide a dedicated space for honey storage. |
Ready to optimize your apiary's efficiency?
Proper hive management starts with the right equipment. HONESTBEE supplies durable, precision-engineered queen excluders and other essential beekeeping supplies to commercial apiaries and distributors through our wholesale-focused operations.
Contact HONESTBEE today to discuss your equipment needs and discover how our products can support a more organized and productive operation.
Visual Guide
Related Products
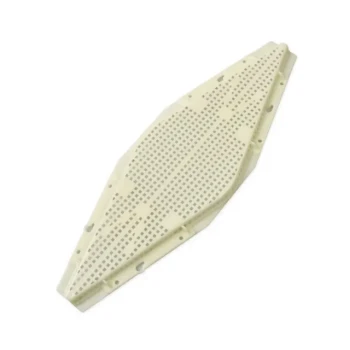
- High Performance Plastic Queen Excluder for Beekeeping and Apiary Management
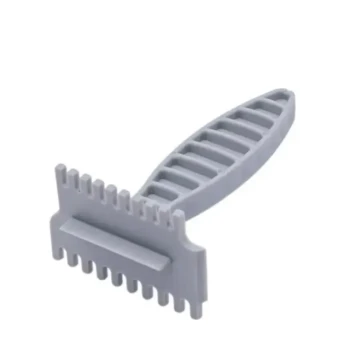
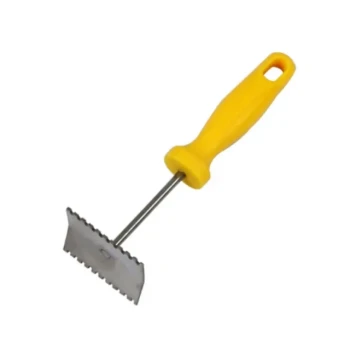
- Lightweight Durable Plastic Queen Excluder Scraper for Beekeeping
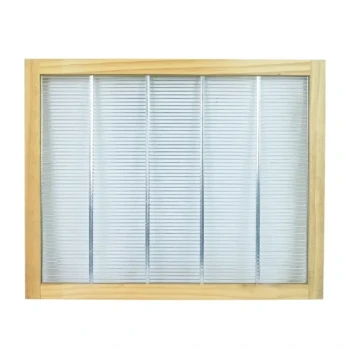
- Premium Wood Framed Metal Wire Queen Bee Excluder
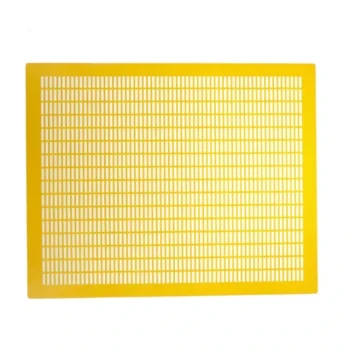
- Professional Plastic Queen Excluder for Modern Beekeeping
- Metal Queen Bee Excluder for Beekeeping
People Also Ask
- What types of queen excluders are available for beekeepers? Choose the Right Tool for Your Hive
- What materials are modern queen excluders made from? Choose the Right Material for Your Apiary
- What are the advantages of using plastic queen excluders? Boost Apiary Efficiency and Pest Control
- Why is it considered undesirable for a queen to lay eggs in honey frames? Protect Your Honey Purity and Flavor
- What is the function of a Queen excluder in experiments? Achieving Precise Age Control for Honeybee Larvae