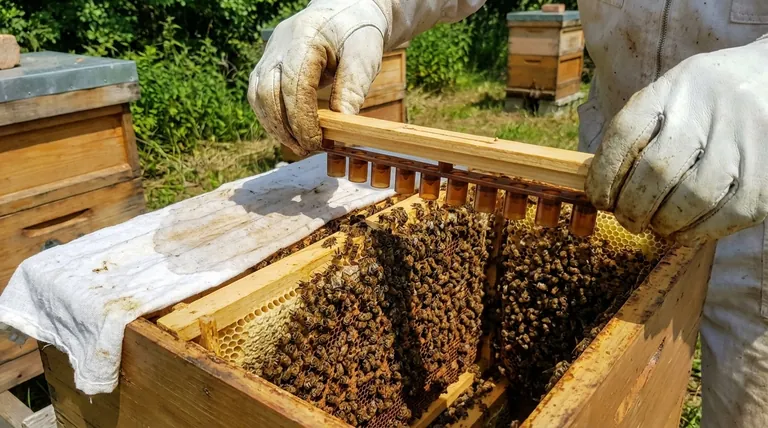
Immediately after grafting, your bar of cells must be transferred into a strong, queenless "cell builder" or "starter" colony. This specialized hive is populated with an abundance of nurse bees that will immediately begin feeding the larvae and drawing out the wax queen cells. Proper handling during this transfer is critical to success.
A successful graft is only the first step. The ultimate goal is to produce high-quality, viable queens, which depends entirely on the meticulous care, management, and quality control you implement after the larvae have been transferred.
The Immediate Next Step: Transfer to the Cell Builder
Once your grafting is complete, the clock is ticking. The delicate larvae are extremely vulnerable and must be placed in the care of nurse bees as quickly as possible.
Protecting the Grafted Larvae
The single greatest immediate risk to your newly grafted larvae is desiccation (drying out).
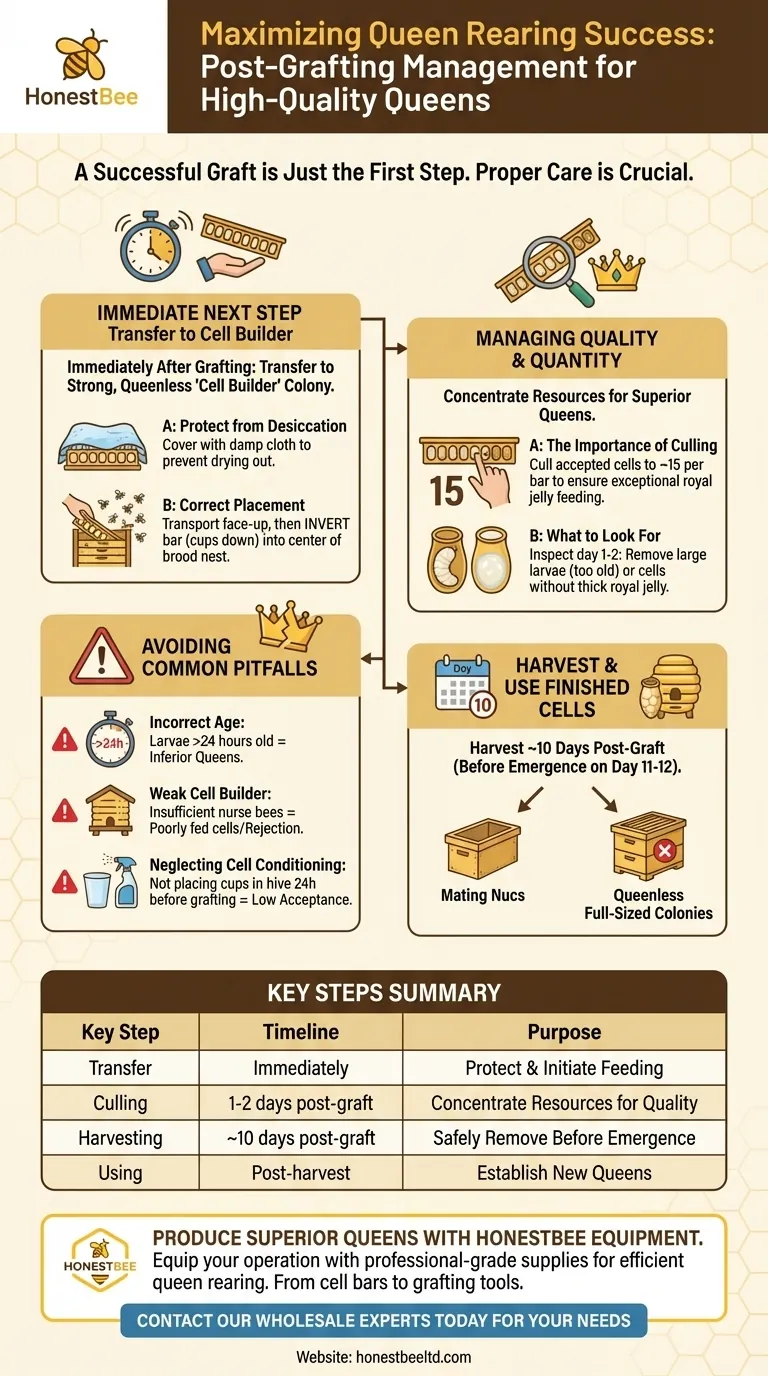
To prevent this, cover the cell bar with a damp, but not dripping, cloth the moment you finish grafting. This maintains a humid environment crucial for larval survival during transport to the cell builder colony.
Correctly Placing the Bar in the Hive
Transport the frame with the cell cups facing up to avoid dislodging the tiny larvae.
When you reach the cell builder hive, carefully invert the frame so the cell cups face down, mimicking their natural orientation. Lower this frame into the center of the colony's brood nest, where the concentration of nurse bees is highest.
The Role of the Cell Builder
A cell builder is not just any hive. It is a colony intentionally made queenless and packed with young nurse bees.
This condition triggers an emergency queen-rearing response. The nurse bees are biologically primed to find and lavishly feed any suitable young larvae with royal jelly, which is exactly what your grafted cells provide.
Managing for Quality and Quantity
Simply getting the bees to accept the cells is not enough. To produce excellent queens, you must manage the process to ensure the colony's resources are not spread too thin.
The Importance of Culling
The best queens come from the best-fed larvae. A single cell builder can only produce a limited amount of royal jelly.
For optimal results, cull the accepted cells down to no more than 15 per bar. This concentrates the colony's resources on a smaller number of cells, ensuring each one is exceptionally well-fed.
What to Look For During Culling
Culling is a quality control check. A day or two after giving the cells to the builder, inspect the bar.
Remove any cells where the larvae look visibly larger than the others, as this indicates they were too old when grafted. Also, cull any cells that are not floating in a thick, milky bed of royal jelly, as this suggests they are not being well-fed.
Running Multiple Batches
If your goal is continuous production, the same cell builder can be used for multiple rounds.
After the first bar of cells is capped (around day 5), it can be moved to a "finisher" colony (a strong, queen-right colony above a queen excluder) to complete its development. You can then graft another bar of cells and give it to the original starter colony to begin the process again.
Understanding the Trade-offs and Common Pitfalls
Successful queen rearing requires avoiding common mistakes that lead to poor outcomes or complete failure.
Pitfall: Using Larvae of the Incorrect Age
Grafting larvae that are too old (over 24 hours) is a frequent error. While bees may build cells around them, they will develop into inferior queens that emerge early and are often superseded by the colony. This is why culling larger larvae is so important.
Pitfall: A Weak Cell Builder Colony
A weak, under-populated cell builder will not have enough nurse bees or resources to properly feed the queen cells. This results in poorly developed queens or a high rate of cell rejection. Your cell builder must be overflowing with bees.
Pitfall: Neglecting Cell Conditioning
Success begins even before the graft. Placing the bar of plastic cell cups in a hive for at least 24 hours before grafting is a critical step. This allows the bees to clean, polish, and coat the cups with their scent, dramatically increasing acceptance rates.
From Finished Cell to New Queen
Your work isn't over once the cells are built. The final stage involves harvesting and using the cells to create new colonies.
When to Harvest the Queen Cells
Grafted queen cells are typically ready to be used about 10 days after the initial graft.
This timing is crucial. It gives you a safe window before the virgin queens begin to emerge around day 11 or 12. If a queen emerges in the cell builder, she will destroy all the other cells.
How to Use the Finished Cells
Once harvested, these valuable queen cells can be introduced into a variety of hive types to create new queens.
Common uses include adding them to mating nucs, small 2-5 frame nucleus colonies, or queenless full-sized colonies.
How to Apply This to Your Operation
Your approach should align with your specific queen-rearing goals.
- If your primary focus is producing the highest quality queens: Be ruthless with your culling, use only the strongest cell builder colonies, and graft the youngest possible larvae.
- If your primary focus is maximizing cell numbers: You can be less aggressive with culling, but be aware this may result in a wider variance in queen quality and potentially lower acceptance rates.
- If you are new to queen rearing: Concentrate on mastering the fundamentals: preventing desiccation with a damp cloth and ensuring your cell builder is strong and properly prepared.
Mastering the steps that follow the graft is what transforms the mechanical act of moving larvae into the art of raising exceptional queens.
Summary Table:
| Key Step | Timeline | Purpose |
|---|---|---|
| Transfer to Cell Builder | Immediately | Protect larvae from desiccation; initiate feeding by nurse bees. |
| Culling Cells | 1-2 days post-graft | Concentrate resources on 15 best cells per bar for higher quality queens. |
| Harvesting Cells | ~10 days post-graft | Safely remove cells before queens emerge (day 11-12). |
| Using Finished Cells | Post-harvest | Introduce into mating nucs or queenless colonies to establish new queens. |
Produce Superior Queens with the Right Equipment
Mastering post-grafting management is essential for viable queen production. Equip your operation with professional-grade supplies from HONESTBEE. We supply commercial apiaries and beekeeping equipment distributors with the durable, reliable tools needed for efficient queen rearing—from cell bars and grafting tools to full hive management systems.
Let's optimize your queen production together. Contact our wholesale experts today to discuss your specific needs and scale your success.
Visual Guide
Related Products
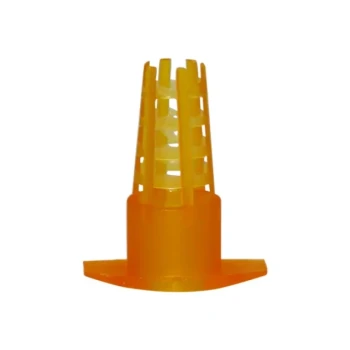
- Clear Black Plain Polystyrene Queen Bee Grafting Cell Cups No Lug for Bee Queen Cup
- Stainless Steel Queen Grafting Tool for Beekeeping and Bee Queen Grafting
- Plastic Chinese Queen Grafting Tool for Bee Queen Rearing
- Retractable Chinese Queen Rearing Grafting Tools Equipment
- Black 2 Pack Beekeeper Queen Grafting Tool for Bee Queen Larva Transferring Needle
People Also Ask
- What materials are used to make artificial queen cell cups for grafting? Beeswax vs. Plastic Guide
- What types of cell cups are used for grafting, and how are they set up? Expert Queen Rearing Guide
- What are queen cups and how are they used in honey bee queen replacement? The Essential Guide to Queen Rearing
- What types of cell cups are commonly used in grafting? Plastic vs. Wax for Queen Rearing Success
- How does the standardized depth of queen cell cups affect larval acceptance? Boost Success with 6mm Precision