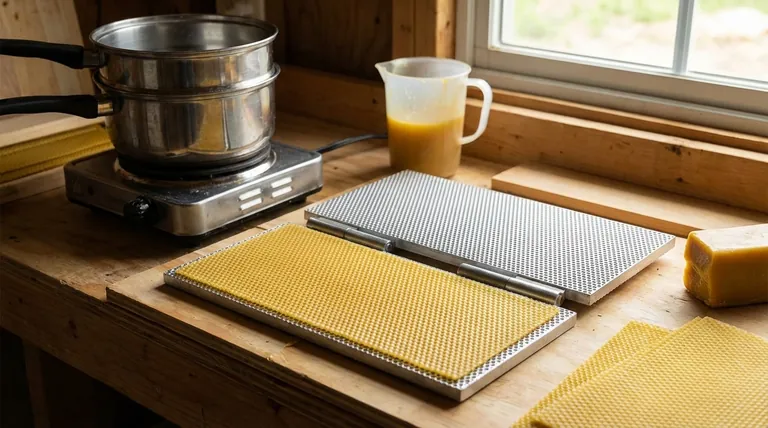
To make beeswax sheets using a mold, the core process involves melting pure beeswax in a double boiler, preparing the mold, pouring the wax, pressing it to the desired thickness, and allowing it to cool just enough to be removed without breaking. Success depends on careful temperature control and a gentle hand during the pouring and removal stages.
The fundamental challenge is not simply melting and pouring wax, but managing its temperature and consistency to produce a uniform, flexible sheet that releases cleanly from the mold without tearing.
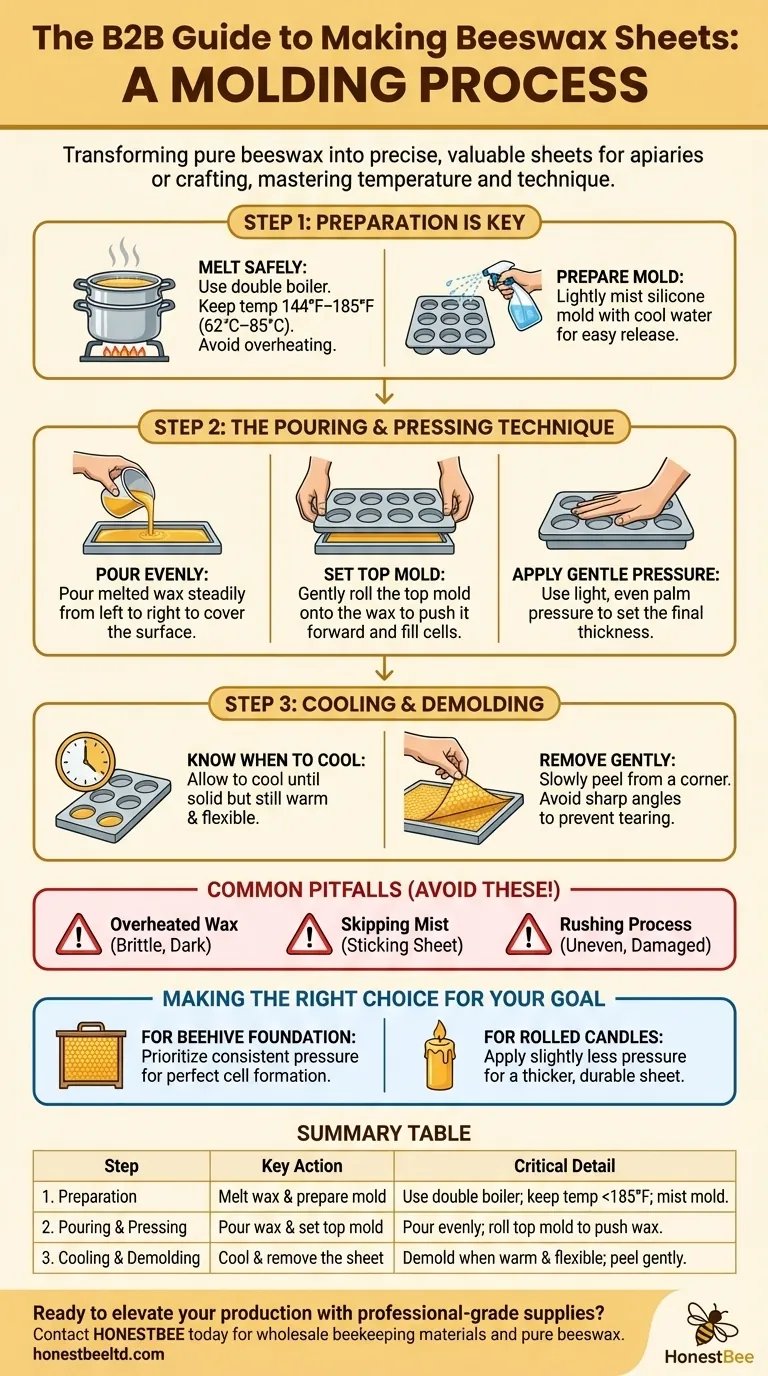
Step 1: Preparation is Key
Before you begin working with hot wax, a prepared and organized workspace is essential for both safety and a quality outcome.
Melting the Beeswax Safely
The most critical factor in this process is temperature. Use a double boiler to melt your beeswax, which prevents direct heat from scorching the wax.
Beeswax has a low melting point, around 144°F (62°C). It is crucial that the temperature does not exceed 185°F (85°C), as overheating can darken the color and ruin its delicate aroma.
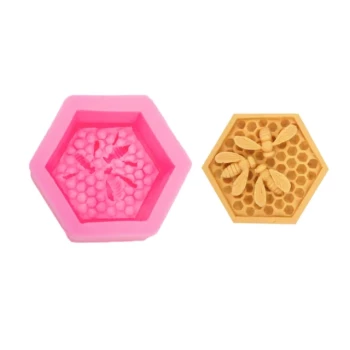
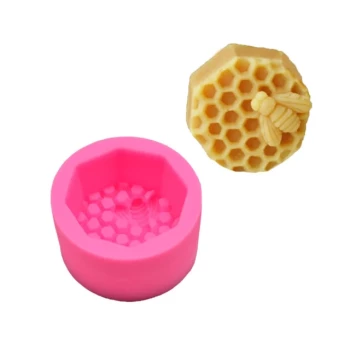
Preparing the Silicone Mold
A common cause of frustration is the beeswax sheet sticking to the mold. To prevent this, lightly spray the inside surfaces of your mold with cool water just before pouring.
This thin film of moisture acts as a release agent, helping the solidified sheet separate cleanly without the need for chemical agents. Place the bottom half of the mold on a level surface covered with parchment paper to catch any spills.
Step 2: The Pouring and Pressing Technique
This stage requires a steady hand and a fluid, deliberate motion to ensure the final sheet is even and complete.
Pouring for an Even Layer
Using a dedicated pouring pot or a large disposable cup, pour the melted beeswax into the bottom half of the mold.
Move steadily and evenly, often from left to right, to cover the entire surface. Avoid stopping and starting, as this can create lines and weak points in the finished sheet.
Setting the Top Mold
Immediately after pouring, take the top half of the mold and place it onto the hot wax.
Begin by aligning it at one end (e.g., the left side) and gently lay it down across the wax toward the other end. This rolling motion helps push the hot wax forward, filling the entire cell pattern.
Applying Gentle Pressure
Once the top is on, use the palm of your hand to apply light, even pressure. Push the excess wax out toward the sides.
This action is what determines the final thickness of your sheet. If you notice an empty spot, you can often push some of the still-molten wax into that area to fill the gap.
Step 3: Cooling and Demolding
Patience during the final steps ensures your hard work isn't wasted by a torn or damaged sheet.
Knowing When to Cool
Allow the mold to cool until the beeswax is solid. The sheet should still be slightly warm and flexible when you demold it.
If you let it cool completely to room temperature, the sheet may become brittle and crack during removal.
The Removal Technique
Carefully peel the top of the mold off first to reveal the finished sheet.
Then, starting at one corner, slowly and gently peel the beeswax sheet out of the bottom mold. Pulling too quickly or at a sharp angle can easily damage the delicate cell impressions or tear the sheet.
Understanding the Common Pitfalls
Avoiding a few common mistakes will dramatically improve the quality and consistency of your beeswax sheets.
Overheated Wax
Wax that gets too hot (above 185°F) becomes brittle and dark. Always use a double boiler and monitor the temperature to preserve the wax's natural quality.
Sheets Sticking to the Mold
This is almost always caused by a failure to prepare the mold. A light mist of water is a simple and effective release agent that prevents sticking and ensures a clean release.
Uneven or Damaged Sheets
Rushing the process is the primary cause of poor-quality sheets. An uneven pour, slapping the top mold down instead of rolling it on, or demolding too quickly will lead to imperfections. A deliberate, gentle technique is required.
Making the Right Choice for Your Goal
The sheets you create can serve different purposes, and your technique can be adjusted slightly to match your primary goal.
- If your primary focus is perfect beehive foundation: Prioritize an even thickness by applying consistent pressure and ensuring every cell is perfectly formed, as bees will build upon this structure.
- If your primary focus is crafting rolled candles: A slightly thicker, more durable sheet may be desirable, so apply slightly less pressure when setting the top mold.
Ultimately, mastering this process transforms a simple block of beeswax into a precise and valuable material for your apiary or your craft room.
Summary Table:
| Step | Key Action | Critical Detail |
|---|---|---|
| 1. Preparation | Melt wax & prepare mold | Use a double boiler; keep temp below 185°F (85°C); mist mold with water. |
| 2. Pouring & Pressing | Pour wax & set top mold | Pour evenly in a steady motion; roll the top mold on to push wax forward. |
| 3. Cooling & Demolding | Cool & remove the sheet | Demold when the sheet is warm and flexible; peel gently from a corner. |
Create high-quality beeswax foundations and candles with professional-grade supplies from HONESTBEE.
Whether you are a commercial apiary needing reliable foundation sheets or a beekeeping equipment distributor sourcing quality materials, our wholesale-focused operations provide the durable equipment and pure beeswax you need for consistent results.
Contact HONESTBEE today to discuss your supply needs and elevate your beekeeping or crafting production.
Visual Guide
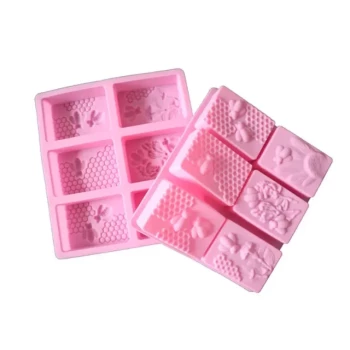
Related Products
- Colorful Silicone Beeswax Foundation Mold Mould for Beekeeping
- Notebook Style Beeswax Foundation Mould Wax Foundation Mold
- Beeswax Machine Press Embosser Wax Foundation Mold Printer Bee Hive Equipment Making Sheet
- High-Efficiency 20-Cell Silicone Mold for Beeswax Bee Queen Cup Production
- Beeswax Foundation Sheets Beehive Foundation for Wholesale
People Also Ask
- What is a foundation mold used for? Turn Your Wax Cappings into High-Quality Foundations
- What is the third tip for working with beeswax in a silicone mold? Master the Critical Demolding Stage
- Why are specific wax foundation molds used to downsize brood cells? Master Mechanical Pest Inhibition
- How do beeswax foundation molds facilitate the construction of standardized honeycombs? Optimize Your Apiary Efficiency
- How can you make medium or shallow foundation sheets with a deep foundation mold? Maximize Your Beekeeping Mold Utility