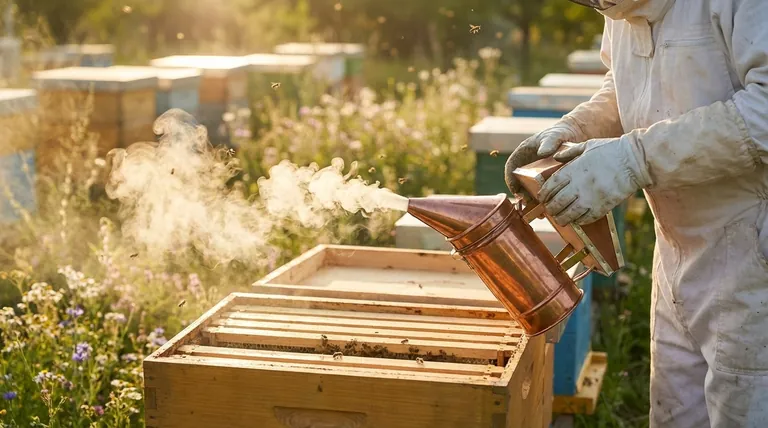
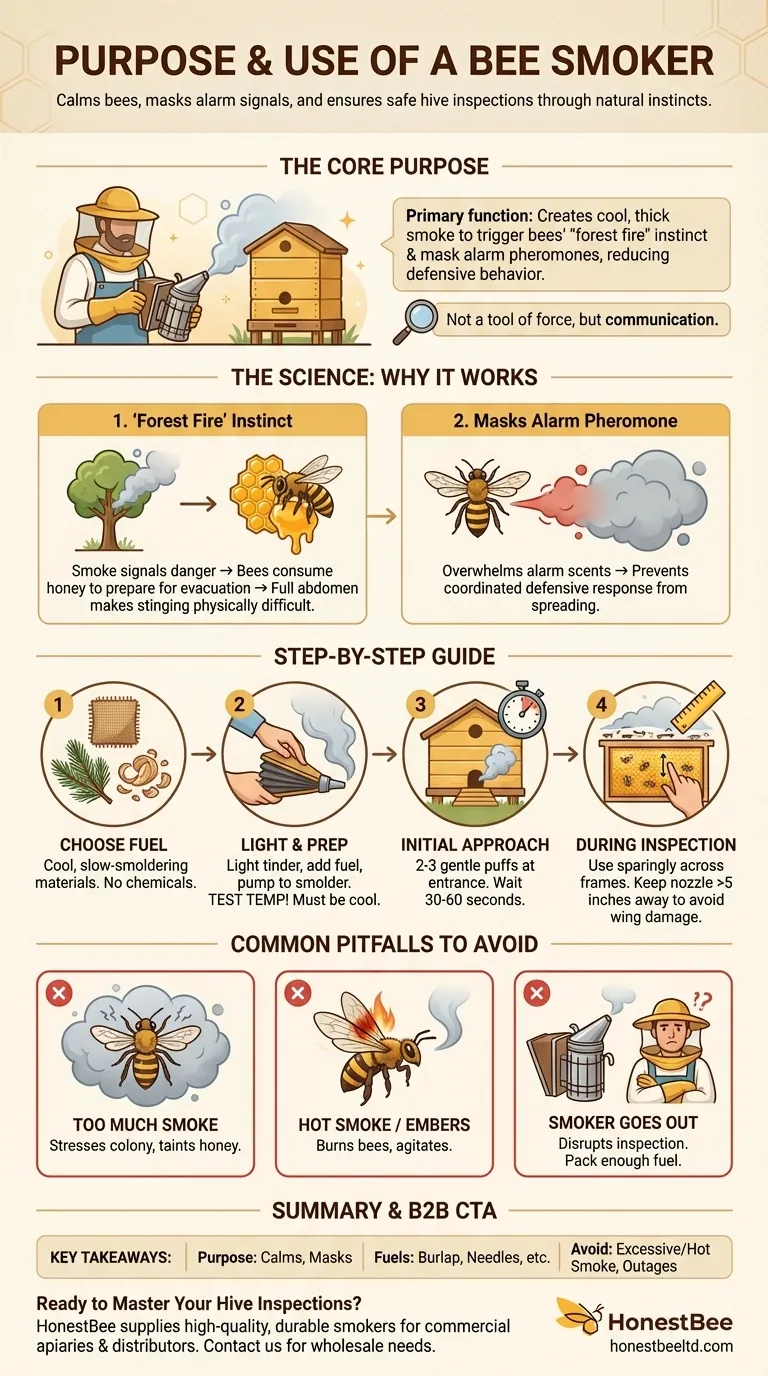
The primary purpose of a bee smoker is to calm honeybees and mask their alarm signals, allowing a beekeeper to safely inspect a hive. It works by generating a cool, thick smoke that triggers the bees' natural instinct to prepare for a potential forest fire. This behavioral shift makes them less defensive and significantly reduces the likelihood of stings.
A bee smoker is not a tool of force, but of communication. It leverages the bees' instincts to redirect their focus from defense to survival, creating a safer and calmer environment for both the beekeeper and the colony.
The Science Behind the Smoke: Why It Works
Understanding the principles behind the smoker is crucial for using it effectively and humanely. The smoke initiates two key behavioral responses in the honeybee colony.
Triggering the "Forest Fire" Instinct
When bees detect smoke, they interpret it as a sign of a nearby wildfire threatening their home. Their primary survival instinct is to consume and store as much honey as possible in preparation to evacuate the hive. When a bee's abdomen is full of honey, it becomes physically more difficult for her to flex it into the proper position to sting.
Masking the Alarm Pheromone
When a guard bee becomes alarmed or stings, it releases an "alarm pheromone." This chemical signal instantly alerts other bees to a threat, often triggering a coordinated defensive response. The thick smoke from a smoker effectively overwhelms and masks these pheromones, preventing the alarm from spreading throughout the colony.
A Step-by-Step Guide to Proper Use
Using a smoker correctly is a skill that blends preparation with a gentle touch. Following a consistent process will ensure your inspections are smooth and low-stress.
1. Choosing Your Fuel
The goal is a fuel that smolders slowly and produces a thick, cool smoke. Excellent options include burlap scraps, dry pine needles, wood shavings, corn cobs, or dry leaves. Avoid any materials that have been treated with chemicals.
2. Lighting and Preparation
Start by placing a small amount of flammable tinder at the bottom and lighting it. Once it's burning, add your primary fuel on top. Use the bellows to pump air and get the fuel smoldering well. Before approaching the hive, test the smoke's temperature against the back of your hand to ensure it is cool.
3. The Initial Approach
Before you open the hive, gently puff a small amount of smoke (2-3 puffs) towards the main entrance. Wait for about 30-60 seconds. This alerts the bees to your presence and gives them time to begin consuming honey.
4. During the Inspection
After opening the hive, apply a few gentle puffs of smoke across the top of the frames. As you work, use smoke sparingly and only when needed to move bees away from a specific area or to keep them calm. Always direct the smoke from at least 5 inches away to avoid harming the bees' wings.
Common Pitfalls and How to Avoid Them
The key to effective smoking is moderation. Improper use can be more disruptive than helpful and poses risks to both you and your bees.
Using Too Much Smoke
Over-smoking a hive is a common mistake for new beekeepers. It can excessively stress the colony, taint the flavor of honey, and is unhealthy for the beekeeper to inhale. Remember, a little goes a long way.
Using "Hot" Smoke
If your smoker is not burning correctly or if you hold the nozzle too close to the bees, you can emit hot smoke or even embers. This can burn the bees' delicate wings and will agitate them rather than calm them.
Letting the Smoker Go Out
A smoker that goes out mid-inspection forces you to either stop your work or continue without a crucial tool, which can lead to a more stressful situation. Always pack plenty of fuel to ensure it will last for your entire inspection.
Applying This to Your Hive
Your approach should adapt to the specific temperament of your colony. The goal is always to use the minimum amount of smoke necessary to achieve a calm working environment.
- If your primary focus is a routine check on a calm colony: A few puffs at the entrance and one gentle application under the cover will likely be all you need.
- If your primary focus is managing an aggressive colony: You may need to apply smoke more frequently, but always begin gently and only increase as the bees' behavior dictates.
- If your primary focus is responding to a sting: Immediately puff smoke on the affected area of your body or suit to mask the alarm pheromone and prevent a chain reaction.
Mastering the smoker is about learning to speak the bees' language, turning a potentially stressful interaction into a calm and productive one.
Summary Table:
| Purpose & Function | Key Fuel Types | Common Mistakes to Avoid |
|---|---|---|
| Calms bees by triggering 'forest fire' instinct | Burlap, pine needles, wood shavings | Using too much smoke |
| Masks alarm pheromones to prevent defensive response | Corn cobs, dry leaves | Using 'hot' smoke that can burn bees |
| Allows for safer hive inspections and management | Avoid chemically treated materials | Letting the smoker go out mid-inspection |
Ready to Master Your Hive Inspections?
A reliable bee smoker is fundamental to safe and productive beekeeping. HONESTBEE supplies commercial apiaries and beekeeping equipment distributors with high-quality, durable smokers and fuel designed for professional use. Our wholesale-focused operations ensure you get the equipment you need to keep your colonies calm and your operations running smoothly.
Contact us today to discuss your beekeeping supply needs and let us help you build a safer, more efficient apiary. Get in touch via our contact form.
Visual Guide
Related Products
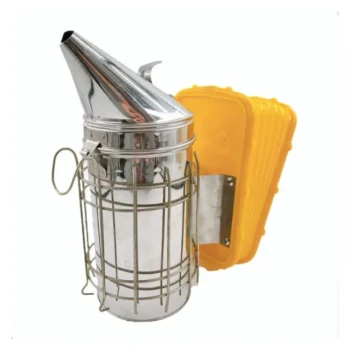
- Professional Bee Smoker with Elongated Spout and Durable Bellows for Beekeeping
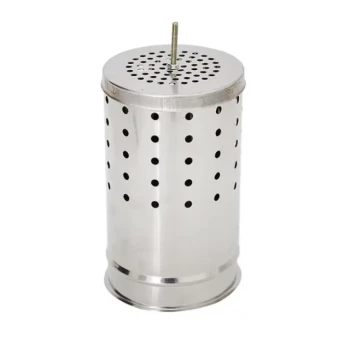
- Stainless Steel Honey Bee Smoker Hive and Honeycomb Smoker for Beekeeping
- European Stainless Steel Bee Smoker for Honey Bee Hive
- Premium Traditional Copper Bee Smoker with Bellows
- Heavy-Duty Bee Smoker with Durable Plastic Bellows for Beekeeping
People Also Ask
- How does a professional bee smoker facilitate safe colony management? Master Hive Control with Effective Smoke Tools
- How do professional bee smokers facilitate bee management? Enhancing Forest Beekeeping Safety and Efficiency
- Why is the use of professional bee smokers and specialized fuel essential? Protect Honey Purity & Colony Safety
- What is the primary function of a professional bee smoker? Essential Safety for Managing Tiuba Bees
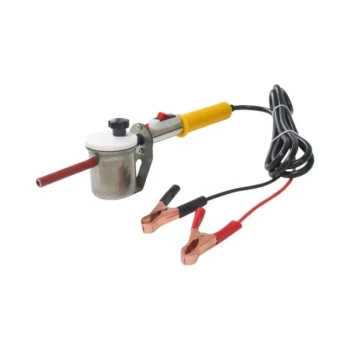
- What technical advantages do professional bee smokers provide? Master Cool Smoke Technology for Hive Safety