The third critical tip for working with beeswax in a silicone mold is to remove the beeswax sheet or candle at the right temperature—it should be cool enough to hold its shape but still warm and flexible. Attempting to demold cold, brittle beeswax often leads to cracking or damage, while demolding overly hot wax will cause distortion. This precise timing is crucial for a clean, successful result.
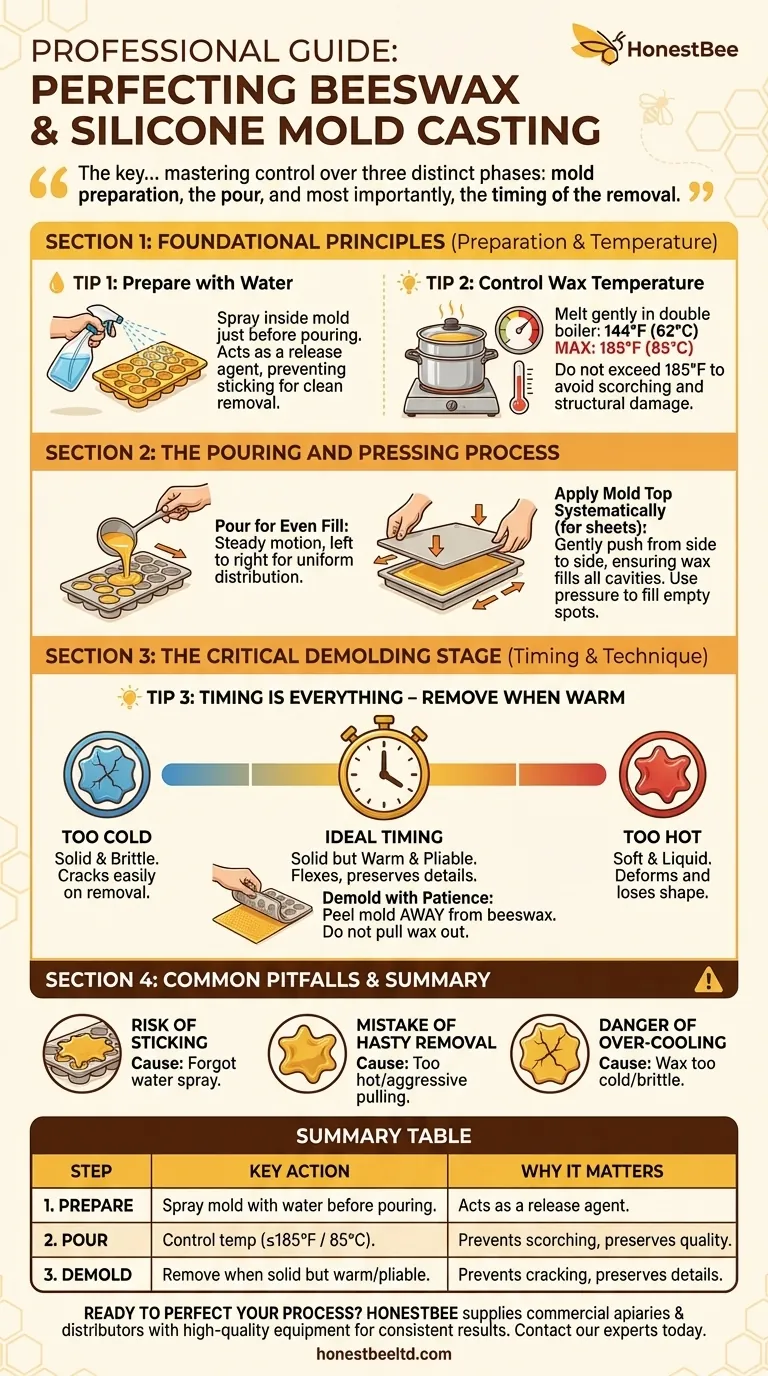
The key to flawlessly working with beeswax and silicone molds isn't a single trick, but rather mastering control over three distinct phases: mold preparation, the pour, and most importantly, the timing of the removal.
Foundational Principles: Temperature and Preparation
Success begins long before you pour the wax. Properly preparing your equipment and managing the temperature of the beeswax are non-negotiable first steps that prevent the most common problems.
Tip 1: Prepare the Mold with Water
The first essential tip is to spray the inside of your silicone mold with water just before pouring. This creates a micro-thin barrier between the silicone and the wax.
This simple step acts as a release agent, dramatically reducing the chance that the beeswax will stick to the mold, ensuring a much easier and cleaner removal.
Tip 2: Control Wax Temperature
Beeswax has a low melting point, typically around 144°F (62°C). It is critical to melt it gently, ideally in a double boiler.
Crucially, do not let the temperature exceed 185°F (85°C). Overheating can scorch the wax, ruining its natural color and aroma and potentially affecting its structural integrity.
The Pouring and Pressing Process
Once your mold is prepped and the wax is at the correct temperature, the pouring technique itself ensures an even, complete final product, especially when making thin sheets.
Pour for an Even Fill
Pour the melted beeswax into the mold with a steady, even motion. A common technique is to pour from left to right to help distribute the wax uniformly from the start.
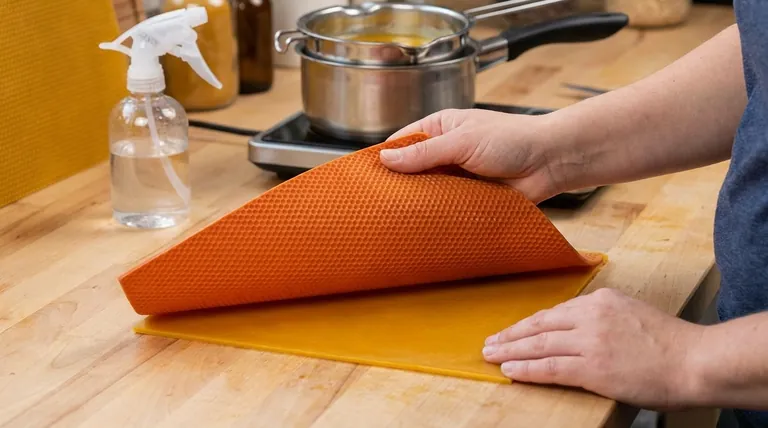
Apply the Mold Top Systematically
If you are using a two-part mold for making sheets, place the top on the hot wax carefully. Gently push from one side to the other, guiding the wax to fill the entire cavity.
If you notice an empty spot, use gentle pressure to push the surrounding hot wax into that area, ensuring the sheet is complete and has a consistent thickness.
The Critical Demolding Stage
This is where many projects fail. The final step of removing the beeswax requires patience and timing. Rushing this stage can undo all your careful preparation.
Tip 3: Timing is Everything—Remove When Warm
This is the most crucial tip for a perfect outcome. Do not wait for the beeswax to cool completely. The ideal time to demold is when the wax is solid but still warm and slightly pliable.
A cold beeswax casting will be brittle and can easily snap or crack during removal. A casting that is still warm will flex as you peel the mold away, preserving fine details and preventing breakage.
Demold with Patience
Once the beeswax is at the right temperature, peel the silicone mold away slowly and carefully. Do not try to pull the beeswax out. Instead, peel the flexible mold off the beeswax.
This gentle, deliberate motion minimizes stress on the casting, ensuring it comes out intact.
Common Pitfalls to Avoid
Understanding what can go wrong is as important as knowing the right steps. Avoiding these common mistakes will save you time, materials, and frustration.
The Risk of Sticking
Forgetting to spray the mold with water is the primary cause of sticking. This can lead to a damaged final product and a difficult cleanup process.
The Mistake of Hasty Removal
Being impatient is a significant pitfall. Trying to demold the wax when it's still too hot and soft will deform the shape. Pulling too aggressively on a warm casting can also cause it to tear or lose detail.
The Danger of Over-Cooling
Letting the beeswax become completely cold and rigid in the mold is a frequent error. This makes the wax brittle and highly susceptible to cracking, especially when removing it from an intricate mold.
Making the Right Choice for Your Goal
Your specific project—whether sheets or solid candles—will determine which part of the process you need to focus on most.
- If your primary focus is creating perfect beeswax sheets: Concentrate on the systematic pressing of the mold top to ensure an even thickness and demolding while the sheet is still warm and flexible.
- If your primary focus is making flawless beeswax candles: Prioritize proper mold preparation with a water spray to ensure a clean release and patient, slow demolding to protect surface details.
By controlling the entire process from preparation to removal, you can consistently produce beautiful, professional-quality beeswax creations.
Summary Table:
| Step | Key Action | Why It Matters |
|---|---|---|
| 1. Prepare | Spray mold with water before pouring. | Acts as a release agent to prevent sticking. |
| 2. Pour | Control wax temperature (≤185°F / 85°C). | Prevents scorching and preserves wax quality. |
| 3. Demold | Remove wax when solid but still warm and pliable. | Prevents cracking and preserves fine details. |
Ready to perfect your beeswax crafting process? HONESTBEE supplies commercial apiaries and beekeeping equipment distributors with the high-quality, wholesale-focused supplies needed for consistent, professional results. From durable silicone molds to temperature-controlled melters, we provide the tools for success. Contact our experts today to discuss your wholesale needs and elevate your production.
Visual Guide
Related Products
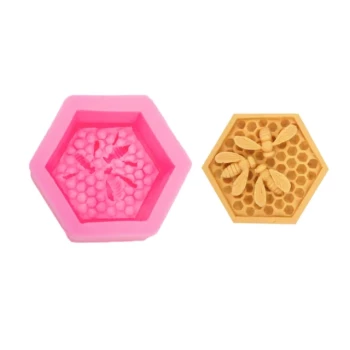
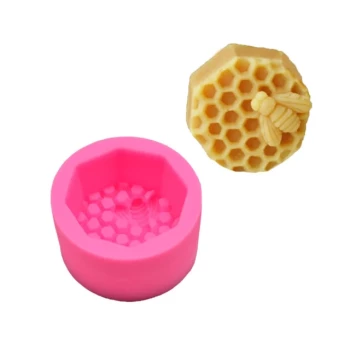
- Colorful Silicone Beeswax Foundation Mold Mould for Beekeeping
- High-Efficiency 20-Cell Silicone Mold for Beeswax Bee Queen Cup Production
- 3D Square Honeycomb Pillar Silicone Candle Molds for Making Beeswax Candles
- 10-Cell Silicone Beeswax Bee Queen Cups Forming Mold
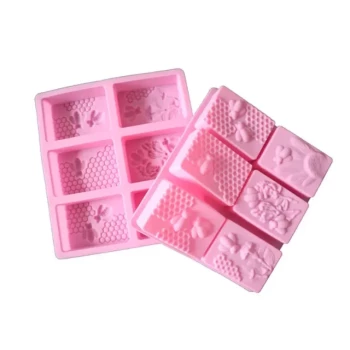
- Premium 6-Cavity Bee and Floral Themed Silicone Soap Mold
People Also Ask
- How can you make medium or shallow foundation sheets with a deep foundation mold? Maximize Your Beekeeping Mold Utility
- Why are specific wax foundation molds used to downsize brood cells? Master Mechanical Pest Inhibition
- How do you use the Foundation Mold to create beeswax foundation? Master DIY Beekeeping with Precision
- What is the first tip for pouring beeswax into a silicone mold? Ensure a Perfect Release
- What types of molds can be used for pouring melted beeswax? Choose the Right Mold for a Perfect Release