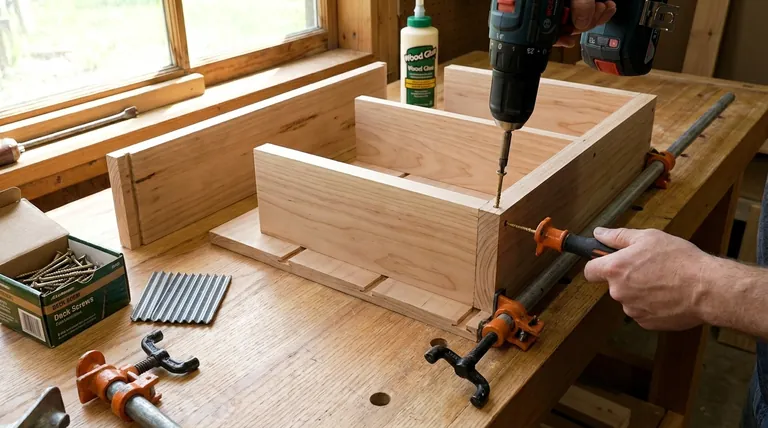
To assemble a feeder box, you can use several fastening methods, including deck screws, a combination of screws and corrugated fasteners, or wood glue. Regardless of the method, it is critical to drill pilot holes before driving any screws to prevent the wood from splitting. Using tools like pipe clamps to hold the components square during assembly is essential for a proper fit.
Choosing a fastening method is only the first step. The key to a successful feeder box assembly lies in following a specific sequence of operations and using best practices, like drilling pilot holes, to ensure a strong, square, and long-lasting structure.
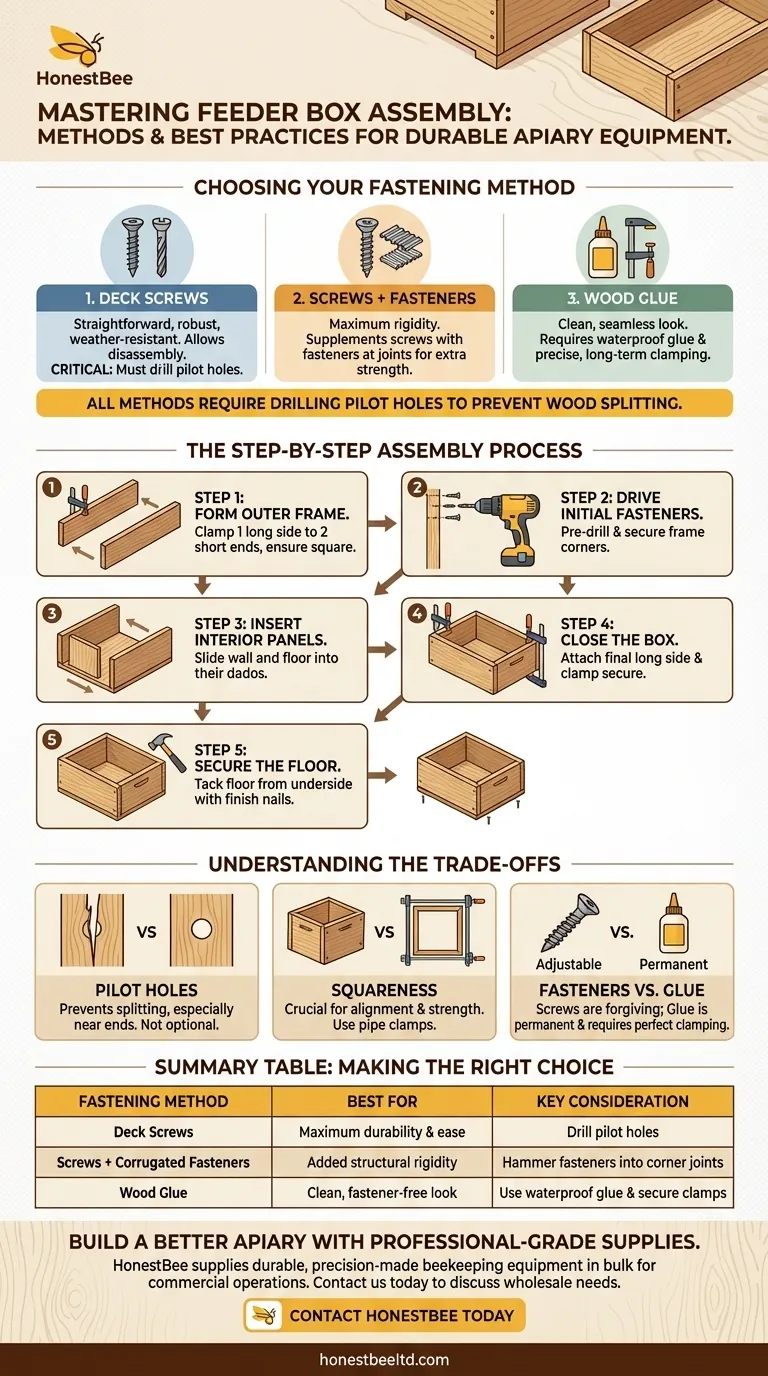
Choosing Your Fastening Method
Before you begin assembly, you must decide how you will join the wooden parts. Each method has its own advantages.
Using Deck Screws
Deck screws are a straightforward and robust choice for this type of project. They provide strong holding power and are resistant to weather.
This method is reliable and allows for disassembly if repairs are ever needed. Always drill pilot holes first.
Combining Screws and Fasteners
For maximum rigidity, you can supplement screws with corrugated fasteners at the corner joints.
These small, wavy metal plates are hammered in to pull a joint tightly together, adding an extra layer of structural integrity.
Gluing the Joints
Using a quality wood glue can create a very clean look with no visible fasteners. However, this method requires precise clamping to ensure the joints are tight while the glue cures.
If the feeder will be used outdoors, you must use a waterproof or exterior-grade wood glue.
The Step-by-Step Assembly Process
A successful build depends on assembling the components in the correct order. This ensures all pieces, especially the internal dividers and floor, slide into their grooves correctly.
Step 1: Form the Outer Frame
Begin by attaching one long side to the two exterior short ends. Use pipe clamps to hold these three pieces together, ensuring the corners are perfectly square.
Step 2: Drive the Initial Fasteners
Once the frame is clamped and square, drive your chosen fasteners (e.g., deck screws) through the long side into the ends of the short pieces. Remember to pre-drill pilot holes.
Step 3: Insert the Interior Panels
With the U-shaped frame built, slide the interior wall into the wide dado (groove) cut for it.
Next, slide the floor panel into its corresponding narrow dado. The panels should fit snugly.
Step 4: Close the Box
Position the second long side onto the open assembly, fitting it over the short ends and the edges of the interior panels.
Clamp this final side in place and secure it with screws, completing the main box structure.
Step 5: Secure the Floor
To prevent the floor from rattling or sliding, tack it in place from the underside using small finish nails. This adds stability without requiring large fasteners.
Understanding the Trade-offs
Making the right technical choices during assembly prevents common frustrations and ensures a better final product.
The Critical Role of Pilot Holes
Drilling a pilot hole that is slightly smaller than the screw's diameter is not optional. It removes wood, giving the screw threads a clear path and preventing the pressure from splitting the board, especially when working near the end of a piece.
The Importance of Squareness
Using pipe clamps to keep the box square is crucial. If the assembly is not square, the final pieces will not align, the interior panels may not fit into their dados, and the entire structure will be weaker.
Fasteners vs. Glue
Screws offer superior mechanical strength and are forgiving; you can back them out and reposition parts. Glue provides a seamless aesthetic but demands perfect clamping and is permanent once cured, making repairs difficult. For outdoor durability, screws are generally the more reliable choice.
Making the Right Choice for Your Project
Your final approach should match your goal for the feeder's durability and appearance.
- If your primary focus is maximum durability and ease of assembly: Use deck screws for all major joints after drilling pilot holes.
- If your primary focus is added structural rigidity: Combine screws at the primary joints with corrugated fasteners at the outer corners.
- If your primary focus is a clean, fastener-free look: Use a high-quality, waterproof wood glue and ensure the box is clamped securely and squarely until dry.
By following this structured approach, you will build a robust and perfectly aligned feeder box.
Summary Table:
| Fastening Method | Best For | Key Consideration |
|---|---|---|
| Deck Screws | Maximum durability & ease | Drill pilot holes to prevent splitting |
| Screws + Corrugated Fasteners | Added structural rigidity | Hammer fasteners into corner joints |
| Wood Glue | Clean, fastener-free look | Use waterproof glue & secure clamps |
Build a better apiary with professional-grade supplies.
As a commercial beekeeper or distributor, you need equipment that's built to last. The assembly techniques in this article are crucial for longevity, and using the right materials is just as important.
HONESTBEE supplies durable, precision-made beekeeping supplies and equipment in bulk. We help commercial apiaries and equipment distributors build resilient operations with high-quality components.
Contact HONESTBEE today to discuss your wholesale needs and ensure your feeder boxes—and your entire operation—are constructed for success.
Visual Guide
Related Products
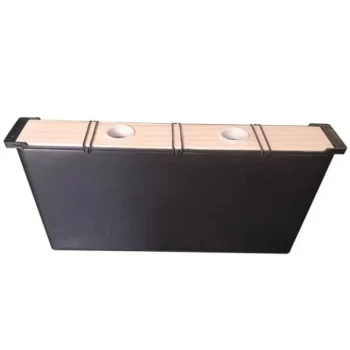
- Styrofoam Mini Mating Nuc Box with Frames Feeder Styrofoam Bee Hives 3 Frame Nuc Box
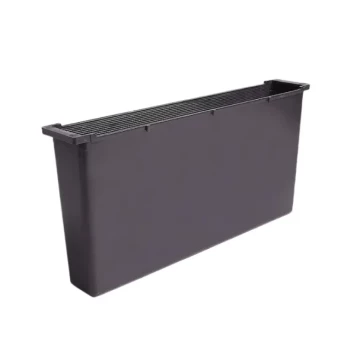
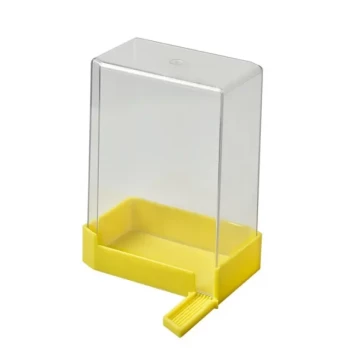
- Rapid Bee Feeder White Plastic 2L Round Top Feeder for 8 or 10-Frame Bee Hives
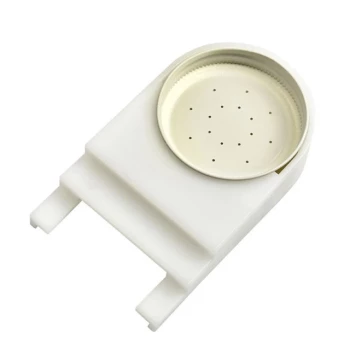
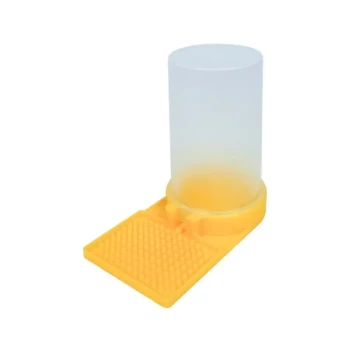
- HONESTBEE Entrance Bee Feeder Efficient Hive Front Liquid Feeding Solution for Beekeeping
- White Plastic 0.5L Beekeeping Entrance Feeder for Bees
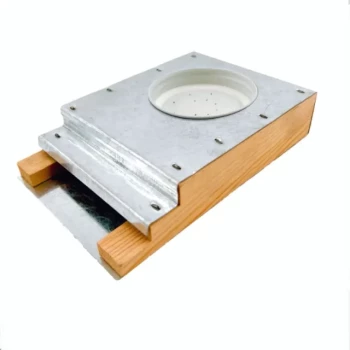
- Boardman Entrance Bee Feeder Durable Galvanized Steel and Wood Construction for Beekeeping
People Also Ask
- What are the common sizes and material types of nuc boxes? Choose the Best Housing for Your Colonies
- How long can bees be kept in a nuc box? Expert Timeline for Hive Transfer
- How should a beekeeper relocate a new colony in a nuc box? Master the 5-5 Rule for Success
- What is the primary advantage of mini mating nucs? Maximize Queen Production with Minimal Bee Resources
- What are the common sizes and types of nuc boxes? A Guide to the Perfect Fit for Your Apiary