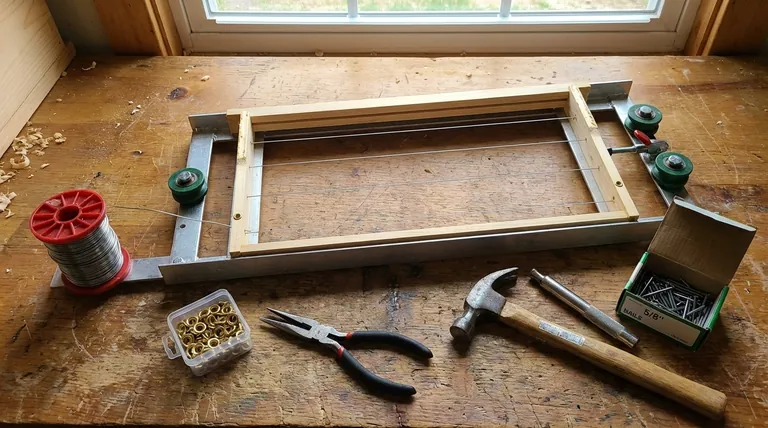
Wiring a beehive frame is a foundational skill for any beekeeper using wooden equipment. To do it correctly, you need an assembled frame, frame wire, eyelets, an eyelet punch, a hammer, needle-nose or lineman's pliers, and small 5/8 inch frame nails. These tools work together to create a durable structure that supports the beeswax foundation your bees will build upon.
The primary goal of wiring a frame is not just to hold the wax in place, but to provide critical structural reinforcement. This prevents the fragile foundation from sagging in the heat or blowing out during the high-speed centrifugal force of honey extraction.
The Essential Toolkit for Frame Wiring
Each tool in the wiring process serves a specific and important function. Understanding the role of each component ensures you build strong, long-lasting frames for your colony.
The Starting Point: An Assembled Frame
You begin with a wooden frame that has already been assembled. The wiring process takes place on the empty frame before any wax foundation is installed.
Structural Support: Frame Wire
Frame wire is typically thin, strong stainless steel or tinned wire that comes on a spool. This wire is threaded through the frame to create a taut, horizontal scaffold. This scaffolding is what the sheet of wax foundation will rest against and be embedded into.
Protecting the Wood: Eyelets and Punch
Eyelets are small brass or metal grommets. Their purpose is to protect the soft wood of the frame's side bars from the high tension of the wire. Without them, the wire can slowly cut into the wood over time, causing it to lose tension.
An eyelet punch is a specialized tool used to press these eyelets securely into the pre-drilled holes on the side bars of the frame. A hammer is used to gently tap the punch.
Driving and Securing: Hammer and Nails
A small hammer is used for two tasks: tapping the eyelet punch to set the eyelets and driving the small nails used to anchor the wire.
Once the wire is threaded and tensioned, 5/8 inch frame nails are used as anchor points. You will wrap the wire around these nails at the start and end of the threading process to hold it securely in place.
Gripping and Tensioning: Pliers
A good pair of needle-nose or lineman's pliers is essential for pulling the wire tight. They allow you to get a firm grip on the thin wire to achieve proper tension before you anchor it with a nail. They are also used for trimming the excess wire.
Understanding the Trade-offs
While the process is straightforward, there are choices and common pitfalls to be aware of that can impact the durability and effectiveness of your frames.
Eyelets: Necessary or Optional?
While some beekeepers skip eyelets to save time or a small amount of money, it is not recommended for long-term use. Frames without eyelets are far more likely to fail as the wire eventually saws through the soft pine, causing the foundation to sag.
Achieving Proper Wire Tension
The most common mistake is improper wire tension. If the wire is too loose, it offers no support. If it is too tight, it can cause the wooden side bars of the frame to bow inward, distorting its shape.
A properly tensioned wire should make a dull musical "twang" when plucked, similar to a low-note guitar string. It should be taut but not so tight that it deforms the frame.
Alternative: All-in-One Plastic Frames
The alternative to this entire process is to use one-piece plastic frames. These frames come with a pre-molded plastic foundation that requires no assembly or wiring, offering significant convenience at the cost of the traditional benefits of natural beeswax.
Making the Right Choice for Your Goal
Your approach to wiring may depend on your specific goals as a beekeeper.
- If your primary focus is maximum durability and longevity: Always use eyelets in your wooden frames to protect them and ensure wire tension holds for many seasons.
- If your primary focus is speed and convenience: Consider using one-piece plastic frames with molded foundation, which completely eliminates the need for wiring.
- If your primary focus is working with natural beeswax foundation: Wiring your frames is a non-negotiable step to provide the necessary support for the wax.
Properly wired frames provide the perfect canvas for your bees to build a strong and productive home.
Summary Table:
| Tool | Purpose |
|---|---|
| Assembled Frame | The starting point for the wiring process. |
| Frame Wire | Creates a taut scaffold to support the foundation. |
| Eyelets & Punch | Protects wood from wire tension; punch sets eyelets. |
| Hammer & Nails | Sets eyelets and anchors the wire securely. |
| Pliers | Grips and tensions the wire; trims excess. |
Build Stronger, Longer-Lasting Frames with HONESTBEE
Equip your commercial apiary or distribution business with the professional-grade tools and supplies needed for perfect frame wiring every time. HONESTBEE supplies durable, wholesale-focused beekeeping equipment designed for efficiency and longevity, helping you support healthy, productive colonies.
Contact HONESTBEE today to discuss your wholesale needs and elevate your beekeeping operations!
Visual Guide

Related Products
- Stainless Steel Bee Hive Frame Wire for Beekeeping
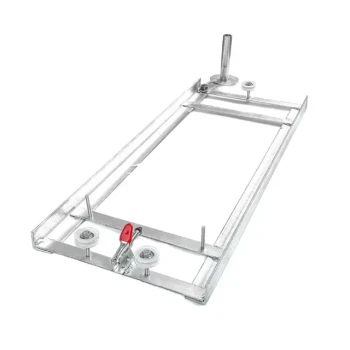
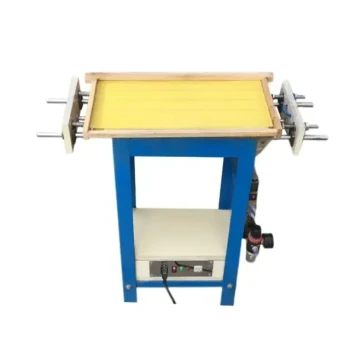
- HONESTBEE Professional Frame Wiring Board and Jig
- HONESTBEE Wired and Assembled Wooden Bee Frames Foundation for a Thriving Hive
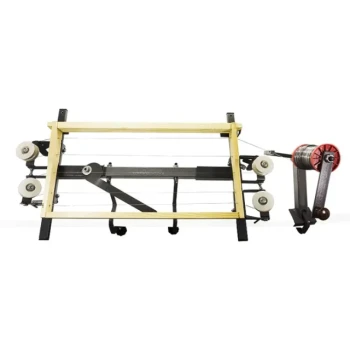
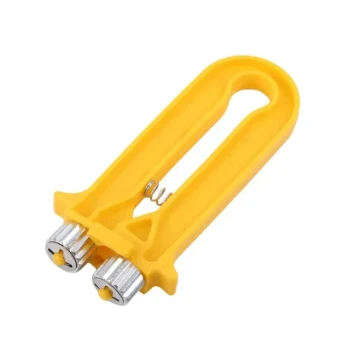
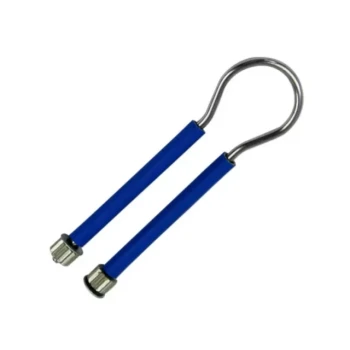
- Professional Pneumatic Wire Embedder for Beehive Frames
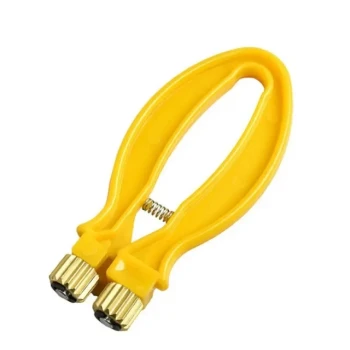
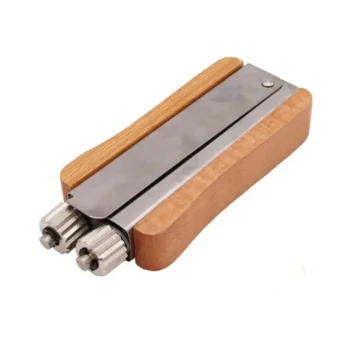
- Professional Bee Frame Wiring Tool with Integrated Tensioning System by HONESTBEE
People Also Ask
- How is the wire secured at the top of the frame? A Guide to Locking in Tension for Strong Honeycomb
- What precautions should be taken when wiring beehive frames? Essential Steps for Comb Durability
- What factors determine the amount of wiring needed in beehive frames? Tailor Your Strategy for Your Climate
- How is proper tension achieved and maintained when wiring beekeeping frames? Master the Art of the Perfect Ping
- How is the wire secured at the top of the frame after being threaded? Master the Clamp and Break Technique