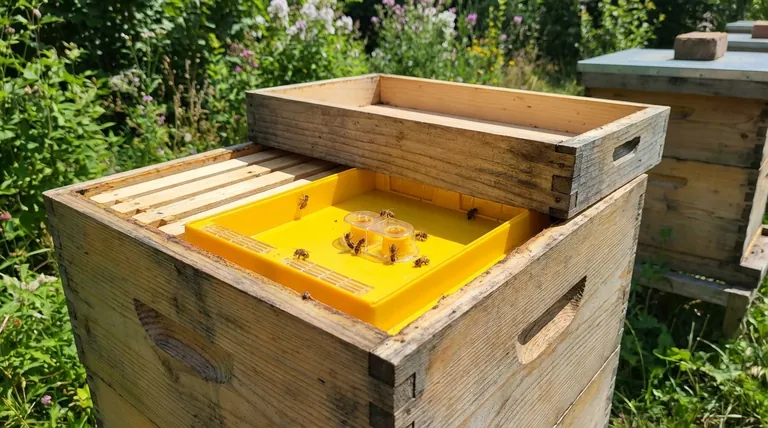
In a standard beehive setup, a top feeder is placed on the inner cover, directly above the uppermost box of the hive. An empty hive box is then placed around the feeder for protection, and the entire assembly is capped with the outer telescoping cover. This method allows bees direct access to the feed from within the hive while protecting the resources from weather and robber bees.
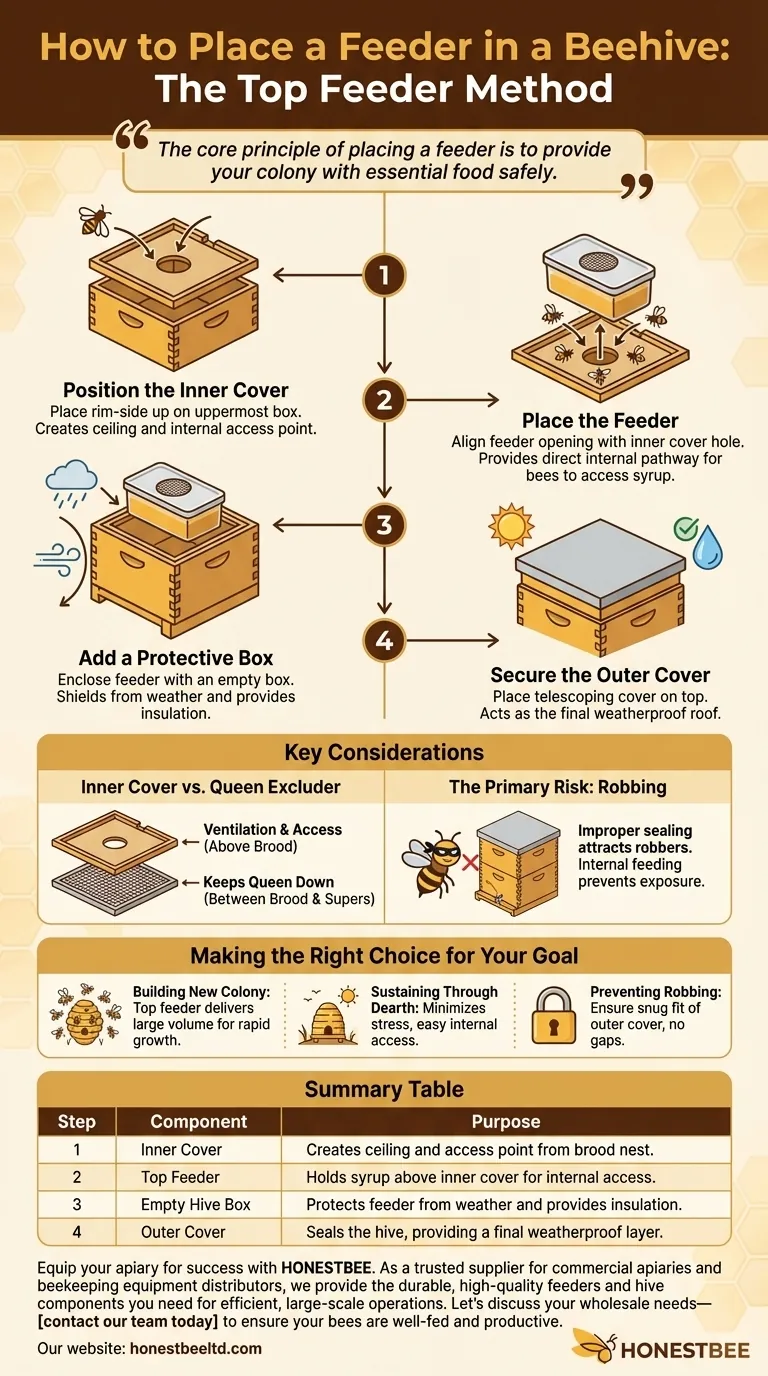
The core principle of placing a feeder is to provide your colony with essential food safely. The correct setup ensures bees can access the syrup while shielding it from outside pests and preventing it from being diluted by rain, which maintains the integrity and health of the hive.
The Purpose and Logic of Feeder Placement
Beekeepers provide supplemental food, typically sugar syrup, during times of nectar dearth. This prevents the colony from starving when natural food sources are scarce, helping them build up strength for winter or during a period of rapid expansion.
Step 1: Position the Inner Cover
The process begins with the inner cover. This component acts as a ceiling for the bees. It is placed directly on top of the uppermost box containing the bee cluster.
For feeding, ensure the notched rim of the inner cover is facing up. This creates a small space and provides access through the central hole.
Step 2: Place the Feeder
The feeder is set directly on top of the inner cover, with its opening aligned over the central hole. This creates a direct pathway for the bees to travel up from the brood nest or honey supers to access the syrup.
This internal access point is critical, as it keeps the feeding activity contained within the hive.
Step 3: Add a Protective Box
An empty hive box, often called a "super," is placed around the feeder. This box serves as a protective shell.
Its purpose is twofold: it shields the feeder from wind and rain, and it creates a dead-air space that helps insulate the feeder and the top of the hive.
Step 4: Secure the Outer Cover
Finally, the telescoping outer cover (or top cover) is placed on top of the empty box. This is the final step in sealing the hive, providing a weatherproof roof that protects the feeder and the colony from the elements.
Understanding the Trade-offs and Key Components
Properly assembling the hive for feeding is crucial. Misplacing components can lead to unintended consequences, such as trapping bees or inviting pests.
The Inner Cover is a Multi-Function Tool
The inner cover is not just a base for the feeder. It provides essential ventilation and an upper entrance for the bees. Placing it rim-side up during the main season is a common and effective practice.
Avoid Confusion with a Queen Excluder
It is important not to confuse the feeder setup with the placement of a queen excluder. A queen excluder is a screen placed between the brood chamber and the honey supers.
Its sole purpose is to keep the larger queen in the lower boxes, ensuring that only honey, not eggs and brood, is stored in the supers above it. This component is not part of the feeding assembly.
The Primary Risk: Robbing
Improperly sealed hives or external feeders can attract robber bees from other colonies. The top feeder method, when assembled correctly, is one of the best ways to prevent this, as the food source is not exposed to the outside.
Making the Right Choice for Your Goal
Your reason for feeding will influence how you approach the task.
- If your primary focus is building up a new colony: The top feeder method is excellent for delivering a large volume of syrup quickly and safely, encouraging rapid comb-building and population growth.
- If your primary focus is sustaining a hive through a nectar shortage: This method minimizes stress on the colony by making food easily accessible without forcing them to leave the hive.
- If your primary focus is preventing robbing: Ensure the outer cover fits snugly on the protective box with no gaps, as this setup is your best defense against opportunistic pests and other bees.
Properly feeding your bees is a fundamental skill that supports a healthy, productive, and resilient colony.
Summary Table:
| Step | Component | Purpose |
|---|---|---|
| 1 | Inner Cover | Creates a ceiling and access point from the brood nest. |
| 2 | Top Feeder | Holds syrup directly above the inner cover's hole for internal access. |
| 3 | Empty Hive Box | Protects the feeder from weather and provides insulation. |
| 4 | Outer Cover | Seals the hive, providing a final weatherproof layer. |
Equip your apiary for success with HONESTBEE. Proper feeding is essential for colony health and honey production. As a trusted supplier for commercial apiaries and beekeeping equipment distributors, we provide the durable, high-quality feeders and hive components you need for efficient, large-scale operations. Let's discuss your wholesale needs—contact our team today to ensure your bees are well-fed and productive.
Visual Guide
Related Products
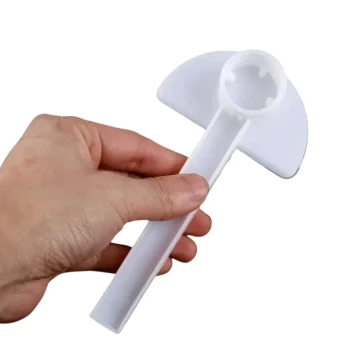
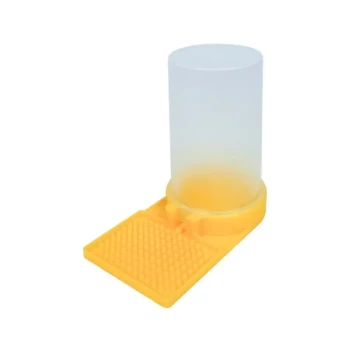
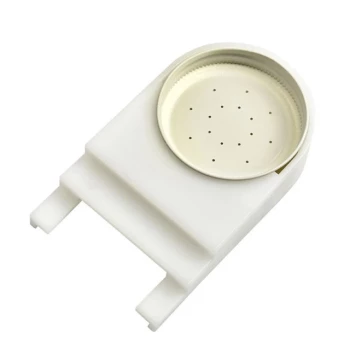
- HONESTBEE Round Hive Top Bee Feeder for Syrup
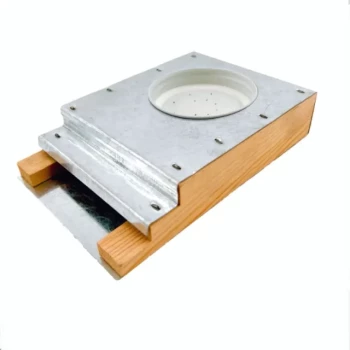
- HONESTBEE Professional Hive Top Bee Feeder Feeding Solution
- Professional Hive Top Bee Feeder for Beekeeping
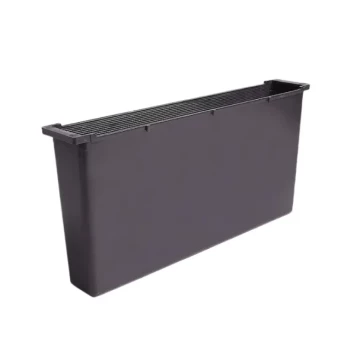
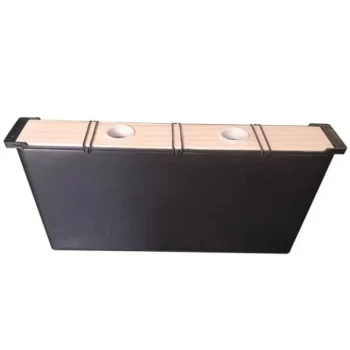
- HONESTBEE Square Top Hive Bee Feeder Top Bee Feeder
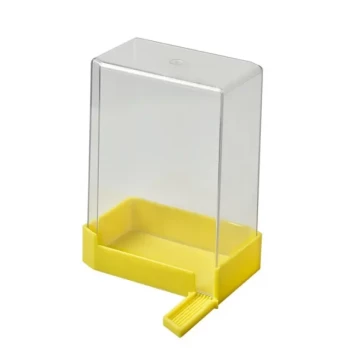
- Rapid Bee Feeder White Plastic 2L Round Top Feeder for 8 or 10-Frame Bee Hives
People Also Ask
- What types of hive boxes is the round hive top feeder compatible with? Universal Fit for 8 & 10-Frame Langstroth Hives
- What can the round hive top feeder be used for? A Guide to Efficient, Safe Bee Feeding
- What are the different types of top feeders for bees? Choosing the Best Feeder for Your Apiary
- What is the capacity of the round hive top feeder for syrup and pollen? A Guide to Targeted Apiary Support
- How do you use a top feeder for bees? Expert Guide to Installation and High-Volume Hive Feeding