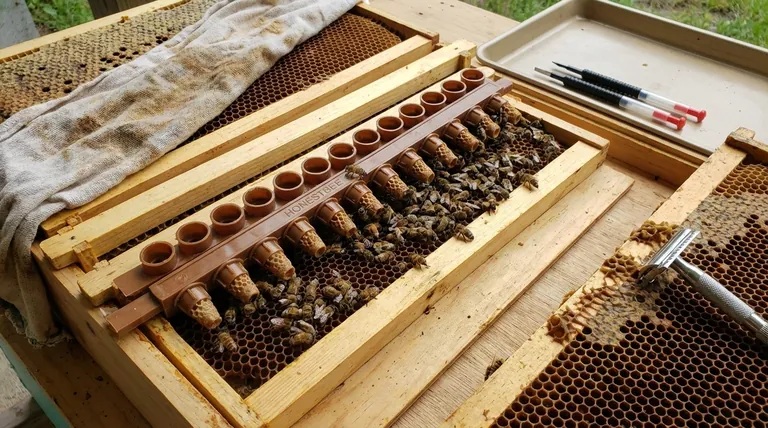
To properly prepare cell bars for grafting, you must first attach approximately 20 plastic cell cups to a waxed frame bar. Critically, this bar must then be placed into a strong hive for at least 24 hours before you intend to graft. This allows the bees to clean, polish, and condition the cups, which significantly increases their acceptance of the newly transferred larvae.
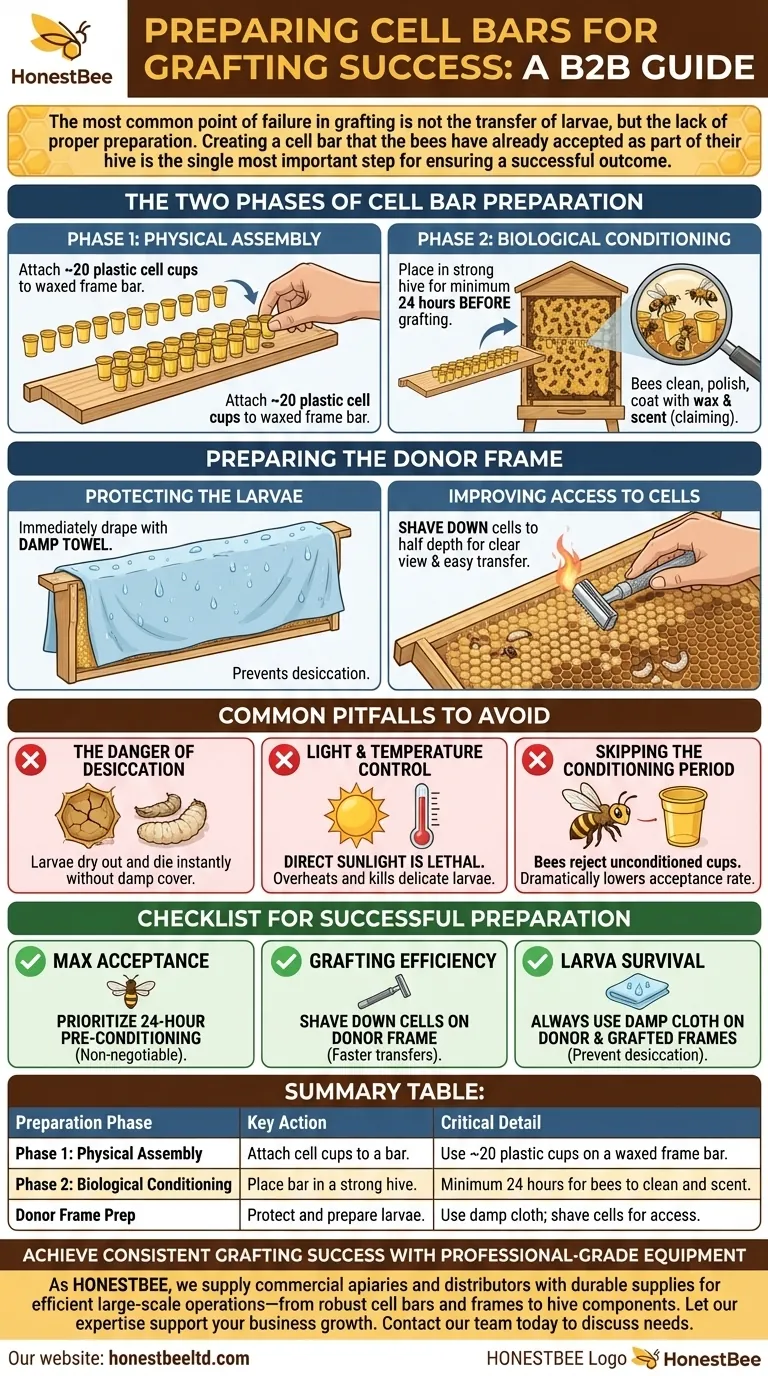
The most common point of failure in grafting is not the transfer of larvae, but the lack of proper preparation. Creating a cell bar that the bees have already accepted as part of their hive is the single most important step for ensuring a successful outcome.
The Two Phases of Cell Bar Preparation
Successful preparation isn't a single action but a two-step process. It involves both the physical construction of the bar and the essential biological conditioning by the bees themselves.
Phase 1: Physical Assembly
The first step is building the physical structure. This involves attaching your queen cell cups to a frame that will be inserted into the hive.
You can use a standard half-depth frame's bottom bar, often waxed, or a custom-made wooden cell bar. The key is to securely affix about 20 plastic cell cups along its length, providing the structure for the new queen cells.
Phase 2: Biological Conditioning
This is the most critical and often overlooked step. The assembled, empty cell bar must be placed in a strong, populous hive for a minimum of 24 hours prior to grafting.
During this period, the worker bees will investigate, clean, and polish the plastic cups. They coat the cups with a thin layer of wax and impart the colony's scent, essentially "claiming" them as part of the hive. This pre-conditioning dramatically increases the rate at which they will accept and care for a grafted larva.
Preparing the Donor Frame for Larva Transfer
Your cell bar preparation is only half the battle. You must also prepare the frame from which you will be sourcing your larvae to ensure their survival and make the transfer process easier.
Protecting the Larvae
Once you select a frame with larvae of the correct age, gently brush the nurse bees away. Immediately drape a damp towel or cloth over the frame. This action is crucial to maintain high humidity and prevent the delicate larvae from desiccating (drying out), which would kill them instantly.
Improving Access to the Cells
To make the tiny larvae easier to see and extract, you can shave the brood cells down to about half their depth.
Use a safety razor, ideally with the protective rake removed. Dipping the blade in hot water allows it to slice cleanly through the wax, providing a clear, unobstructed view of the larvae floating on their beds of royal jelly.
Common Pitfalls to Avoid
Attention to detail during preparation is what separates success from failure. Ignoring these small but critical factors can render the entire effort useless.
The Danger of Desiccation
The single greatest threat to larvae during the grafting process is drying out. They are extremely fragile. A damp cloth must be used to cover the donor frame as soon as bees are brushed off and to cover the cell bar immediately after the larvae are transferred.
Light and Temperature Control
You need excellent light to see the larvae, but direct sunlight is lethal. It can quickly overheat and kill them. Position your grafting station in a well-lit area away from direct sun.
Skipping the Conditioning Period
Placing freshly assembled cell cups directly into a cell-builder colony without the 24-hour conditioning period is a common mistake. The bees will often treat the foreign plastic objects with suspicion and will be far less likely to accept the grafts.
A Checklist for Successful Preparation
Your approach to preparation should align with your primary goal for the grafting process.
- If your primary focus is maximum acceptance: Prioritize the 24-hour pre-conditioning step; this is non-negotiable for achieving high success rates.
- If your primary focus is grafting efficiency: Shave down the cells on the donor frame for easier access, which enables faster and more precise larva transfers.
- If your primary focus is larva survival: Always use a damp cloth to cover both the donor frame and the grafted cell bar to prevent deadly desiccation.
Meticulous preparation is the true foundation of successful queen rearing.
Summary Table:
| Preparation Phase | Key Action | Critical Detail |
|---|---|---|
| Phase 1: Physical Assembly | Attach cell cups to a bar. | Use ~20 plastic cups on a waxed frame bar. |
| Phase 2: Biological Conditioning | Place bar in a strong hive. | Minimum 24 hours for bees to clean and scent the cups. |
| Donor Frame Prep | Protect and prepare larvae. | Use a damp cloth to prevent desiccation; shave cells for better access. |
Achieve Consistent Grafting Success with Professional-Grade Equipment
Mastering queen rearing requires not just skill but also reliable, high-quality tools. As HONESTBEE, we supply commercial apiaries and beekeeping equipment distributors with the durable, precision-crafted supplies needed for efficient large-scale operations—from robust cell bars and grafting frames to essential hive components.
Let our wholesale-focused expertise support your business's growth and productivity. Contact our team today to discuss your equipment needs and explore our product catalog.
Visual Guide
Related Products
- Clear Black Plain Polystyrene Queen Bee Grafting Cell Cups No Lug for Bee Queen Cup
- Premium Nicot Style Cell Bar Holder and Queen Cell Cup Holder System
- JZBZ Langstroth Queen Rearing Frame for Beekeeping
- Stainless Steel Queen Grafting Tool for Beekeeping and Bee Queen Grafting
- Double Head Beekeeping Grafting Tools for Beekeepers
People Also Ask
- Why is a diluted royal jelly solution applied to queen cell cups? Boost Acceptance in Artificial Grafting
- Why are cell cups primed before grafting, and what is used for this process? Boost Your Queen Rearing Success
- What types of cell cups are commonly used in grafting? Plastic vs. Wax for Queen Rearing Success
- What is the importance of using high-purity natural beeswax for queen cups? Ensure Scientific Integrity & Health
- What roles do specialized queen cell cups play in royal jelly production? Optimize Your Hive's Secretion and Yield


