To properly clean a honey extractor, you must disassemble all removable parts and wash them thoroughly with warm, soapy water. After rinsing, ensure every component is completely dry before reassembly. Proper storage in a clean, dry area is essential to prevent rust and contamination.
The goal of cleaning an extractor is not just to remove visible residue, but to ensure the absolute purity of future honey batches and to protect your equipment from long-term damage like rust, mold, and mechanical failure.
Why Proper Cleaning is Non-Negotiable
Cleaning an extractor is a critical step in the beekeeping process that directly impacts both your product and your equipment. Skipping this step introduces significant risks.
Preventing Contamination
Honey is a food product. Any residue left in the extractor can become a breeding ground for bacteria and mold, which can contaminate subsequent harvests and spoil your honey.
Ensuring Equipment Longevity
Sticky honey and beeswax residue attract moisture from the air. This moisture, combined with the acidic nature of honey, will lead to rust and corrosion over time, significantly shortening the lifespan of your investment.
Maintaining Honey Quality
Old, crystallized honey and bits of beeswax left in the extractor can break off and mix with your fresh harvest. This compromises the clarity, texture, and purity of your final product.
The Step-by-Step Cleaning Process
A methodical approach ensures no step is missed. The key is to work quickly after extraction while the honey and wax are still relatively soft.
Step 1: Initial Wipe-Down
Immediately after the final spin, use a spatula to remove as much honey as possible. Then, use a towel soaked in warm water to wipe down the interior surfaces. This removes the bulk of the residue and makes deep cleaning much easier.
Step 2: Complete Disassembly
Remove all internal parts that can be taken out. This typically includes the basket or cage, and the honey gate. This access is crucial for a thorough cleaning.
Step 3: Washing with Warm, Soapy Water
Wash all disassembled parts and the main drum with warm, soapy water. The warm water is essential, as it effectively softens and dissolves any remaining beeswax and crystallized honey.
Step 4: Thorough Rinsing and Drying
Rinse every component with clean water to remove all soap residue. Following this, you must dry every part completely. Air drying in the sun is effective, but wiping with a dry, lint-free cloth is best to prevent water spots and rust.
Common Pitfalls to Avoid
Simple mistakes during cleaning can cause irreversible damage, especially to electric models. Understanding what not to do is as important as knowing what to do.
Protecting Mechanical Components
This is the most critical rule for electric extractors. Never allow water to reach the motor, gearbox, or bearings. These parts are not waterproof and will be damaged by moisture. Clean these areas with a dry or slightly damp cloth only.
Forgetting to Sanitize
Washing removes debris, but sanitizing kills microorganisms. After washing and rinsing, a final rinse with a food-safe sanitizer provides an extra layer of protection against bacteria and mold growth during storage.
The Myth of Oiling
You should not oil or grease the extractor's moving parts unless specified by the manufacturer. Most modern extractors, especially larger ones, use sealed bearings that do not require maintenance. Adding lubricant can attract dust and contaminate the honey.
How to Apply This to Your Process
Your approach should be guided by your equipment and the frequency of use.
- If you own a manual extractor: You can be more liberal with water during cleaning, but thorough drying is still paramount to prevent rust.
- If you own an electric extractor: Your absolute priority is protecting the motor and bearings from any moisture. A meticulous wipe-down is safer than aggressive spraying.
- For end-of-season storage: Perform a full deep clean and sanitization, ensuring the unit is bone-dry before covering it and storing it in a cool, dry place.
Proper maintenance ensures your extractor will be ready and reliable for many seasons to come.
Summary Table:
| Step | Key Action | Purpose |
|---|---|---|
| 1. Initial Wipe-Down | Remove honey with a spatula; wipe with warm water. | Remove bulk residue for easier cleaning. |
| 2. Disassembly | Take out all removable parts (basket, honey gate). | Allow access for a thorough clean. |
| 3. Washing | Wash parts with warm, soapy water. | Dissolve beeswax and crystallized honey. |
| 4. Drying | Rinse and dry all components completely. | Prevent rust and moisture-related damage. |
Protect your harvest and your investment with professional-grade equipment from HONESTBEE.
As a trusted wholesale supplier for commercial apiaries and distributors, we understand that your profitability depends on the purity of your honey and the longevity of your equipment. Proper cleaning is essential, and it starts with durable, easy-to-maintain extractors designed for high-volume operations.
Let us help you equip your business for success. Contact our team today to discuss your commercial beekeeping supply needs and discover how our wholesale-focused solutions can support your operation's efficiency and growth.
Visual Guide

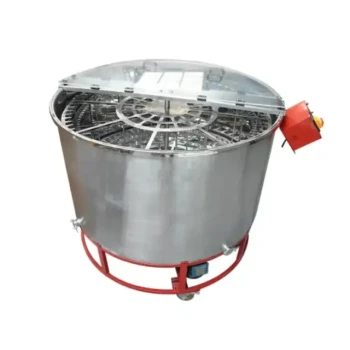
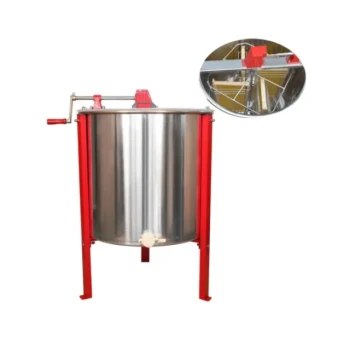
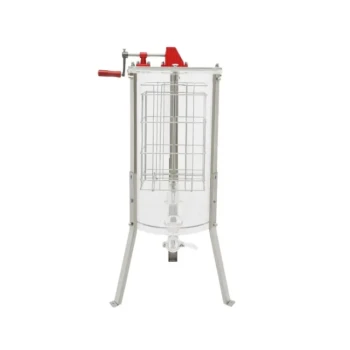
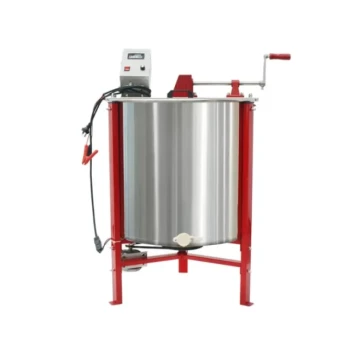
Related Products
- HONESTBEE 72 Frame Industrial Electric Honey Extractor for Beekeeping
- Commercial Electric 12 Frame Honey Extractor Spinner Motorized Honey Extractor
- HONESTBEE 3-Frame Manual Acrylic Honey Extractor
- electric honey extractor honey centrifuge 3 frame honey extractor stainless steel honey frame extractor
- HONESTBEE 6 Frame Self Reversing Electric Honey Extractor for Beekeeping
People Also Ask
- What is the importance of balancing honeycomb frames within a honey extractor? Ensure Stability and Protect Machinery
- How is honey separated from the frames after they are uncapped? Efficient Extraction Methods for High Yields
- How do manual honey extractors compare to electric honey extractors? Choosing the Right Tool for Your Apiary Growth
- What is the primary benefit of using a honey extractor compared to older methods? Boost Yield & Save Your Bees' Energy
- What are the main benefits of using a honey extractor? Maximize Yields and Protect Your Honeycomb