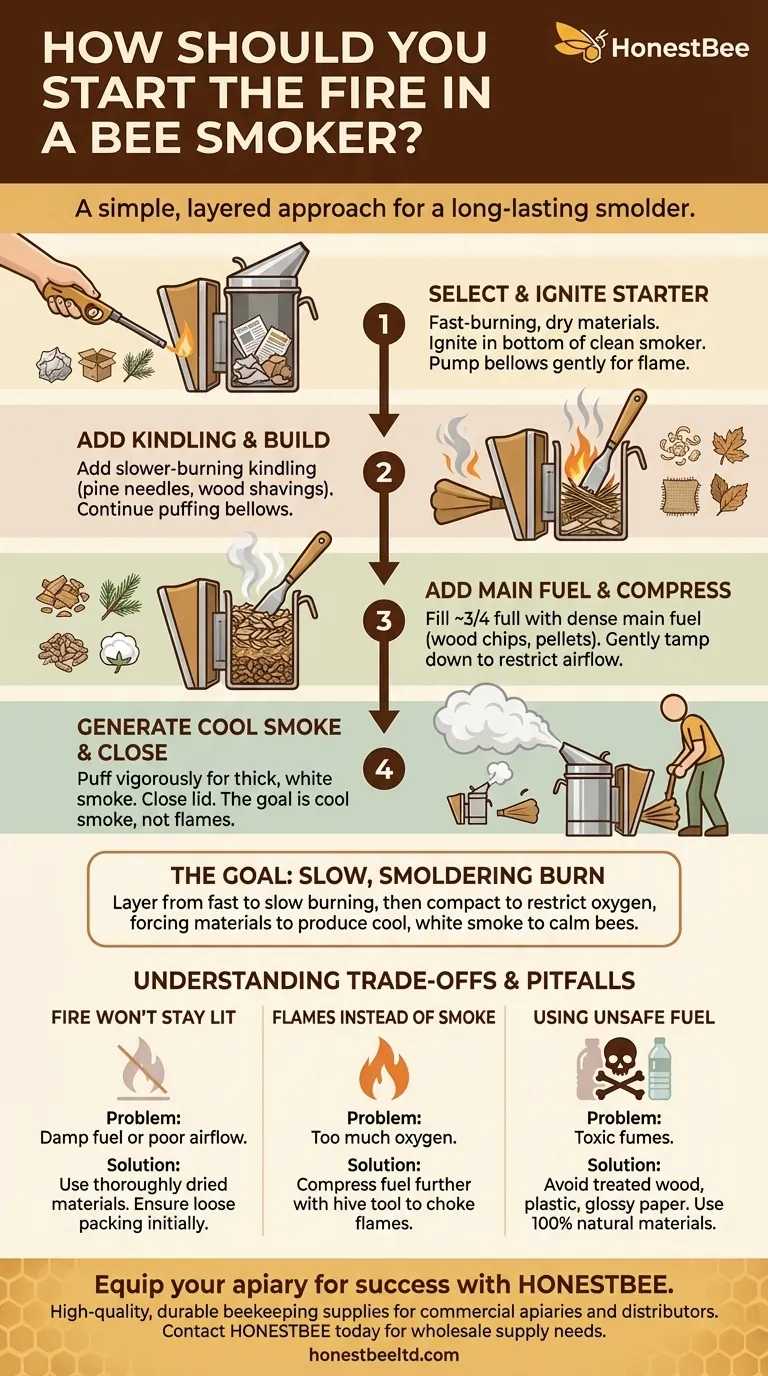
Starting a bee smoker correctly involves a simple, layered approach. First, ignite a fast-burning starter material like crumpled newspaper or cardboard at the bottom of the smoker's burn chamber. Use a hive tool to push it down, then gently add slower-burning kindling like pine needles or wood shavings on top. Finally, pack in your main fuel, compress it slightly, and use the bellows to generate a thick, cool, white smoke before closing the lid.
The goal is not to create a fire, but to engineer a slow, smoldering burn. The key is to layer your fuel from fast-burning to slow-burning and then compact it to restrict airflow, forcing the material to produce cool, white smoke instead of hot flames.
The Anatomy of a Perfect Smoker Fire
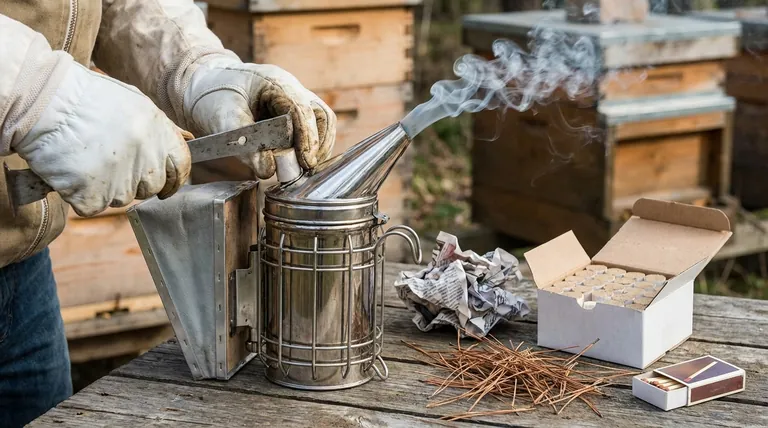
A well-lit smoker is the foundation of a calm hive inspection. The objective is to produce a consistent stream of cool, white smoke that masks alarm pheromones without agitating or harming the bees. This is achieved through a specific layering and compression technique.
Step 1: Select Your Starter Material
The starter is the foundation of your fire. Its only job is to catch fire easily and burn hot enough to ignite the next layer.
Good starters are dry, natural, and fast-burning. Common choices include:
- Crumpled, untreated newspaper
- Corrugated cardboard (without waxy coatings or plastic tape)
- Untreated burlap scraps
- Dry pinecones or pine needles
Step 2: Ignite and Establish the Flame
Place your starter material loosely in the bottom of the clean smoker can. Light it with a long-handled lighter or match.
Once it's lit, point the smoker nozzle downward and pump the bellows gently a few times. This draws air through the chamber, fanning the embers and establishing a small, robust flame.
Step 3: Add Your Main Fuel
This is the most critical step for achieving a long-lasting smolder. Your main fuel should be denser and slower-burning than your starter.
Once you have a small, active flame from your starter, begin adding your main fuel on top of it. Excellent options include:
- Wood shavings or small wood chips
- Commercial smoker fuel pellets
- Cotton waste or dryer lint (from 100% cotton clothing only)
- Dried leaves or twigs
Add the fuel in small handfuls, puffing the bellows after each addition to ensure the fire continues to draw air and doesn't get smothered too early.
Step 4: Compress for Cool Smoke
Once the smoker is about three-quarters full and the main fuel has caught fire, use your hive tool to gently tamp down the fuel.
This compression is the secret to producing smoke instead of flames. It restricts oxygen flow to the fire, forcing it to smolder slowly and produce the cool, white smoke that calms bees. After compressing, puff the bellows vigorously until a thick, steady stream of smoke emerges. You can then close the lid.
Understanding the Trade-offs and Pitfalls
Mastering the smoker means understanding why things go wrong. Most issues relate to fuel, airflow, or packing density.
The Fire That Won't Stay Lit
If your smoker goes out quickly, it's usually due to one of two things: damp fuel or insufficient airflow. Always use thoroughly dried materials. If your starter burns out before igniting the main fuel, you may have packed the main fuel too tightly at the beginning, cutting off oxygen.
Flames Instead of Smoke
Seeing flames shoot out of the smoker's spout is a clear sign that your fire is too hot and has too much oxygen. This is dangerous for you and agitates the bees. The solution is to compress the fuel further with your hive tool to choke the flames and force a smolder.
Using Unsafe Fuel
Never burn materials that could release toxic fumes. This is harmful to your bees and can contaminate your honey.
Avoid all treated or painted wood, plastic, synthetic fabrics, and glossy paper or cardboard. Stick to raw, natural, and untreated materials.
Making the Right Choice for Your Goal
Your fuel choice and technique can be adapted based on the task at hand.
- If your primary focus is a long, slow burn for multiple hive inspections: Use a dense main fuel like wood pellets or compressed cotton, and be sure to pack the smoker firmly once lit.
- If your primary focus is a quick start for a short task: Use a larger amount of fast-burning starter and kindling, such as pine needles and cardboard, which will light quickly but burn out faster.
- If your primary focus is bee safety and honey purity: Always double-check that every piece of fuel, from starter to main, is 100% natural and free of chemicals, treatments, or plastics.
Mastering your smoker is one of the most important skills for calm, confident, and effective beekeeping.
Summary Table:
| Step | Key Action | Purpose |
|---|---|---|
| 1 | Ignite a fast-burning starter (e.g., newspaper) | Creates a base flame to ignite the main fuel. |
| 2 | Add slower-burning kindling (e.g., pine needles) | Transitions the fire from a flame to a smolder. |
| 3 | Pack and compress the main fuel (e.g., wood chips) | Restricts airflow to produce cool, white smoke instead of flames. |
| 4 | Pump bellows until smoke is thick and white | Ensures a consistent, bee-calming smoke before closing the lid. |
Equip your apiary for success with HONESTBEE.
Mastering your smoker is just one part of effective beekeeping. Ensure every piece of your equipment is as reliable as your technique. HONESTBEE supplies commercial apiaries and beekeeping equipment distributors with high-quality, durable beekeeping supplies through our wholesale-focused operations.
Let us help you build a more productive and efficient operation. Contact HONESTBEE today to discuss your wholesale supply needs.
Visual Guide
Related Products
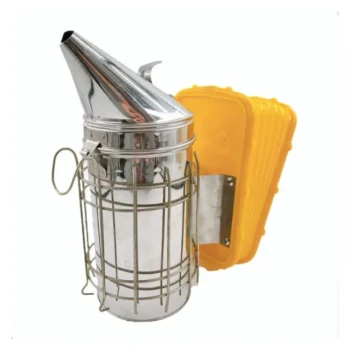
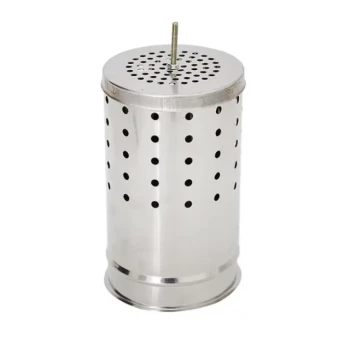
- Stainless Steel Honey Bee Smoker Hive and Honeycomb Smoker for Beekeeping
- Professional Bee Smoker with Elongated Spout and Durable Bellows for Beekeeping
- Premium Traditional Copper Bee Smoker with Bellows
- Heavy Duty Manual Bee Smoker Blower for Beekeeping
- European Stainless Steel Bee Smoker for Honey Bee Hive
People Also Ask
- What are bee smokers made out of? Choose the Right Material for Your Apiary
- Why is a specialized bee smoker considered a critical tool for apiary safety? Master Hive Control & Productivity
- What type of bee smoker is recommended for a beginner? Top Picks for Easy Hive Management
- Why is a stainless steel bee smoker considered indispensable? Master Hive Management with Cool Smoke Technology
- How do bee smokers and colored light sources work together to assist in night-time honey harvesting? Expert Strategies