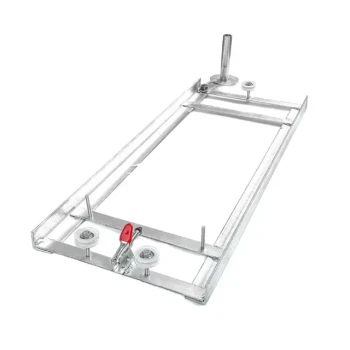
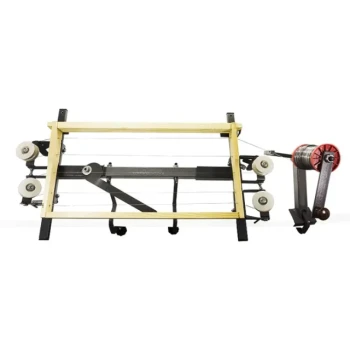
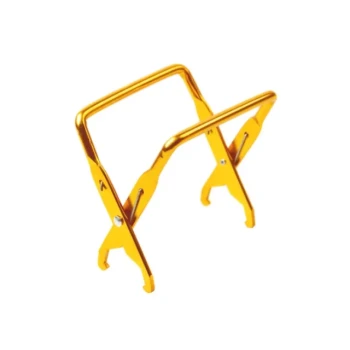
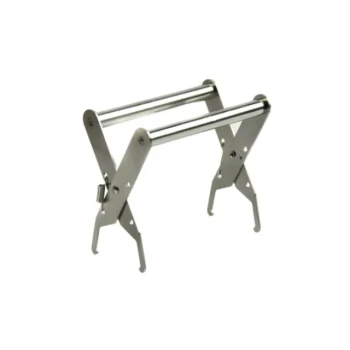
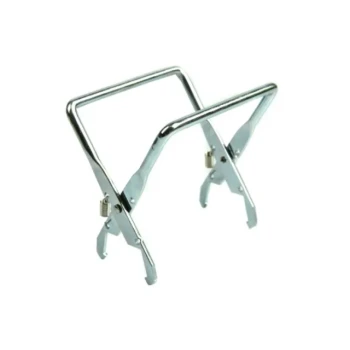
The assembly process relies on a specialized jig to stabilize components for efficient batch processing. You begin by securing the sidebars in an upright position, attaching the bottom bars with glue and nails, flipping the entire unit, and finally securing the top bars before removing the finished frames.
This method streamlines the assembly of ten frames simultaneously by holding the sidebars stationary throughout the process. The design allows for a simple flip of the jig, ensuring both top and bottom bars are attached securely without manually realigning individual components.
The Assembly Workflow
Positioning the Sidebars
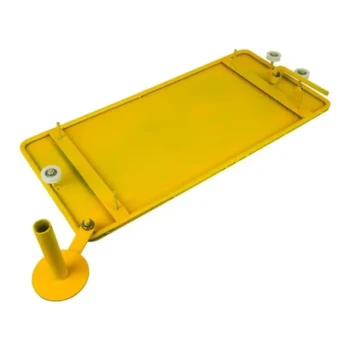
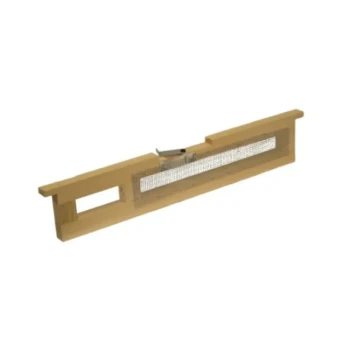
The process begins by loading the sidebars into the jig.
The jig is designed to hold sidebars for 10 frames at once.
Crucially, these components are kept upright and stationary, providing a stable foundation for the subsequent steps.
Securing the Bottom Bars
Once the sidebars are locked in place, you proceed to the bottom of the assembly.
The bottom bars are attached to the stationary sidebars.
For a durable bond, the reference specifies that these should be glued and nailed into place.
Reorienting the Jig
After the bottom bars are successfully attached, the workflow requires a change in orientation.
You must flip the jig over to expose the other end of the sidebars.
This step allows you to access the top section without removing the partially assembled frames from the fixture.
Final Assembly and Removal
With the jig flipped, you attach the top bars to the assembly.
Once these are secured, the construction of the frames is complete.
The final step is to slide the completed frames out of the jig, leaving it ready for the next batch.
Operational Considerations
Batch Processing Constraints
This process is explicitly designed for a specific volume.
You are assembling 10 frames in a single run, which dictates the pace of your workflow.
The Necessity of Reorientation
The efficiency of this jig relies on the ability to flip the unit midway through.
You must ensure you have adequate workspace to flip the jig safely while it is loaded with components.
How to Apply This to Your Project
To maximize the utility of this assembly method, consider your production needs:
- If your primary focus is volume: Utilize the jig's capacity to produce a full batch of 10 frames in every cycle to minimize setup time.
- If your primary focus is structural integrity: Ensure you strictly follow the instruction to both glue and nail the bottom bars before flipping the unit.
By following this sequence—load, secure bottom, flip, secure top—you ensure a consistent and stable result for every frame.
Summary Table:
| Assembly Step | Action Required | Key Component | Purpose |
|---|---|---|---|
| 1. Positioning | Load upright into jig | Sidebars | Establish a stable foundation for 10 frames |
| 2. Bottom Security | Glue and nail | Bottom Bars | Ensure structural integrity before flipping |
| 3. Reorientation | Flip the entire jig | Full Assembly | Access the top section without manual realignment |
| 4. Finalization | Attach and secure | Top Bars | Complete the frame structure |
| 5. Removal | Slide out finished units | Completed Frames | Clear the jig for the next production batch |
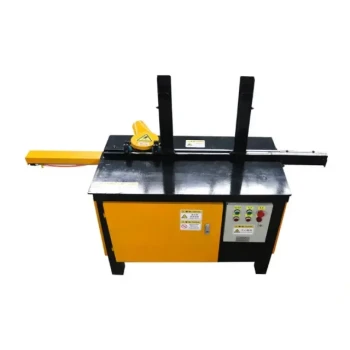
Scaling Your Beekeeping Operation?
HONESTBEE is dedicated to supporting commercial apiaries and distributors with high-performance solutions. Whether you are looking for advanced hive-making machinery, honey-filling systems, or a reliable wholesale supply of beekeeping tools and consumables, we provide the industrial-grade equipment you need to maximize efficiency.
Ready to optimize your production? Contact our expert team today to discover how our comprehensive portfolio and specialized hardware can drive your business growth.
Related Products
- HONESTBEE Professional Frame Wiring Board and Jig
- Professional Bee Frame Wiring Tool with Integrated Tensioning System by HONESTBEE
- Mini Desktop Bee Hive Frame Forming Making Machine
- Assembled Wooden Bee Frames with Plastic Foundation for Durability and Convenience by HONESTBEE
- Professional Bee Frame Machine for Side Bar Shaping
People Also Ask
- What are some alternative materials for wiring beehive frames? Comparing Fishing Line vs. Stainless Steel
- What is the purpose of the frame wiring jig? Speed Up Bee Frame Wiring in Under 90 Seconds
- What tools and materials are required for wiring a beehive frame? Essential Equipment for Stronger Honeycomb
- What is the final step in wiring a frame? Secure Lasting Tension for a Durable Hive
- What are the benefits of using a bee frame wiring jig? Achieve Perfect Tension & Efficiency