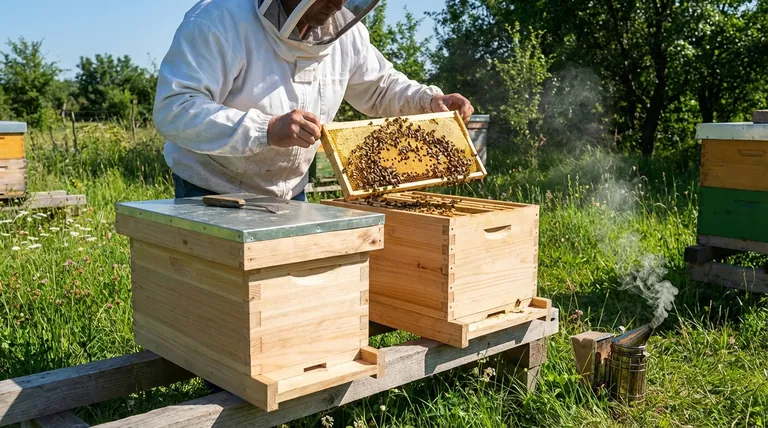
Transferring frames from a nucleus hive is a straightforward process that involves moving the five frames of bees, brood, and food into a full-sized hive body. The core steps are to gently smoke the bees, lift each frame out of the nuc using a hive tool, and place them in the center of the new hive while maintaining their original order. You then fill the remaining space with new frames and shake any leftover bees from the nuc box into their new home.
The primary goal is not simply to move the bees, but to transfer their established home—the brood nest—with minimal disruption. Maintaining the original order and position of the frames is critical for reducing colony stress and ensuring a seamless transition.
Preparation: Setting the Stage for Success
Proper preparation is the difference between a chaotic transfer and a calm, successful one. Taking a few minutes to get organized beforehand will protect both you and the bees.
Assembling Your Tools
Have all your equipment ready and within arm's reach before you begin.
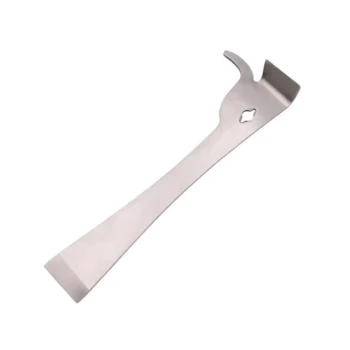
You will need protective gear, a smoker, a hive tool to gently pry the frames apart, and an entrance reducer for the new hive.
Preparing the New Hive
Your new hive should be assembled and placed in its final location.
Before you start, remove three to five of the new, empty frames from the center of the new hive box. This creates a clear, open space to work in, preventing you from rolling or crushing bees as you place the nuc frames.
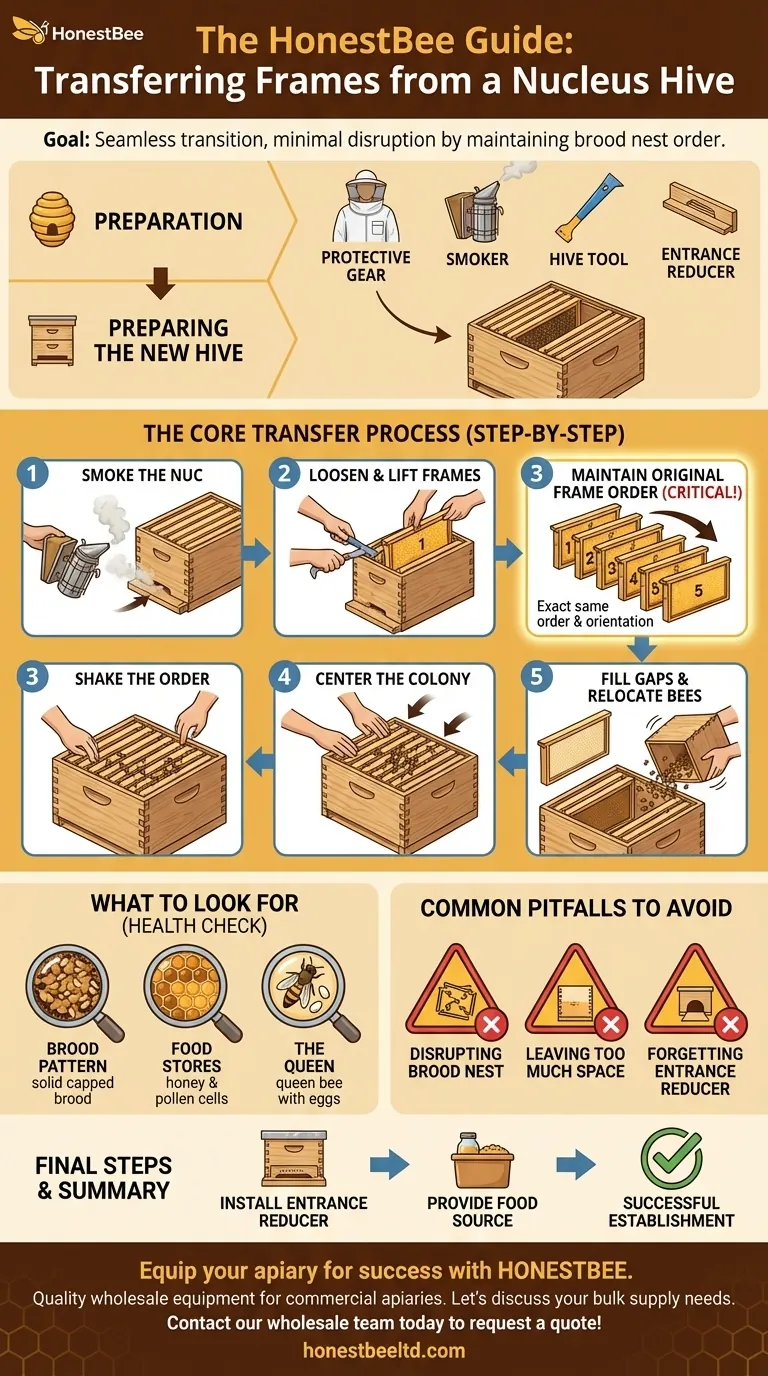
The Core Transfer Process: A Step-by-Step Guide
Work on a calm, sunny day when most forager bees are out of the hive. Move deliberately and gently throughout the process.
Step 1: Open and Smoke the Nuc
Start by applying a few gentle puffs of smoke to the entrance of the nucleus hive. This interrupts the bees' alarm pheromones and encourages them to be calmer.
After a minute, open the nuc box and apply another one or two light puffs of smoke across the top of the frames.
Step 2: Loosen and Transfer the Frames
The frames in a nuc are often stuck together with wax and propolis. Use your hive tool to gently pry the outer frame loose.
Carefully lift the first frame straight up. As you move it to the new hive, place it against the side of the open space you created, maintaining its position as an "outer" frame.
Step 3: Maintain the Original Frame Order
Repeat the process for the remaining four frames, lifting each one and placing it into the new hive in the exact same order and orientation it had in the nuc.
This is the most critical rule of the transfer. The bees organize their nest with brood in the center, surrounded by pollen and then honey. Preserving this structure is essential for the queen's laying pattern and the colony's ability to regulate temperature.
Step 4: Center the Colony
Once all five nuc frames are in the new hive, gently slide them together as a single unit into the center of the box.
Centering the established frames helps the colony maintain the critical temperature required for raising brood.
Step 5: Fill the Gaps and Relocate Remaining Bees
Add your new, empty frames to fill the space on either side of the nuc frames. The hive box must be completely full of frames to discourage the bees from building unwanted comb in the gaps.
Finally, take the now-empty nuc box, turn it upside down over the new hive, and give it a firm shake or tap to dislodge any remaining bees into their new home.
What to Look For: A Health Check Opportunity
The transfer is your first chance to conduct a basic inspection of your new colony. As you move each frame, take a moment to look for key signs of health.
The Brood Pattern
Look for a solid, concentrated pattern of capped brood (cells with light brown, papery cappings). You may also see tiny white larvae curled in cells or even minuscule, rice-like eggs, which are a sign of a recently active queen.
Food Stores
You should see frames containing cells filled with honey (often capped with white wax) and pollen, which appears as a packed, colorful substance in shades of yellow and orange. These are the colony's food reserves.
The Queen
You might spot the queen, who is larger and longer than the other bees. However, do not worry if you don't see her. The presence of eggs is definitive proof that a queen was present and laying within the last three days.
Common Pitfalls to Avoid
A successful transfer depends on avoiding a few common mistakes that can set a new colony back.
Disrupting the Brood Nest
The most common error is failing to maintain the original frame order. Scrambling the frames forces the colony to expend significant energy reorganizing their nest, which stresses the bees and can slow brood production.
Leaving Too Much Space
A partially filled hive box invites pests like wax moths and small hive beetles. It also encourages the bees to build "burr comb" in the empty spaces, which will make future inspections difficult. Always ensure the box is full of frames.
Forgetting the Entrance Reducer
A small nuc colony cannot defend a large, full-sized entrance. An entrance reducer set to its smallest opening helps the guard bees protect the hive from robber bees and other pests while the colony grows.
Final Steps: Setting Your Colony Up for Success
Once the transfer is complete, your final actions will ensure the colony thrives in its new environment.
- If your primary focus is a smooth, stress-free transfer: Prioritize keeping the frames in their original order and centering them in the new hive to preserve the brood nest.
- If your primary focus is confirming colony health: Use the transfer as a quick inspection to verify the presence of eggs or larvae, indicating a healthy, laying queen.
- If your primary focus is long-term survival: Immediately install an entrance reducer on the smallest setting and ensure a source of sugar water is available to them.
By following these principles, you are giving your new colony the best possible foundation for growth and success.
Summary Table:
| Step | Key Action | Purpose |
|---|---|---|
| Preparation | Assemble tools, prepare new hive location. | Ensure a smooth, organized process. |
| Step 1 | Gently smoke the nuc hive entrance and top bars. | Calm the bees for a safer transfer. |
| Step 2 | Loosen and lift frames from the nuc box. | Safely remove the colony's core structure. |
| Step 3 | Place frames into the new hive in their exact original order. | Preserve the brood nest and minimize colony stress. |
| Step 4 | Center the transferred frames in the new hive box. | Help the colony maintain optimal brood temperature. |
| Step 5 | Fill gaps with new frames; shake remaining bees into the hive. | Prevent pest issues and ensure all bees are moved. |
| Final Steps | Install an entrance reducer; provide a food source. | Protect the colony and support its establishment. |
Equip your apiary for success with HONESTBEE. A smooth nuc transfer relies on quality equipment. As a trusted wholesale supplier for commercial apiaries and beekeeping equipment distributors, we provide the durable hive bodies, frames, smokers, and tools you need for efficient, low-stress colony management. Let's discuss your bulk supply needs and how our products can support your operation's growth and productivity.
Contact our wholesale team today to request a quote!
Visual Guide
Related Products
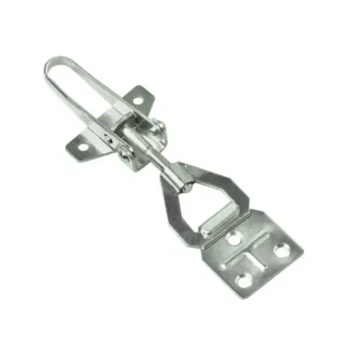
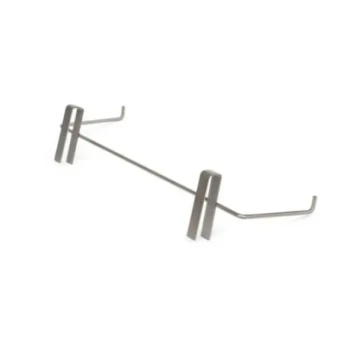
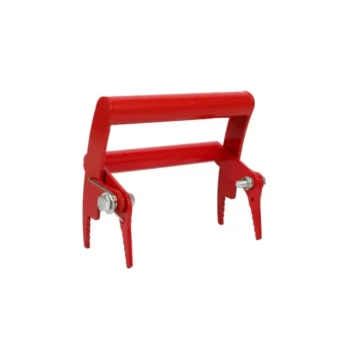
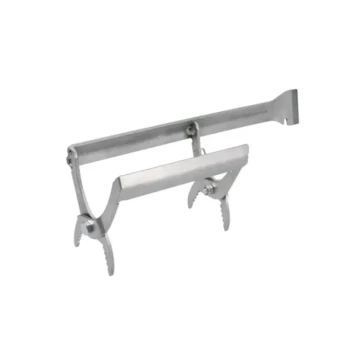
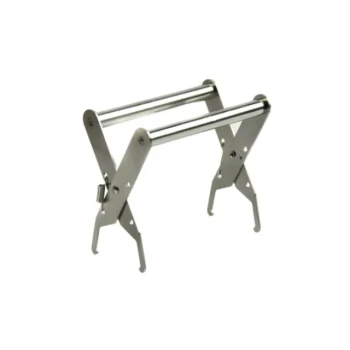
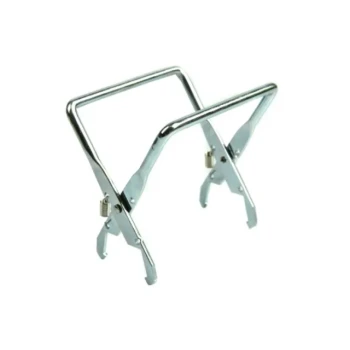
- Heavy Duty Adjustable Hive Connector
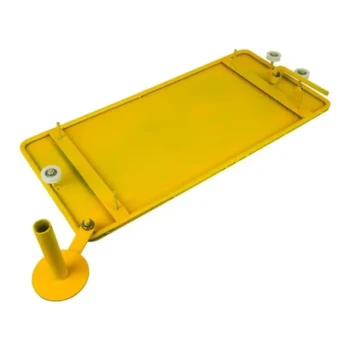
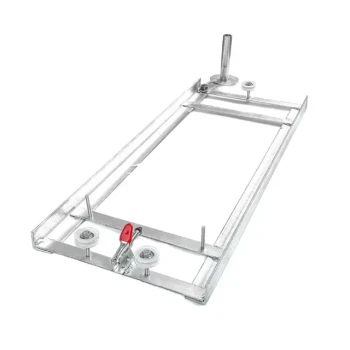
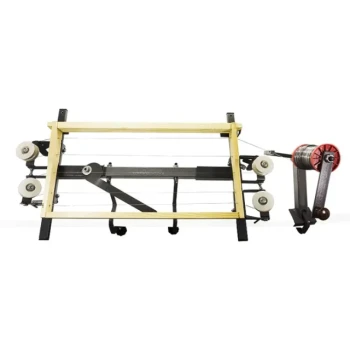
- Mini Desktop Bee Hive Frame Forming Making Machine
- Ergonomic Plastic Frame Spacer Tool for Rapid Hive Management Beekeeping
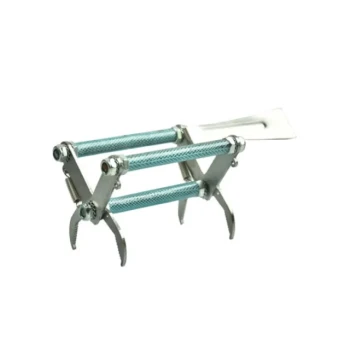
- Professional 3-Bar Frame Grip with Integrated Hive Tool
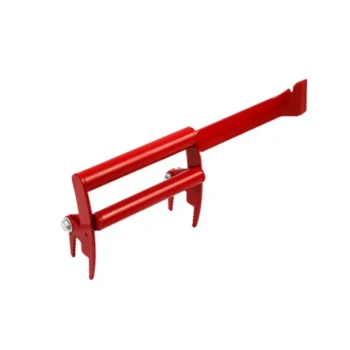
- Premium Frame Grip with Ergonomic Wood Handles
People Also Ask
- What is the benefit of using the connector during transport? Secure Your Bees & Simplify Transport
- Under what circumstance are beehive connectors particularly beneficial? Optimize Handling for Full Beehive Attachments
- What is the role of heavy-duty beehive transport equipment? Maximize Pollination and Honey Production Efficiency
- How can the connection length and strength of a beehive connector be adjusted? Master Tension with Threaded Mechanics
- What is hive transport equipment? Essential Gear for Safe & Efficient Beehive Moving