Properly lighting a bee smoker is a foundational skill in beekeeping, transforming a simple metal can into your most important tool for calm hive inspections. The correct technique involves creating a layered fire: you start with a fast-burning material to establish heat, then add denser fuel on top, tamping it down to smother the flame and produce a thick, cool, smoldering smoke. This methodical approach ensures your smoker stays lit and functions effectively.
The most common frustration for beekeepers is a smoker that either goes out mid-inspection or burns too hot. The solution lies not in how you light the initial flame, but in how you systematically build layers of fuel to convert that initial heat into a slow, consistent smolder.
The Principles of a Well-Lit Smoker
A successful smoker fire isn't about creating a big flame; it's about managing heat and airflow. The goal is to produce a large volume of cool, white smoke that masks the bees' alarm pheromones without harming them.
Start with a Clean Canister
Before every use, empty the smoker completely. Use your hive tool to scrape out old, unburnt fuel and any sticky residue from the previous burn. A clean chamber ensures better airflow and a more predictable fire.
Choose Your Materials: Starter vs. Fuel
You need two types of material: a starter and a primary fuel.
- Starters ignite quickly and create the initial heat. Common examples include crumpled newspaper, cardboard egg cartons, or natural jute twine.
- Primary Fuels burn slowly and produce the thick smoke. Ideal fuels include wood shavings, pine needles, untreated burlap, dried grass, or commercially available smoker pellets.
The Step-by-Step Lighting Process
Follow this layering technique to build a fire that lasts. Each step is designed to control the combustion, moving from an open flame to a contained smolder.
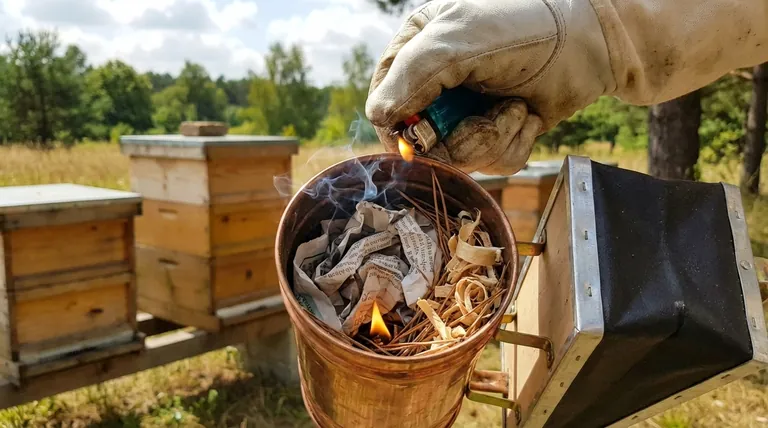
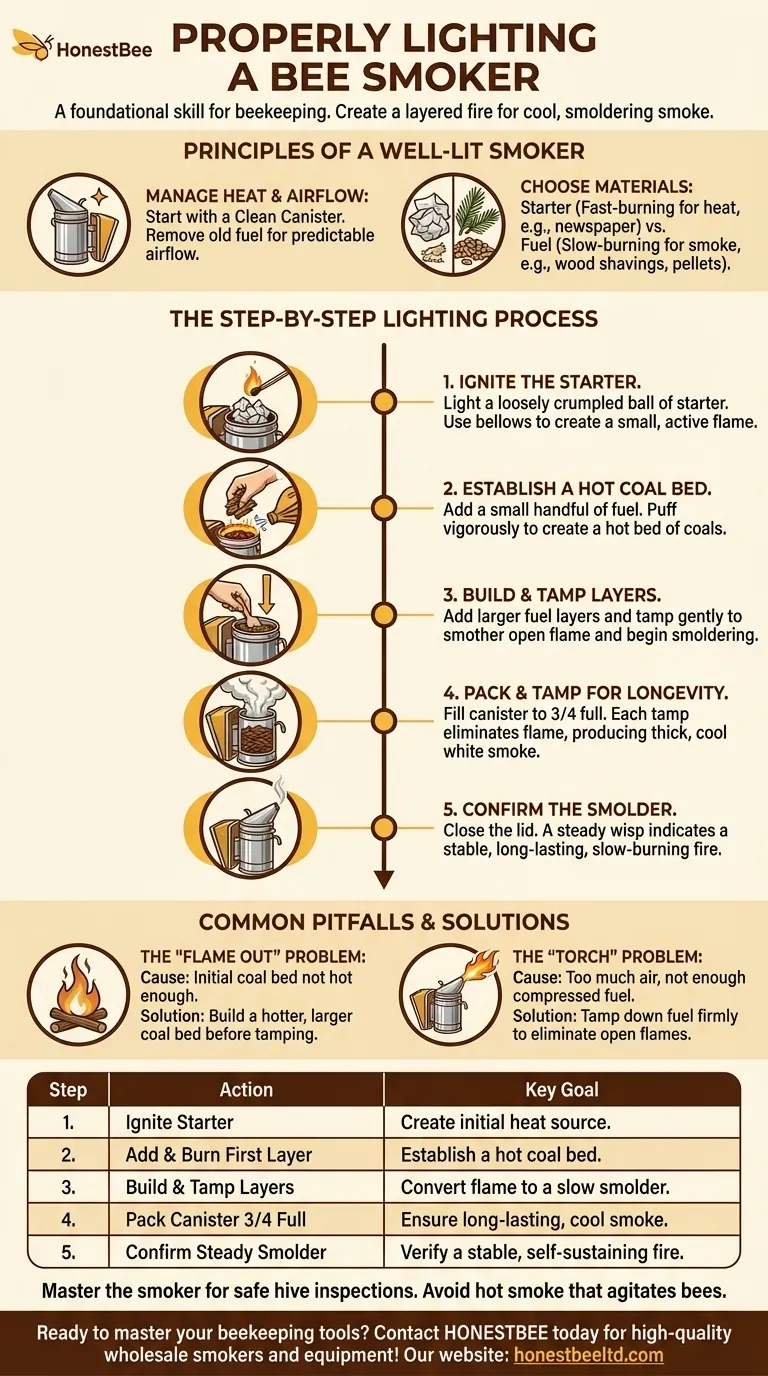
Step 1: Ignite the Starter
Place a loosely crumpled ball of your starter material (like newspaper) into the bottom of the smoker canister. Light it with a match or lighter, and use the bellows to gently puff air until you have a small, active flame.
Step 2: Establish a Hot Coal Bed
Add a small handful of your primary fuel directly on top of the starter flame. Puff the bellows more vigorously now. Your goal is to get this first layer of fuel to catch fire and begin burning well, creating a hot bed of coals at the bottom.
Step 3: Build the Smoke Layer
Once the coal bed is established, add another, larger handful of primary fuel. Use your hive tool to gently tamp this new layer down. This action is critical—it begins to smother the open flame and forces the material to smolder instead of burn.
Step 4: Pack and Tamp for Longevity
Continue adding fuel and tamping it down until the canister is about three-quarters full. As you add more fuel, the open flame should disappear entirely. Each puff of the bellows should now produce a thick, dense column of cool, white smoke.
Step 5: Confirm the Smolder
Close the lid. A properly lit smoker will emit a steady, thin wisp of smoke on its own, even without you pumping the bellows. This indicates you have a stable, slow-burning fire that will last through your inspection.
Understanding the Common Pitfalls
Mastering the smoker means knowing how to diagnose and fix common problems.
The "Flame Out" Problem
If your smoker constantly goes out, it's usually because the initial coal bed wasn't hot enough. You likely added the top layers of fuel too soon, smothering the fire before it was self-sustaining.
The "Torch" Problem
If your smoker shoots hot ash or flames from the nozzle, you have too much air and not enough compressed fuel. This is ineffective and dangerous for the bees. The solution is to add more fuel and tamp it down firmly to eliminate the open flame.
The Importance of Cool Smoke
The purpose of smoke is to mask the alarm pheromone bees release, preventing a colony-wide defense response. Hot smoke or embers from a "torch" smoker act as an irritant, making the bees more agitated and potentially harming them.
Making the Right Choice for Your Goal
Adjust your technique based on the issue you're facing.
- If your smoker keeps going out: Focus on building a larger, hotter coal bed at the bottom before you start adding and tamping the upper layers of fuel.
- If your smoker is shooting flames: You are not tamping down your fuel enough. Use your hive tool to compress the top layer and force the fire to smolder.
- If you need a long-lasting smoke for multiple hives: Pack the smoker canister more densely after establishing your coal bed. A denser fuel pack smolders more slowly and lasts longer.
Mastering your smoker is about learning to control the fire, transforming a simple flame into a long-lasting, gentle smolder.
Summary Table:
| Step | Action | Key Goal |
|---|---|---|
| 1 | Ignite Starter (e.g., newspaper) | Create initial heat source. |
| 2 | Add & Burn First Fuel Layer | Establish a hot coal bed. |
| 3 | Build & Tamp Down Fuel Layers | Convert flame to a slow smolder. |
| 4 | Pack Canister 3/4 Full | Ensure long-lasting, cool smoke. |
| 5 | Confirm Steady Smolder | Verify a stable, self-sustaining fire. |
Ready to master your beekeeping tools? A properly functioning smoker is essential for safe and productive hive management. At HONESTBEE, we supply commercial apiaries and beekeeping equipment distributors with the high-quality, durable smokers and fuel they need to work efficiently. Let us equip your operation for success.
Contact HONESTBEE today to discuss your wholesale smoker and equipment needs!
Visual Guide
Related Products
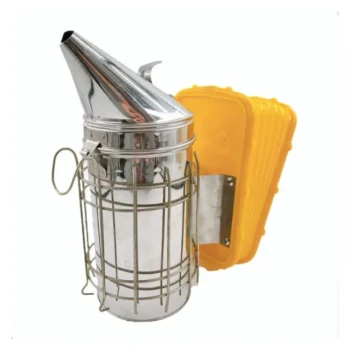
- Professional Bee Smoker with Elongated Spout and Durable Bellows for Beekeeping
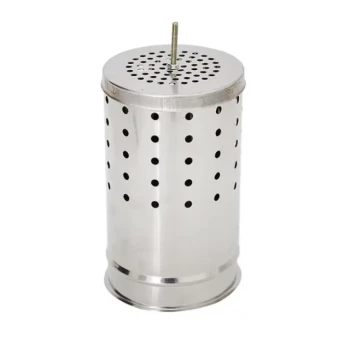
- Stainless Steel Honey Bee Smoker Hive and Honeycomb Smoker for Beekeeping
- European Stainless Steel Bee Smoker for Honey Bee Hive
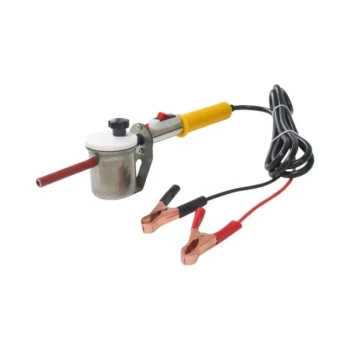
- Premium Traditional Copper Bee Smoker with Bellows
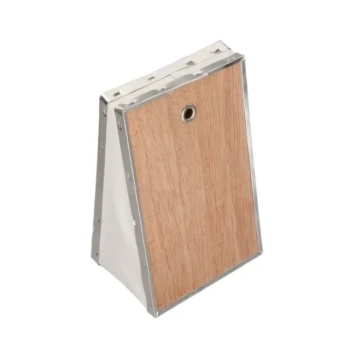
- Heavy-Duty Bee Smoker with Durable Plastic Bellows for Beekeeping
People Also Ask
- What critical role do professional bee smokers play? Master Colony Management and Safety with HONESTBEE Tools
- How do professional bee smokers facilitate bee management? Enhancing Forest Beekeeping Safety and Efficiency
- Why is the use of professional bee smokers and specialized fuel essential? Protect Honey Purity & Colony Safety
- What roles do bee smokers and precision tools play in honey harvesting? Master Safety and Quality Control
- How does a professional bee smoker facilitate safe colony management? Master Hive Control with Effective Smoke Tools