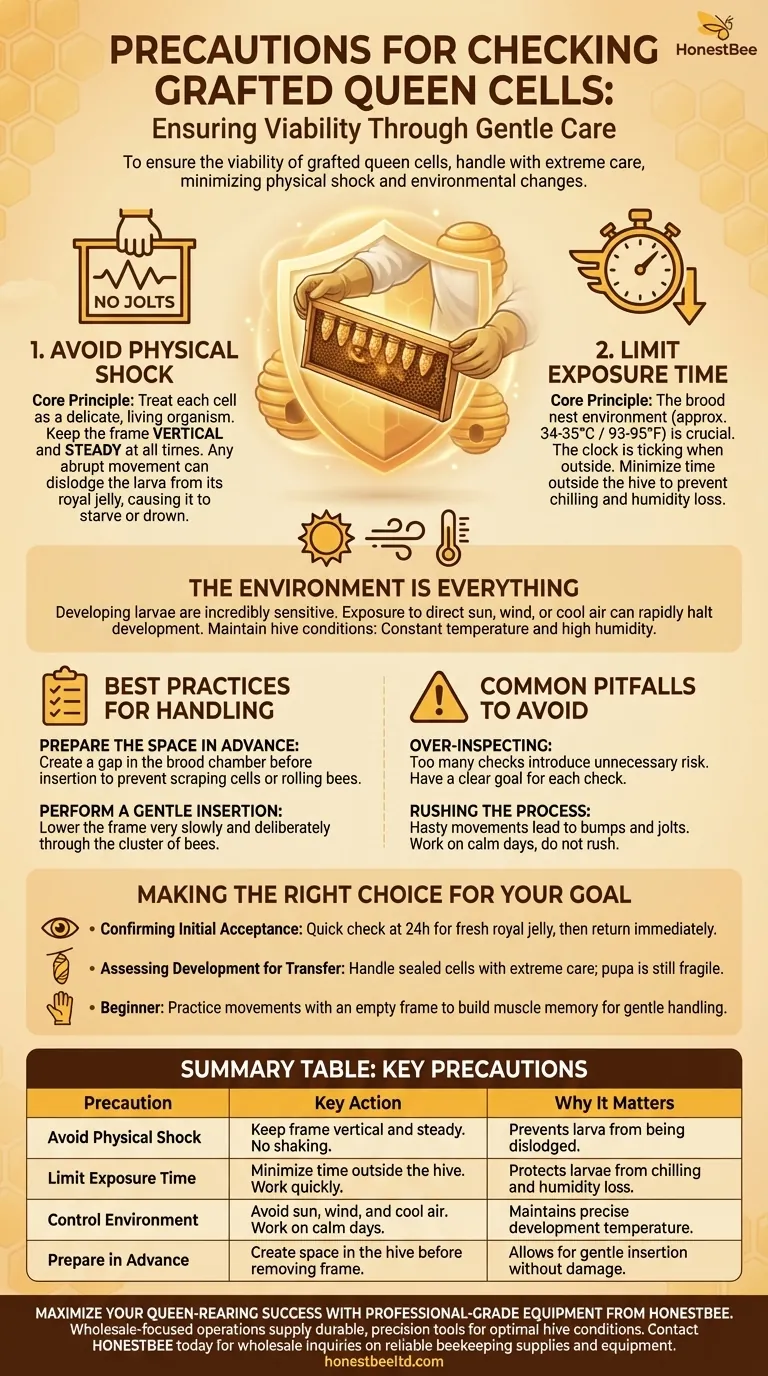
To ensure the viability of grafted queen cells, you must handle them with extreme care, focusing on minimizing physical shock and environmental change. The two most critical precautions are to avoid shaking or jolting the cell bar frame and to limit the amount of time the cells are outside the stable environment of the hive.
The core principle is to treat each grafted cell as a delicate, living organism in a fragile incubator. Your goal during any inspection is to mimic the hive's natural stability—in temperature, humidity, and physical orientation—as closely as possible.
The Environment is Everything
Developing queen larvae are incredibly sensitive to their surroundings. The success of your queen rearing efforts depends on maintaining the precise conditions the nurse bees work so hard to create inside the colony.
Preventing Physical Shock
Any abrupt movement can be catastrophic. The tiny larva floats on a bed of royal jelly, and a jolt can dislodge it, causing it to starve or drown.
Keep the frame vertical and steady at all times. This protects the delicate wax cup structure and the larva's position within it.
Maintaining Environmental Control
The moment the frame leaves the hive, the clock is ticking. The brood nest is kept at a constant temperature (around 34-35°C or 93-95°F) and high humidity.
Exposure to direct sun, wind, or cool air can rapidly chill the larvae, halting their development. Limit inspections to what is absolutely necessary.
Best Practices for Handling Cells
A successful inspection is smooth, efficient, and minimally disruptive. The key is to prepare ahead of time to make the process as gentle as possible.
Prepare the Space in Advance
Before you even begin, create a gap in the hive's brood chamber or super just wide enough for the cell bar frame.
This preparation ensures you can insert the delicate cells without scraping them against adjacent frames or rolling bees.
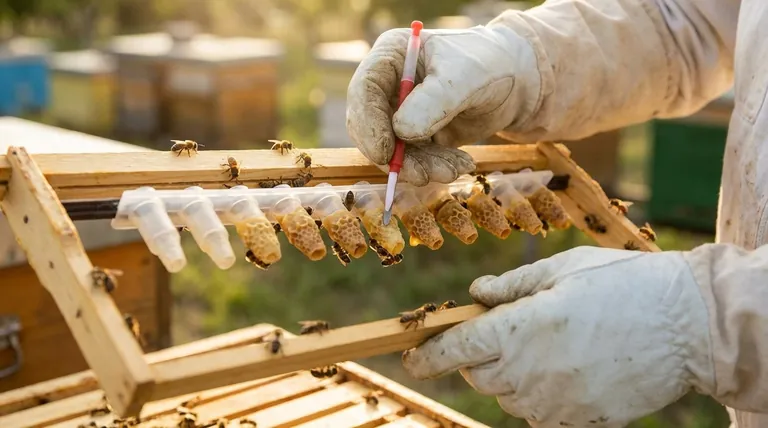
Perform a Gentle Insertion
When placing the frame of grafted cells into the hive, lower it very slowly and deliberately.
Move through the cluster of bees gently. This minimizes disturbance to the colony and reduces the chance of accidental bumps or scrapes against the new queen cells.
Common Pitfalls to Avoid
Even with the best intentions, it's easy to make small mistakes that can have a big impact on your success rate.
The Temptation to Over-Inspect
Curiosity can be the enemy of queen rearing. While it's important to check for acceptance, pulling the frame out too frequently introduces unnecessary risk with every inspection.
Have a clear goal for each check—such as confirming acceptance or checking for sealed cells—and complete it efficiently before returning the frame.
Rushing the Process
Never rush an inspection of queen cells. Hasty movements lead to bumps and jolts.
Work on calm days with minimal wind. If you feel flustered or rushed, it is better to postpone the check than to risk damaging the cells.
Making the Right Choice for Your Goal
Your handling procedure should be guided by your primary objective for the inspection.
- If your primary focus is confirming initial acceptance: Perform a quick check 24 hours after grafting, looking only for the presence of fresh royal jelly, and return the frame immediately.
- If your primary focus is assessing development for transfer: Handle the sealed cells with the same extreme care, as the pupa inside is still fragile and sensitive to shock and temperature changes.
- If you are a beginner: Practice your movements with an empty frame to build the muscle memory required for smooth, gentle, and confident handling.
Ultimately, your careful and deliberate actions are the most important factor in nurturing viable, high-quality queens.
Summary Table:
| Precaution | Key Action | Why It Matters |
|---|---|---|
| Avoid Physical Shock | Keep frame vertical and steady. No shaking. | Prevents larva from being dislodged and drowning in royal jelly. |
| Limit Exposure Time | Minimize time outside the hive. Work quickly. | Protects larvae from chilling and humidity loss from the brood nest. |
| Control Environment | Avoid sun, wind, and cool air. Work on calm days. | Maintains the precise 34-35°C (93-95°F) temperature required for development. |
| Prepare in Advance | Create space in the hive before removing the frame. | Allows for gentle insertion/removal without scraping cells or rolling bees. |
Maximize your queen-rearing success with professional-grade equipment from HONESTBEE. Whether you're a commercial apiary or a beekeeping equipment distributor, our wholesale-focused operations supply the durable, precision tools you need for gentle handling and optimal hive conditions. Let us help you protect your investment and improve your queen viability rates.
Contact HONESTBEE today for wholesale inquiries on reliable beekeeping supplies and equipment.
Visual Guide
Related Products
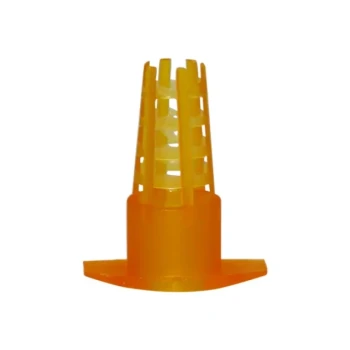
- Clear Black Plain Polystyrene Queen Bee Grafting Cell Cups No Lug for Bee Queen Cup
- Retractable Chinese Queen Rearing Grafting Tools Equipment
- Plastic Chinese Queen Grafting Tool for Bee Queen Rearing
- Stainless Steel Queen Grafting Tool for Beekeeping and Bee Queen Grafting
- Black 2 Pack Beekeeper Queen Grafting Tool for Bee Queen Larva Transferring Needle
People Also Ask
- What roles do specialized queen cell cups play in royal jelly production? Optimize Your Hive's Secretion and Yield
- What are queen cups and how are they used in honey bee queen replacement? The Essential Guide to Queen Rearing
- What types of cell cups are commonly used in grafting? Plastic vs. Wax for Queen Rearing Success
- Why are cell cups primed before grafting, and what is used for this process? Boost Your Queen Rearing Success
- What types of cell cups are used for grafting, and how are they set up? Expert Queen Rearing Guide