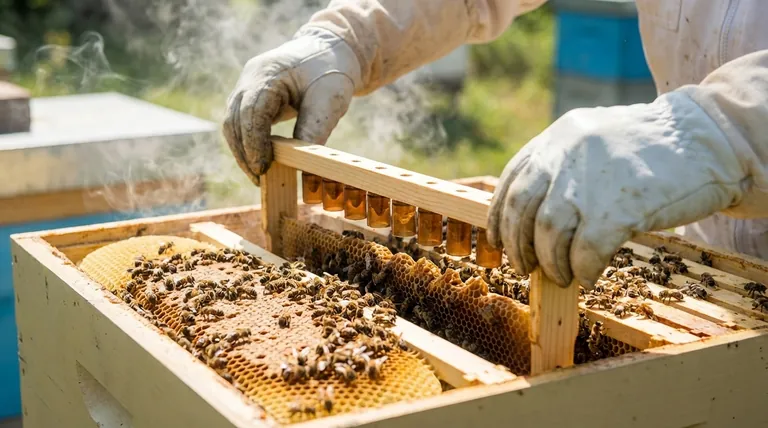
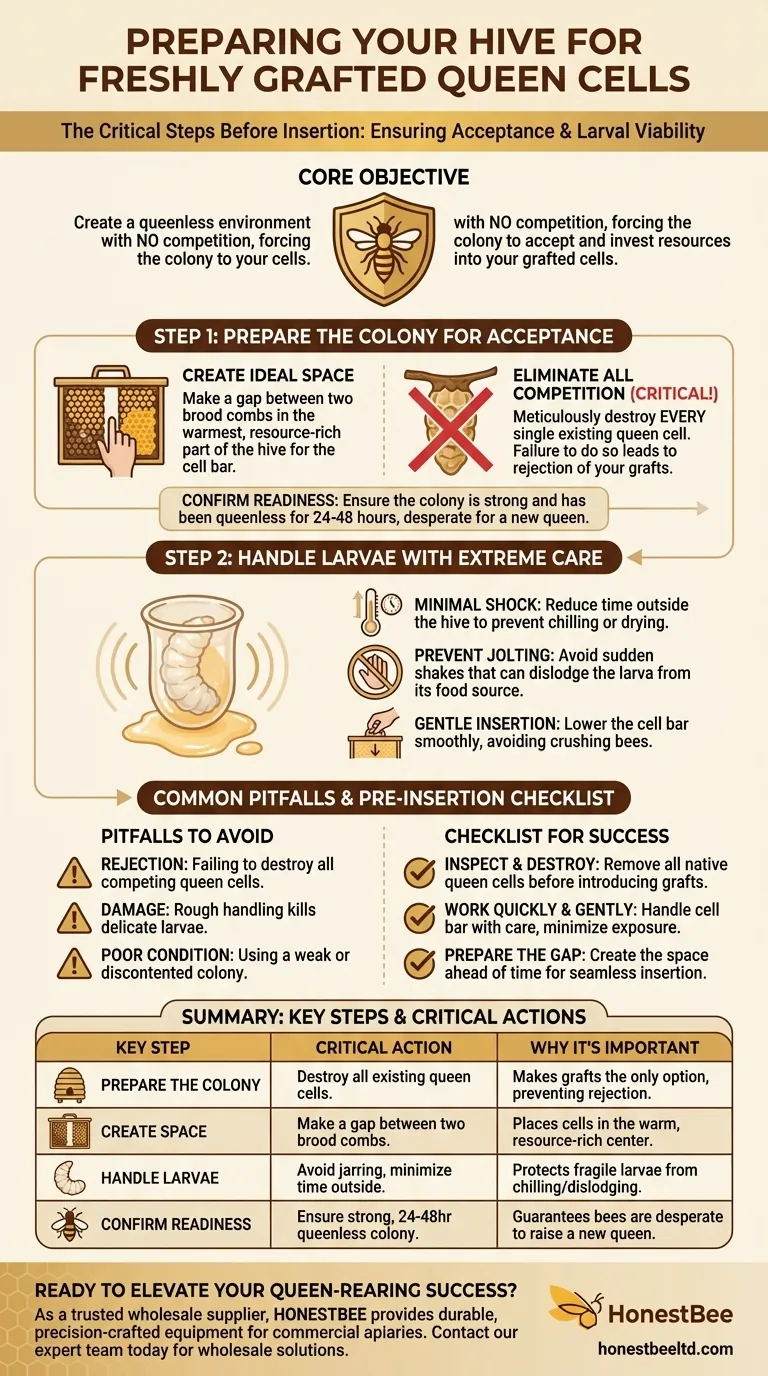
Before inserting freshly grafted or started queen cells, you must prepare the colony by creating a space for the cell bar between two brood combs and, most critically, destroying any existing queen cells the bees have already started. The cells themselves must be handled with extreme care, avoiding any jarring motions and minimizing their time outside the hive's stable environment.
The core objective is to create a situation where the colony has no choice but to accept your grafts. This requires removing all competition by destroying their own queen cells and handling the delicate larvae in a way that ensures their viability upon introduction.
Preparing the Colony for Acceptance
The success of your queen-rearing effort hinges on convincing the "cell builder" colony to invest its resources into the larvae you provide. This requires both physical and biological preparation.
Create the Ideal Physical Space
Before you even bring your grafted cells to the hive, you must prepare their new home.
Create a gap between two frames of brood, preferably with open larvae and pollen. This space should be just wide enough to accommodate the cell bar.
Placing the cells here ensures they are kept in the warmest, most resource-rich part of the hive, where nurse bees are already congregated and actively working.
Eliminate All Competition
This is the most critical step and is non-negotiable for success.
You must meticulously inspect the colony and destroy every single queen cell the bees may have started on their own. If you miss even one, the bees will favor their own cell and will likely destroy your grafts.
By removing all other options, you make your grafted cells the colony's only path to raising a new queen.
Confirm the Colony is Ready
The colony must be hopelessly queenless and aware of its condition.
A strong, populous colony that has been queenless for 24-48 hours is ideal. This ensures they have stopped caring for their old queen's larvae and are desperate to begin raising a new one.
Handling Larvae with Extreme Care
The newly grafted larvae are incredibly fragile. Their survival depends entirely on how they are handled during the transfer and insertion process.
The Principle of Minimal Shock
Think of the brood nest as a perfect incubator with precise temperature and humidity. Any deviation is a shock to the system.
Do not keep the cell bar out of a hive for longer than is absolutely necessary. The larvae can chill or dry out very quickly, rendering them non-viable.
Prevent All Shaking and Jolting
Each larva is floating on a tiny bed of royal jelly.
Any sudden shake or jolt can dislodge the larva from its food source, causing it to starve or drown. Handle the frame and cell bar with slow, deliberate movements.
The Importance of a Gentle Insertion
When you are ready to place the cell bar, do it smoothly and gently.
Lower the bar down through the clustered bees, trying not to roll or crush them. Agitated bees are less likely to begin tending to the new cells immediately.
Common Pitfalls and How to Avoid Them
Ignoring the fundamental principles of cell acceptance and larval care is the fastest way to failure.
The Risk of Rejection
The most common mistake is failing to destroy all competing queen cells. If you introduce your grafts into a colony that already has a viable queen cell, your cells will be ignored or torn down.
Damaging the Larvae
Rough handling is another frequent error. Moving too quickly, bumping the frame, or shaking bees off the cell bar frame can easily kill the delicate larvae, resulting in a low acceptance rate.
Poor Colony Condition
Using a weak or discontented colony will yield poor results. The colony must be strong, well-fed, and packed with young nurse bees to properly draw out the cells and feed the new queen larvae.
A Pre-Insertion Checklist for Success
Your actions in the few minutes before insertion will determine the outcome. Follow this checklist for consistent results.
- If your primary focus is maximum acceptance: Meticulously inspect every frame in the cell builder colony and destroy all native queen cells before you bring your grafts nearby.
- If your primary focus is larval viability: Work quickly and handle the cell bar frame with extreme care, avoiding any jolts, and place it in the hive without delay.
- If your primary focus is seamless integration: Prepare the exact gap in the brood nest ahead of time so the insertion process is fast, smooth, and minimally disruptive to the colony.
By creating the perfect conditions, you empower the colony to raise the high-quality queens you have selected.
Summary Table:
| Key Step | Critical Action | Why It's Important |
|---|---|---|
| Prepare the Colony | Destroy all existing queen cells. | Makes your grafts the colony's only option, preventing rejection. |
| Create Space | Make a gap between two brood combs. | Places cells in the warm, resource-rich center of the hive. |
| Handle Larvae | Avoid jarring motions and minimize time outside the hive. | Protects fragile larvae from chilling, drying out, or dislodging. |
| Confirm Readiness | Ensure the colony is strong and has been queenless for 24-48 hours. | Guarantees the bees are desperate to raise a new queen and will accept your cells. |
Ready to elevate your queen-rearing success?
As a trusted wholesale supplier to commercial apiaries and distributors, HONESTBEE provides the durable, precision-crafted equipment you need for reliable grafting and cell-building. From gentle cell bars to robust hive tools, our products are designed to support your most critical beekeeping operations.
Contact our expert team today to discuss your specific needs and discover how our wholesale-focused solutions can contribute to your operation's productivity and profitability.
Visual Guide
Related Products
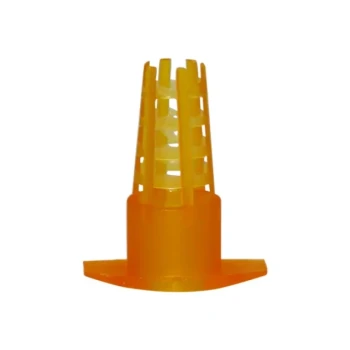
- Brown Nicot Queen Cell Cups for Breeding Queen Bees Beekeeping
- Clear Black Plain Polystyrene Queen Bee Grafting Cell Cups No Lug for Bee Queen Cup
- JZBZ Style Shipping Cell Protector for Queen Rearing Kit
- JZBZ Type Wide Base Plastic Queen Cell Cups for Base Mounting and Queen Rearing
- Premium Nicot Style Cell Bar Holder and Queen Cell Cup Holder System
People Also Ask
- Why is a diluted royal jelly solution applied to queen cell cups? Boost Acceptance in Artificial Grafting
- What materials are used to make artificial queen cell cups for grafting? Beeswax vs. Plastic Guide
- Why do bees build queen cups? Decoding Your Hive's Health and Intentions
- How does the standardized depth of queen cell cups affect larval acceptance? Boost Success with 6mm Precision
- Why are cell cups primed before grafting, and what is used for this process? Boost Your Queen Rearing Success