The most reliable method for straining honey at a small scale involves gently breaking up the comb and letting gravity do the work in a warm environment. This process, often called "crush and strain," prioritizes preserving the honey's delicate qualities by avoiding excessive force and heat, which can damage its flavor and beneficial properties.
The best approach to straining honey is not about force, but finesse. It relies on using gentle techniques like dicing the comb and applying low, indirect heat to reduce the honey's viscosity, allowing it to flow freely through a filter while leaving the wax and debris behind.
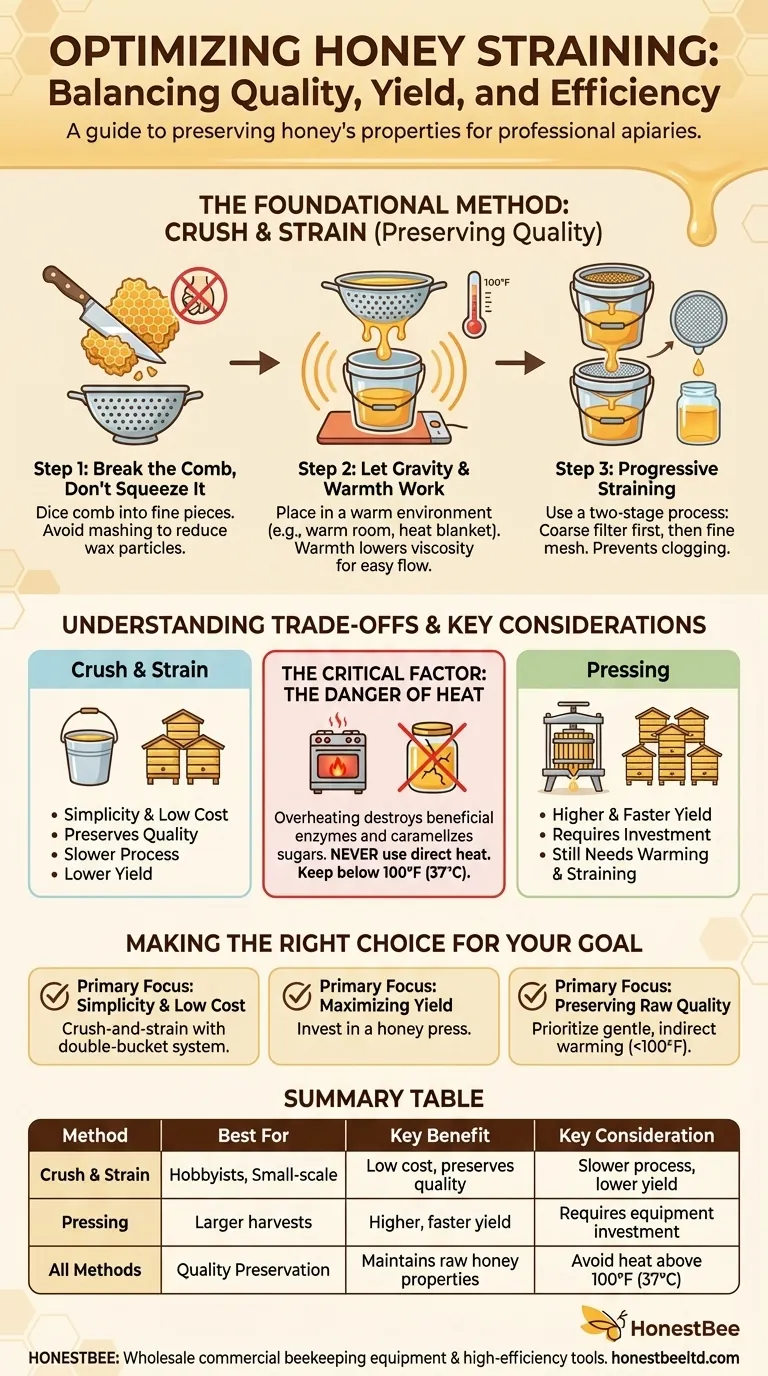
The Foundational Method: Crush and Strain
This is the most accessible and widely used technique for hobbyists and small-scale beekeepers. It requires minimal specialized equipment and focuses on maintaining the honey's natural quality.
Step 1: Break the Comb, Don't Squeeze It
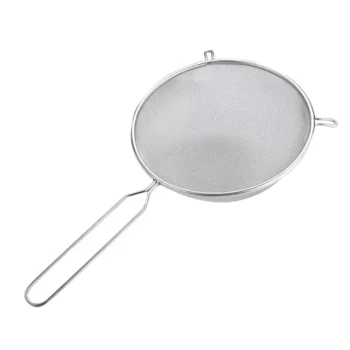
Place your chunks of honeycomb into a coarse strainer, like a kitchen colander, that is positioned over a bucket. Use a knife or a hive tool to dice the comb into fine pieces.
The key is to cut the wax cells open, not to mash or squeeze them. Squeezing forces tiny particles of wax and pollen into the honey, making the final filtering step much more difficult.
Step 2: Let Gravity and Warmth Work
Once the comb is diced, simply let it sit. The honey will begin to drip through the colander on its own. To significantly speed up this process, you need to warm the honey.
Honey is viscous (thick), and warming it makes it flow much more easily. Place your entire bucket setup in a warm room, use an electric heat blanket set to a low temperature, or create a warm water bath around the collection bucket.
Step 3: Progressive Straining
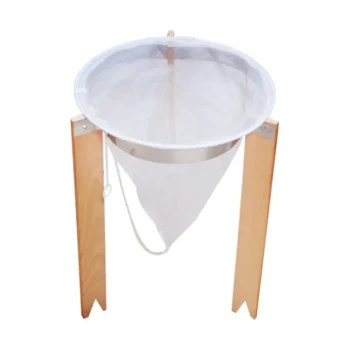
For exceptionally clean honey, a two-stage straining process is best. The first bucket, collecting honey from the colander, should have a coarse filter. The honey from that bucket is then poured through a finer mesh filter (like a nylon honey strainer) into a final bottling bucket.
This progressive filtering prevents the fine mesh from getting clogged with large pieces of wax.
Understanding the Trade-offs
Choosing a method involves balancing simplicity, cost, and efficiency. There is no single "best" way, only the best way for your specific situation.
Crush and Strain: Simplicity vs. Efficiency
This method is low-cost and requires no specialized press. It is perfect for those with only a few hives.
The main trade-off is efficiency. It can be a slower process, and it may leave a small amount of honey behind in the wax cappings.
Pressing: Yield vs. Investment
A honey press forces the honey from the comb, resulting in a higher and faster yield. This can be a worthwhile investment for beekeepers with many hives.
However, a press is a significant expense. The honey will still require warming and straining after being pressed to ensure clarity.
The Critical Factor: The Danger of Heat
The single biggest mistake is applying too much or direct heat. Overheating honey destroys its beneficial enzymes and can caramelize its sugars, permanently altering its flavor and color.
Never heat honey directly on a stove or in a microwave. Gentle, indirect heat from a water bath or warming blanket, keeping the honey below 100°F (37°C), is the safest approach.
Making the Right Choice for Your Goal
Your equipment and process should align with what you want to achieve with your harvest.
- If your primary focus is simplicity and low cost: The crush-and-strain method using a double-bucket system is your most effective and accessible option.
- If your primary focus is maximizing yield from a larger harvest: Investing in a honey press may be worthwhile, but remember to warm and strain the honey afterward.
- If your primary focus is preserving raw honey qualities: Pay closest attention to temperature, using only gentle, indirect warming methods to keep your honey below 100°F (37°C).
Ultimately, treating your honey with care during extraction is the key to preserving the quality you and your bees worked so hard to create.

Summary Table:
| Method | Best For | Key Benefit | Key Consideration |
|---|---|---|---|
| Crush & Strain | Hobbyists, Small-scale | Low cost, preserves quality | Slower process, lower yield |
| Pressing | Larger harvests | Higher, faster yield | Requires equipment investment |
| All Methods | Quality Preservation | Maintains raw honey properties | Avoid heat above 100°F (37°C) |
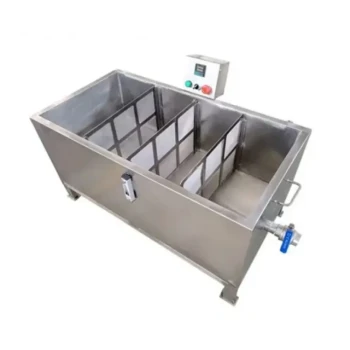
Ready to streamline your honey harvest with professional-grade equipment?
At HONESTBEE, we supply commercial apiaries and beekeeping equipment distributors with the durable, high-efficiency tools needed for large-scale operations. Our wholesale-focused offerings help you maximize yield while preserving the superior quality of your honey.
Contact our team today to discuss your equipment needs and explore our wholesale solutions.
Visual Guide
Related Products
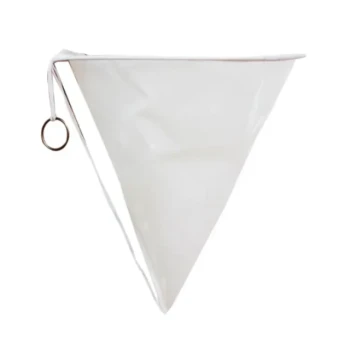
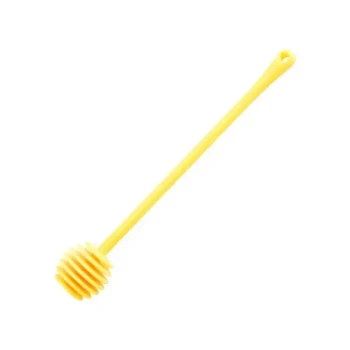
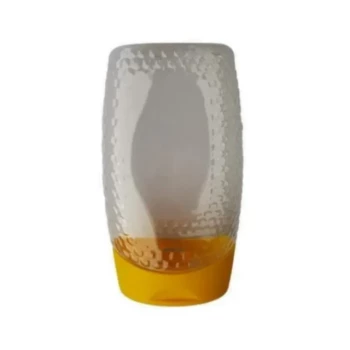
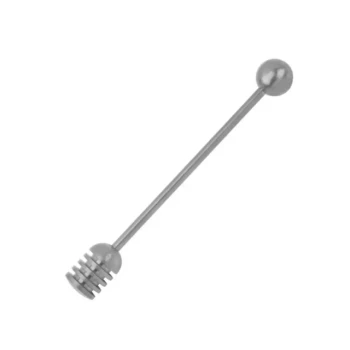
- Stainless Steel Triangle Support Honey Strainer and Filters
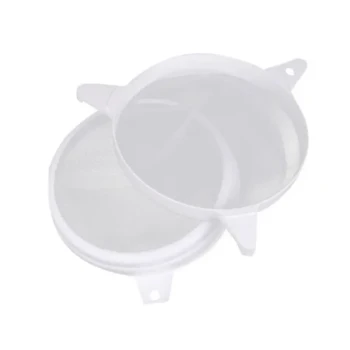
- Nylon Honey Strainer Square Filter Cloth for Honey Filters
- Professional Cone-Shaped Honey Filter with Reinforced Steel Ring
- Stainless Steel Double Layer Honey Strainer Sieve Filters
- Conical Nylon Honey Strainer Filter Bag for Beekeeping and Honey Filtration
People Also Ask
- What are the advantages of using honey strainers? A Simple, Low-Cost Path to Pure Honey
- What are the benefits of using a honey strainer for beekeepers? Achieve Clean, High-Quality Honey Efficiently
- How do I strain my honey? A Step-by-Step Guide to Clean, Pure Harvests
- What can I use to strain honey? A Beekeeper's Guide to Choosing the Right Filter
- Why is straining an essential step in honey processing? Master the Key to Pure, Market-Ready Honey Harvests