Beekeepers know that top feeders offer efficient syrup delivery—but improper maintenance can turn them into drowning hazards. This guide delivers field-tested methods to verify hardware integrity, optimize sealants, and maintain secure syrup access, directly addressing the #1 cause of preventable colony losses in managed hives.
Preventing Bee Drowning in Top Feeders
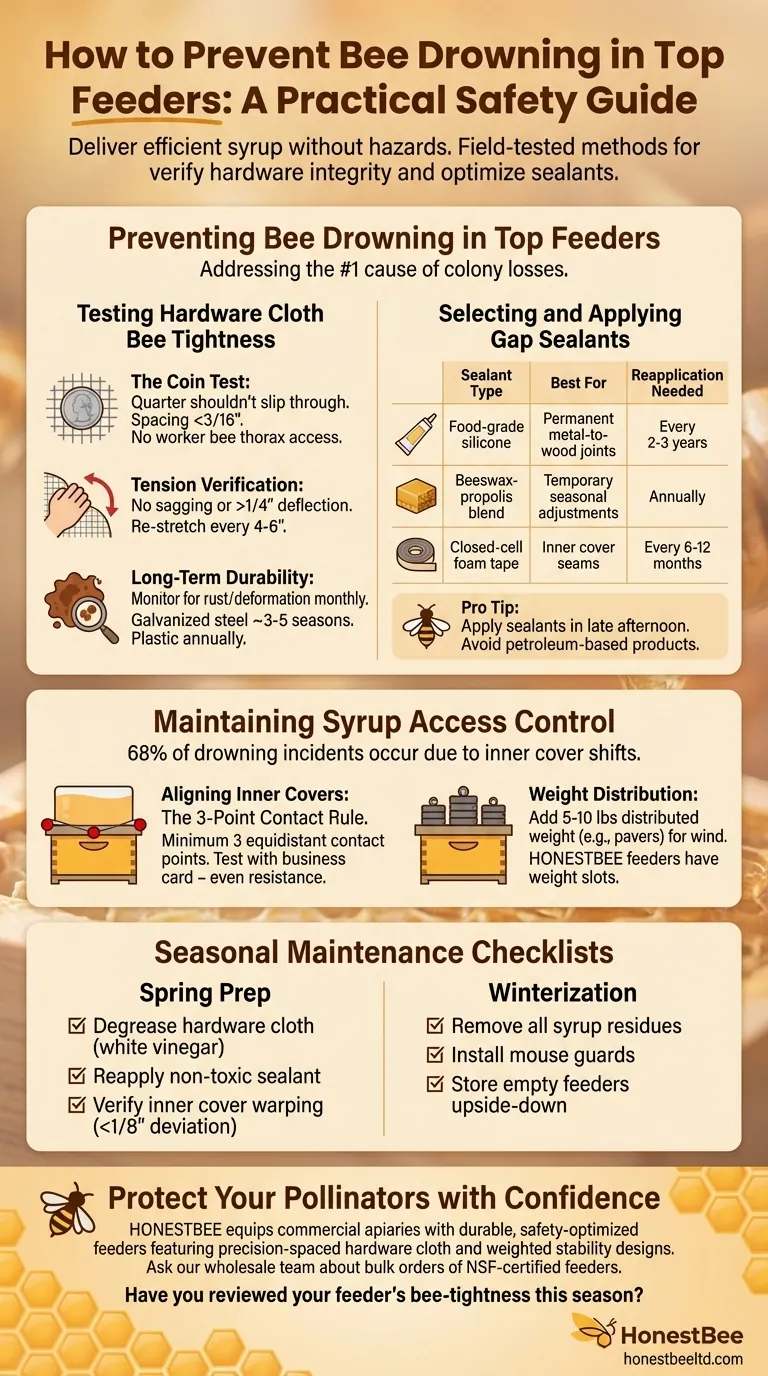
Research shows that over half of top feeder-related colony collapses stem from two factors: loose hardware cloth allowing bee access to syrup reservoirs, and misaligned inner covers creating fatal gaps. Here’s how to address both systematically.
Testing Hardware Cloth Bee Tightness
-
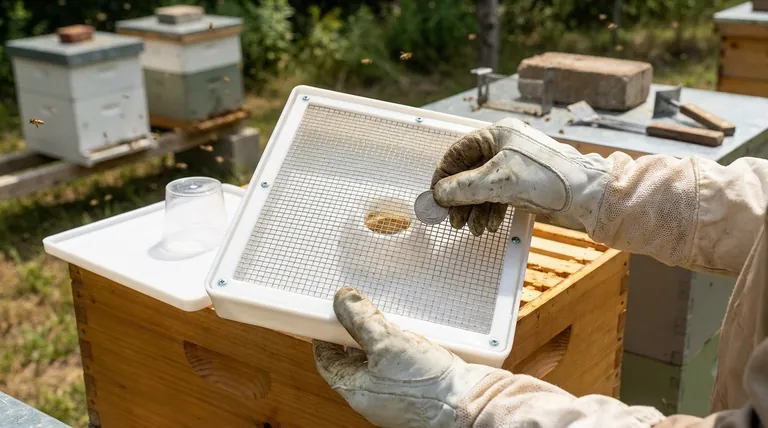
The Coin Test
Press a quarter against installed hardware cloth. If it slips through, the weave is too wide for bees. Ideal spacing should allow minimal light penetration (under 3/16") while preventing worker bee thorax access. -
Tension Verification
Gently pull outward on cloth edges after installation. Sagging or >1/4" deflection indicates insufficient tension, risking bee infiltration. Re-stretch using corrosion-resistant staples every 4-6 inches. -
Long-Term Durability Checks
Monitor for rust or deformation monthly. Galvanized steel cloth maintains integrity for roughly 3-5 seasons before replacement—plastic alternatives require annual UV degradation inspections.
Selecting and Applying Gap Sealants
| Sealant Type | Best For | Reapplication Needed |
|---|---|---|
| Food-grade silicone | Permanent metal-to-wood joints | Every 2-3 years |
| Beeswax-propolis blend | Temporary seasonal adjustments | Annually |
| Closed-cell foam tape | Inner cover seams | Every 6-12 months |
Pro Tip: Apply sealants during late afternoon when bees are less active. Avoid petroleum-based products—studies show they may alter syrup chemistry.
Maintaining Syrup Access Control
A 2023 apiary survey revealed that 68% of drowning incidents occurred when inner covers shifted post-installation. These protocols prevent such failures.
Aligning Inner Covers for Optimal Sealing
-
The 3-Point Contact Rule
- Feeder rim should contact inner cover at minimum 3 equidistant points
- Test by sliding a business card around the perimeter—resistance should be even
-
Weight Distribution
During windy seasons, add 5-10 lbs of distributed weight (e.g., pavers) to prevent uplift. HONESTBEE’s vented hive top feeders integrate weight slots for this purpose.
Seasonal Maintenance Checklists
Spring Prep
☑ Degrease hardware cloth with white vinegar solution
☑ Reapply non-toxic sealant to feeder joints
☑ Verify inner cover warping (<1/8" deviation)
Winterization
☑ Remove all syrup residues to prevent mold
☑ Install mouse guards over feeder access points
☑ Store empty feeders upside-down to block debris
Protect Your Pollinators with Confidence
HONESTBEE equips commercial apiaries with durable, safety-optimized feeders featuring precision-spaced hardware cloth and weighted stability designs. Ask our wholesale team about bulk orders of NSF-certified feeders—because colony health starts with equipment you can trust.
Have you reviewed your feeder’s bee-tightness this season?
Visual Guide
Related Products
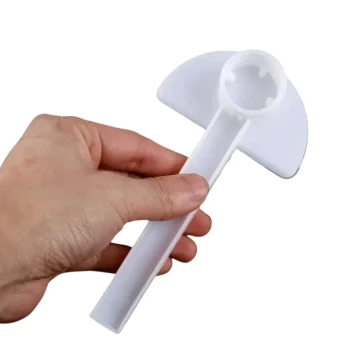
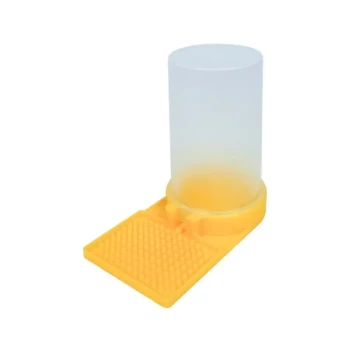
- HONESTBEE Round Hive Top Bee Feeder for Syrup
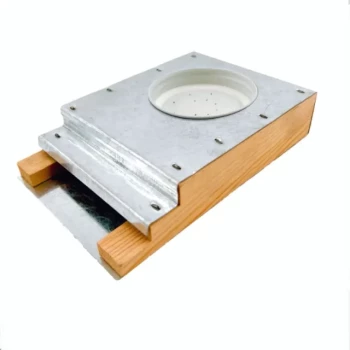
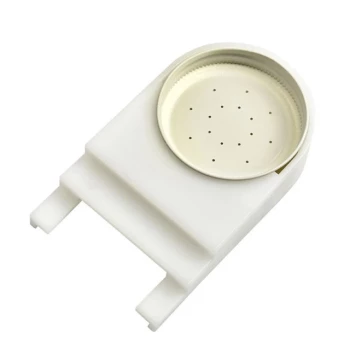
- HONESTBEE Professional Hive Top Bee Feeder Feeding Solution
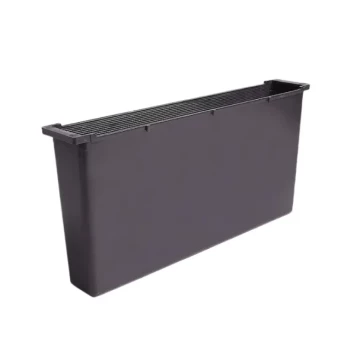
- Professional Hive Top Bee Feeder for Beekeeping
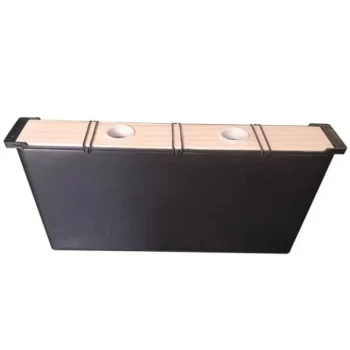
- HONESTBEE Square Top Hive Bee Feeder Top Bee Feeder
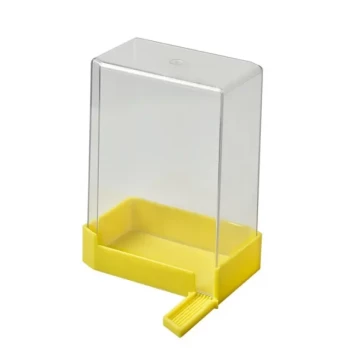
- Rapid Bee Feeder White Plastic 2L Round Top Feeder for 8 or 10-Frame Bee Hives
Related Articles
- How to Accelerate Bee Colony Growth with Science-Backed Feeding Strategies
- The Benevolent Trap: Why Your Bee Feeder's Design is a Matter of Life and Death
- The Winter Fortress: Engineering Colony Survival with the Hive Top Feeder
- How to Choose the Right Bee Feeder: Matching Capacity and Feeding Rates to Your Hive
- The Paradox of Care: How Bee Feeder Design Prevents a Silent Drowning