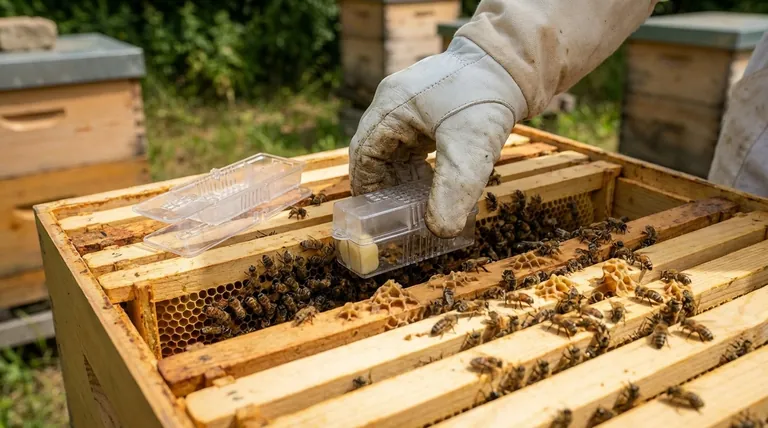
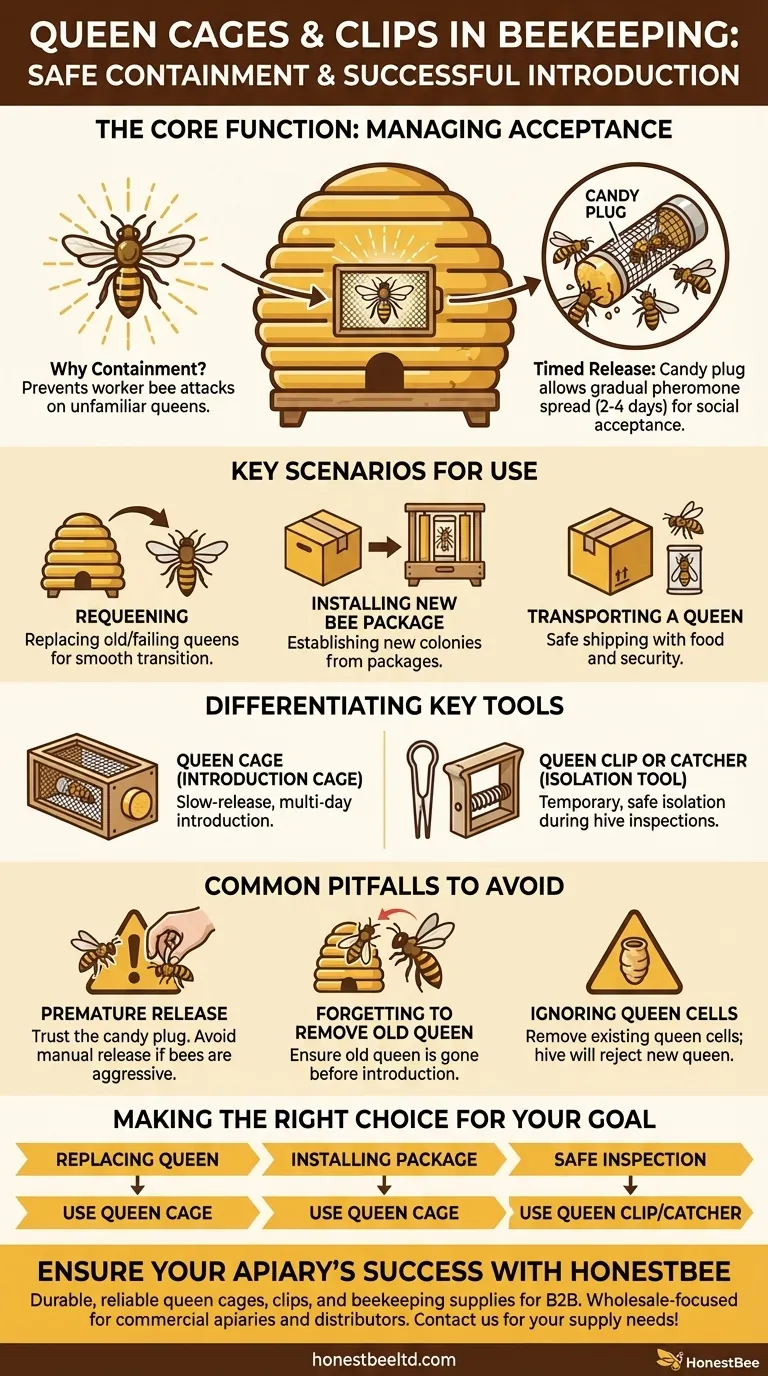
At their core, queen cages and clips are specialized tools used to safely contain a queen bee. Beekeepers use them for three primary purposes: to transport a queen, to introduce a new queen to a colony, or to temporarily isolate a queen during a hive inspection. This containment prevents the worker bees from immediately attacking and killing a queen they do not recognize.
The fundamental purpose of a queen cage is to manage social acceptance. It acts as a protective barrier that allows the new queen's unique pheromones to spread throughout the hive, giving the colony time to acclimate to her scent before she is released.
The Core Function: Managing Introduction and Acceptance
Why Containment is Necessary
A honeybee colony is a highly cohesive social unit, and its identity is tied to the pheromones of its queen. Worker bees are genetically programmed to view any queen with an unfamiliar scent as a foreign invader.
If a new queen were simply dropped into a hive, the workers would almost certainly attack and kill her within minutes in a process known as "balling," where they surround and suffocate her.
The Role of Pheromones
The queen cage creates a safe space for the new queen. While inside, her unique scent, or queen mandibular pheromone (QMP), gradually circulates through the hive via the screen mesh of the cage.
Over several days, the workers become accustomed to this new scent. As the scent of the old or dead queen fades, the colony slowly begins to accept the caged queen as their new leader.
The Candy Plug: A Timed Release
Most introduction cages feature a small tube plugged with a hard sugar candy. The beekeeper places the cage in the hive, and the worker bees from both inside and outside the cage begin to eat the candy.
This process typically takes two to four days. By the time the bees have chewed through the plug, the colony has had sufficient time to accept the queen's pheromones, and she can emerge safely to begin her work.
Key Scenarios for Using Queen Cages
Requeening an Existing Hive
This is the most common use. A beekeeper may need to replace a queen because she is old, laying poorly, or has died. The new queen is introduced in her cage to ensure a successful transition of leadership.
Installing a New Bee Package
When a beekeeper buys a package of bees, it consists of several thousand worker bees and a single queen in a cage. The cage is essential for establishing the new colony, as the bees in the package are not yet a cohesive family.
Transporting a Queen
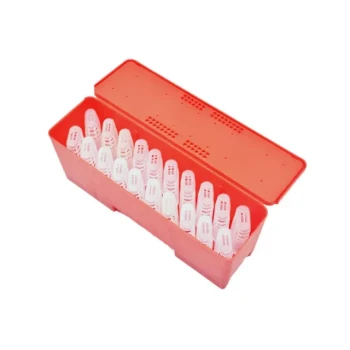
Queen breeders ship queens in specialized cages, often with a few attendant bees to care for her. These cages are designed to keep her safe, fed, and secure during transit.
Differentiating Key Tools
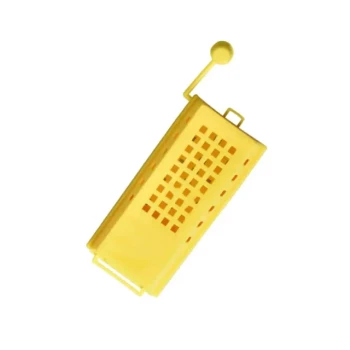
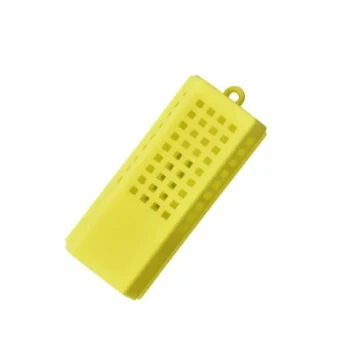
The Queen Cage (Introduction Cage)
This is typically a small wooden or plastic box with a mesh screen, designed for the slow-release introduction process described above. It is intended to remain in the hive for several days.
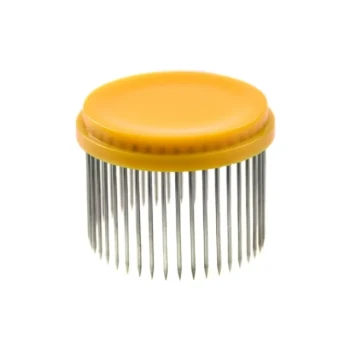
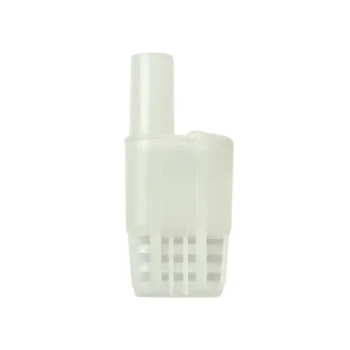
The Queen Clip or Catcher (Isolation Tool)
This is a different tool used for temporary isolation. A queen clip is often a plastic, hairpin-like device, while a catcher can be a small box with a spring-loaded gate.
A beekeeper uses a clip or catcher during a hive inspection to gently secure the queen on a frame. This prevents her from being accidentally rolled, squashed, or killed while the beekeeper is manipulating the frames. She is released as soon as the inspection is complete.
Common Pitfalls to Avoid
Premature Release
Manually releasing the queen before the colony is ready is a common mistake. If the bees on the outside of the cage still appear aggressive—biting and attempting to sting the mesh—they have not yet accepted her. It's crucial to trust the candy plug process.
Forgetting to Remove an Old Queen
A hive will never accept a new queen if they already have one. Before introducing a new queen, the beekeeper must be absolutely certain the old queen is gone.
Ignoring Queen Cells
If the hive is already in the process of raising its own new queen from an egg (a queen cell), they will reject any introduced queen. All queen cells must be removed before introducing a new one in a cage.
Making the Right Choice for Your Goal
- If your primary focus is replacing a failing queen: Use a standard introduction cage with a candy plug to ensure the colony has several days to accept her pheromones.
- If your primary focus is installing a new package of bees: Place the queen cage that came with your package between two frames in the center of the hive, allowing the bees to release her naturally.
- If your primary focus is safely inspecting a busy hive: Use a queen clip or catcher to temporarily and gently secure the queen on the frame, preventing injury while you work.
Ultimately, these simple tools are fundamental to successful queen management and, therefore, to the overall health and productivity of your hive.
Summary Table:
| Purpose | Tool | Key Feature |
|---|---|---|
| Introducing a New Queen | Queen Cage | Candy plug for timed release |
| Temporary Isolation | Queen Clip/Catcher | Secures queen during inspections |
| Transporting a Queen | Shipping Cage | Safe transit with attendant bees |
Ensure your apiary's success with the right equipment from HONESTBEE. We supply durable, reliable queen cages, clips, and other essential beekeeping supplies to commercial apiaries and distributors. Our wholesale-focused operations ensure you get the quality gear you need to manage your hives effectively. Contact us today to discuss your supply needs and keep your colonies thriving. [#ContactForm]
Visual Guide
Related Products
- Durable Galvanized Steel Spring Queen Bee Cage
- Professional Queen Cage with Sliding Gate and Feeder Plug
- Classic Wooden and Mesh California Queen Cage
- Professional Queen Bee Introduction and Transport Cage
- Professional Multi-Functional Queen Bee Cage
People Also Ask
- What should be done if the queen is still inside her cage when the hive is inspected? Master Queen Introduction Safety
- What is the step-by-step process for installing a queen bee's cage onto a frame? Ensure Hive Acceptance Safely
- Why are specialized queen bee cages used for the banking of mated queen bees? Maximize Commercial Apiary Storage Efficiency
- What is the optimal placement for a queen bee cage? Essential Strategies for Successful Re-queening
- What is the technical purpose of the dedicated feeding compartment and access channel in a queen bee cage? Pro Guide