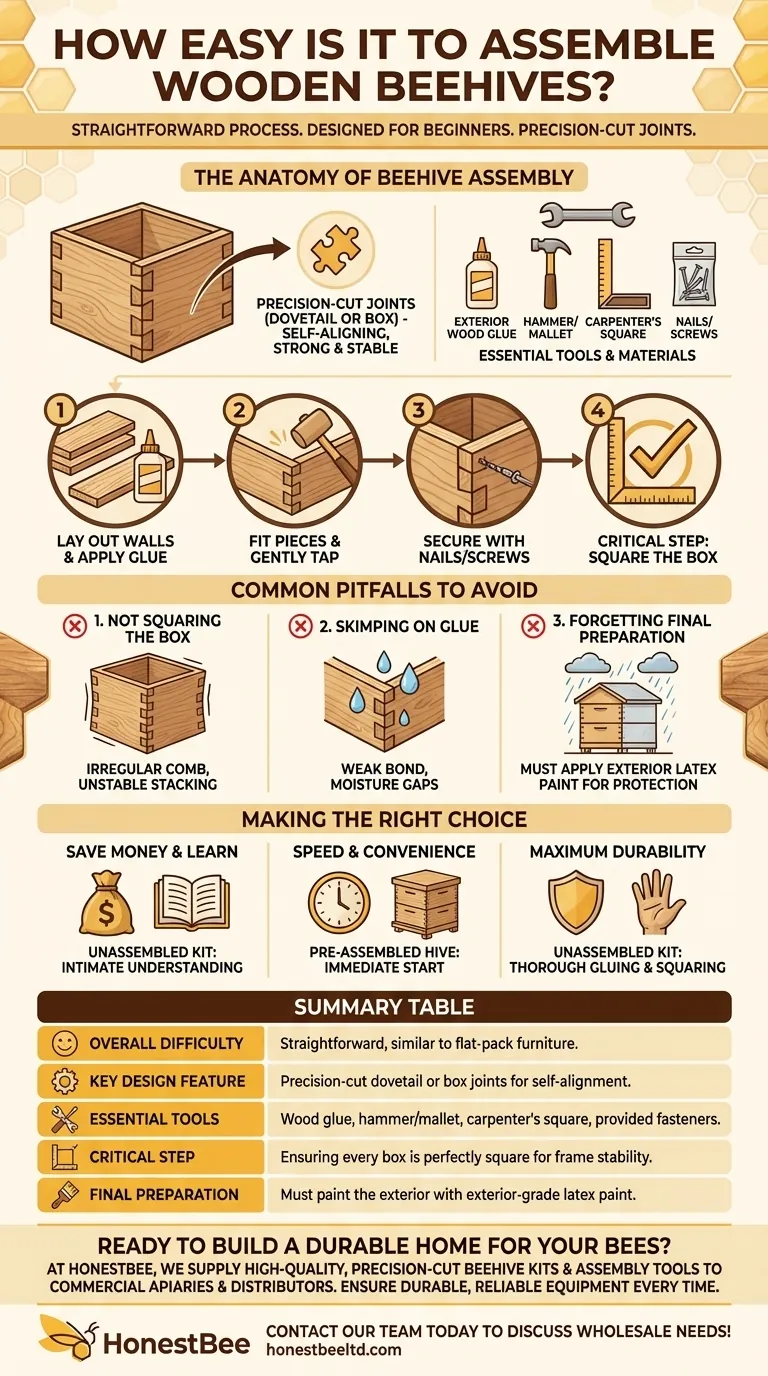
Assembling a wooden beehive is a straightforward process designed for beginners and often compared to building simple flat-pack furniture. Most modern hive kits use precision-cut joints, like dovetail or box joints, which guide the pieces together securely with minimal effort. This design ensures that even someone with no prior woodworking experience can create a sturdy, functional home for their bees.
The core challenge in beehive assembly isn't complex carpentry; it's about methodical patience. The goal is not just to connect the pieces, but to ensure every box is perfectly square and every joint is sealed, creating a durable and draft-free environment for the colony to thrive.
The Anatomy of Beehive Assembly
Understanding the design and the basic steps involved demystifies the entire process. The components are engineered to fit together in a specific way, making the assembly intuitive.
Precision-Cut Joints are the Key
Most unassembled hive kits rely on dovetail or box joints. Think of these as puzzle pieces cut with high precision.
The interlocking "fingers" of the wood slide together, creating an incredibly strong and stable corner. This design self-aligns the boards, doing most of the difficult work for you.
Essential Tools and Materials
You do not need a full workshop. The basic toolkit is simple and accessible.
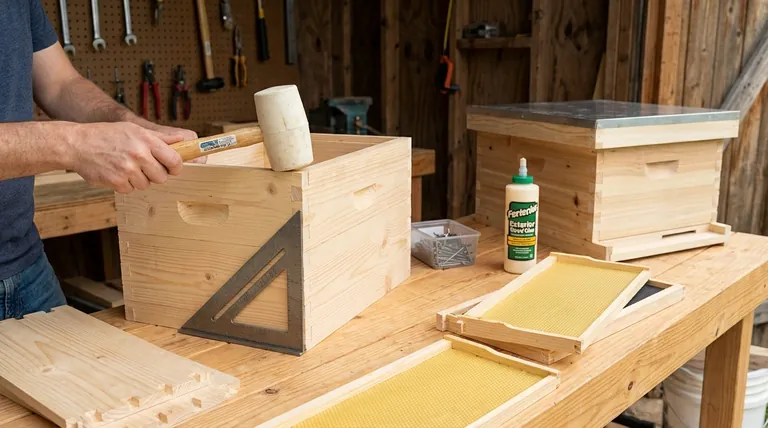
You will typically need exterior-grade wood glue, a hammer (or rubber mallet), a carpenter's square, and the nails or screws that come with your kit. The glue is for strength and weather-sealing, while the fasteners hold the joint tight as the glue cures.
The Step-by-Step Process
While instructions vary slightly by manufacturer, the fundamental process is universal.
First, you lay out the four walls of a hive box. You then apply a thin layer of wood glue to the surfaces of the joints. Finally, you fit the pieces together, using a mallet to gently tap them into a snug fit before securing them with nails or screws.
Common Pitfalls to Avoid
While the process is simple, a few key details separate a well-built hive from a weak one. Avoiding these common mistakes is crucial for the long-term health of your hive.
The Importance of a "Square" Box
This is the most critical step. After joining the four sides, you must use a carpenter's square to ensure every corner is a perfect 90-degree angle.
A box that isn't square will cause problems. Frames won't hang correctly, bees will build irregular comb in the gaps, and stacking additional boxes will be unstable.
Don't Skimp on Glue
Nails or screws provide clamping pressure, but the wood glue provides the real structural bond and seals tiny gaps against moisture and drafts.
Always use a quality waterproof or exterior-grade wood glue on every joining surface for maximum durability against the elements.
Forgetting the Final Preparation
Assembly is just the first step. Raw wood, especially pine, will not withstand the weather for long.
The exterior of the hive must be protected with at least two coats of exterior-grade latex paint. Only paint the outside surfaces, leaving the interior raw for the bees.
Making the Right Choice for Your Goal
Your approach to assembly depends on your priorities—cost, convenience, or the experience itself.
- If your primary focus is saving money and learning: An unassembled kit is the ideal choice, as it allows you to understand the hive's construction intimately.
- If your primary focus is speed and convenience: A pre-assembled hive will get you started immediately, though it comes at a higher cost and you miss the hands-on experience.
- If your primary focus is maximum durability: Take your time with an unassembled kit, ensuring every joint is glued thoroughly and each box is perfectly square before fastening.
With patience and attention to detail, assembling your first beehive is a rewarding and manageable first step into the world of beekeeping.
Summary Table:
| Aspect | Key Takeaway |
|---|---|
| Overall Difficulty | Straightforward, similar to flat-pack furniture. |
| Key Design Feature | Precision-cut dovetail or box joints for self-alignment. |
| Essential Tools | Wood glue, hammer/mallet, carpenter's square, provided fasteners. |
| Critical Step | Ensuring every box is perfectly square for frame stability. |
| Final Preparation | Must paint the exterior with exterior-grade latex paint. |
Ready to build a durable home for your bees?
At HONESTBEE, we supply high-quality, precision-cut beehive kits and essential assembly tools to commercial apiaries and beekeeping equipment distributors. Our wholesale-focused operations ensure you get durable, reliable equipment that assembles perfectly every time, supporting the health of your colonies and the success of your business.
Contact our team today to discuss your wholesale needs and get a quote!
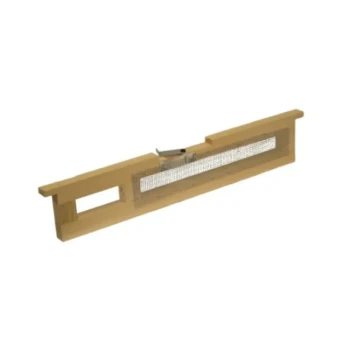
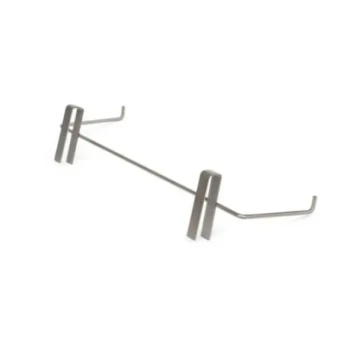
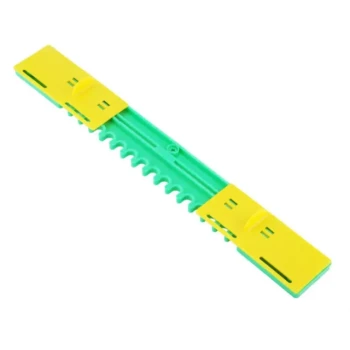
Visual Guide
Related Products
- Wholesales Dadant Size Wooden Bee Hives for Beekeeping
- Wooden Bee Hive Frames for Beekeeping and Wholesale
- Assembled Wooden Bee Frames with Plastic Foundation for Durability and Convenience by HONESTBEE
- HONESTBEE Wired and Assembled Wooden Bee Frames Foundation for a Thriving Hive
- Assembled Wooden Bee Frames with Beeswax Foundation Ready to Use by HONESTBEE
People Also Ask
- How long do wooden bee hives last? Extend Your Hive's Lifespan Beyond 10 Years
- What is the proper way to store unused bee hives? Expert Stacking Tips for Equipment Longevity
- What are the 2 types of bee hives? Langstroth vs. Top-Bar for Your Apiary
- What are the advantages of wooden bee hives? Superior Bee Health & Beekeeper Flexibility
- What factors determine the necessary hive configuration for an apiary? Optimize Hive Setup for Better Colony Survival