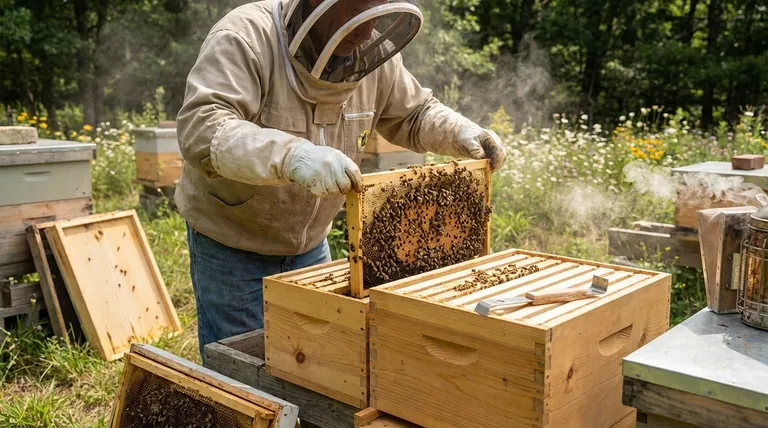
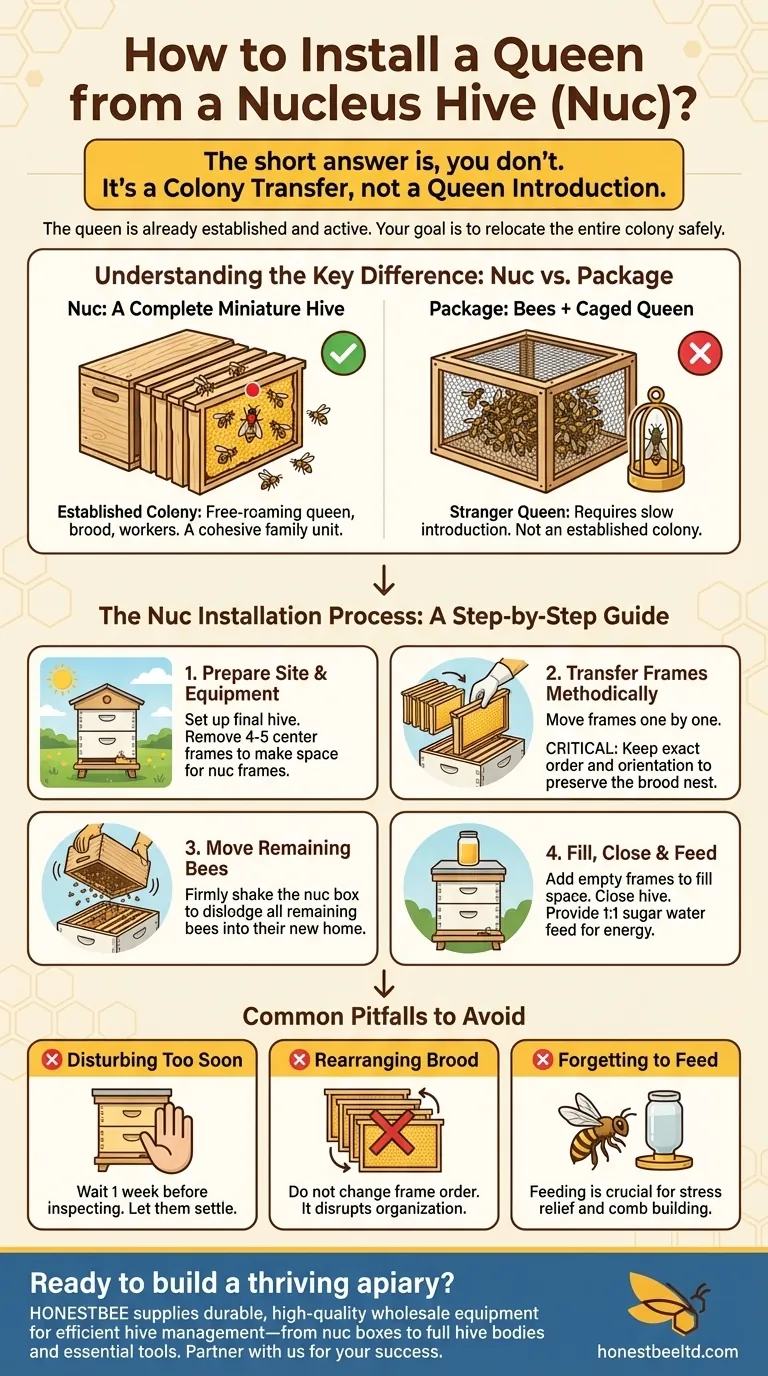
The short answer is, you don't. When you acquire a nucleus hive (nuc), the queen is already installed, accepted by the colony, and actively laying eggs. She is not in a cage. Your task is not to introduce a new queen, but to carefully transfer her entire established colony from the small nuc box into a full-sized hive.
A nucleus hive is a miniature, fully functional colony with an established, free-roaming queen. The installation process is about relocating this colony, not introducing a queen as you would with a package of bees.
Understanding the Key Difference: Nuc vs. Package
To handle a nuc correctly, it's crucial to understand why it's different from a package of bees, which is the other common way to start a hive.
A Package of Bees
A package is simply a container of bulk bees and a separate, caged queen. The queen is a stranger to the bees.
The installation process involves shaking the bees into a hive and slowly introducing the caged queen over several days so the colony can accept her.
A Nucleus Hive (Nuc)
A nuc is a complete, miniature hive, typically containing 4-5 frames.
These frames include a proven, laying queen, her brood (eggs, larvae, and pupae), and worker bees of all ages. The colony is already a cohesive, functioning family unit.
The Nuc Installation Process: A Step-by-Step Guide
Your goal is to move the colony with minimal stress and disruption. The queen is on one of the frames, and as long as you handle them gently, she will be transferred safely with them.
Step 1: Prepare Your Site and Equipment
Before the nuc arrives, have your full-sized hive (e.g., a 10-frame Langstroth) assembled and placed in its final location.
Remove 4-5 frames from the center of your new hive box to make space for the frames coming from the nuc.
Step 2: Transfer Frames Methodically
Open the nuc box and your new hive. Gently lift each frame out of the nuc one by one.
Place the frames into the center of the new hive, keeping them in the exact same order and orientation they were in the nuc. This preserves the structure of their brood nest.
Step 3: Move the Remaining Bees
After transferring the frames, many bees will still be inside the nuc box.
Gently hold the nuc box upside down over the open hive and give it a firm shake to dislodge the remaining bees into their new home.
Step 4: Fill the Hive and Close Up
Add your new, empty frames to fill the remaining space on either side of the nuc frames.
Place the inner cover and top cover on the hive. If the colony is small, consider using an entrance reducer to help them defend their new, larger space.
Common Pitfalls to Avoid
Transferring a nuc is straightforward, but a few simple mistakes can set the colony back. Avoiding them is key to a successful start.
Disturbing the New Colony
Resist the temptation to immediately search for the queen or inspect the frames again. You have just moved their entire world.
Give the colony at least a week to settle in, orient themselves, and organize their new space before performing your first inspection.
Rearranging the Brood Nest
The bees have arranged their frames purposefully, with the brood in the center and resources like pollen and honey around it.
Changing the order of the frames forces the bees to expend significant energy reorganizing their home instead of expanding the colony.
Forgetting to Feed
The bees have a much larger space to manage, and the move itself is stressful.
Providing a 1:1 sugar water feed gives them a ready source of energy to begin drawing out comb on the new frames and expanding their population.
Making the Right Choice for Your Goal
Your actions immediately following the transfer will guide the colony's development.
- If your primary focus is a smooth, low-stress transition: Keep the frames in their original order and leave the hive undisturbed for a full week.
- If your primary focus is rapid colony growth: Ensure you provide a consistent sugar water feed to give them the resources to build comb on the new frames quickly.
Trust that you have successfully moved a functioning colony, and give them the time and resources they need to thrive in their new home.
Summary Table:
| Step | Key Action | Why It's Important |
|---|---|---|
| 1. Preparation | Set up the full-sized hive in its final location. | Minimizes stress by providing an immediate, permanent home. |
| 2. Frame Transfer | Move frames from nuc to hive, keeping the original order. | Preserves the brood nest structure and prevents colony disruption. |
| 3. Bee Transfer | Shake remaining bees from the nuc box into the new hive. | Ensures the entire colony, including the queen, is safely relocated. |
| 4. Post-Transfer | Add empty frames, close the hive, and avoid inspections for a week. | Gives the colony time to settle and begin expanding without stress. |
Ready to build a thriving apiary?
A successful beekeeping operation starts with the right equipment. At HONESTBEE, we supply commercial apiaries and beekeeping equipment distributors with the durable, high-quality supplies needed for efficient hive management—from nuc boxes and full hive bodies to essential tools.
Let us be your wholesale partner in success. Contact our team today to discuss your equipment needs and volume pricing.
Visual Guide
Related Products
- 5 Frame Wooden Nuc Box for Beekeeping
- Automatic Heat Preservation 6 Frame Pro Nuc Box for Honey Bee Queen Mating
- 4 Frame Plastic Nuc Boxes for Beekeeping Bee Nuc Box
- Steel Round Disc Entrance Reducer for Flexzion Bee Hive Nuc Box Gate
- Styrofoam Mini Mating Nuc Box with Frames Feeder Styrofoam Bee Hives 3 Frame Nuc Box
People Also Ask
- What is the typical composition of frames in a nuc? A 5-Frame Blueprint for a Thriving Hive
- What is the primary function of five-frame nuclei boxes? Master Early Colony Establishment for Stronger Hives
- How are nuc boxes used in queen rearing? The Essential Tool for Reliable Queen Mating
- What are the options for adding frames to a nuc after taking two frames from the parent colony?
- What roles do five-frame nucleus boxes and ten-frame Langstroth hive boxes play in colony standardization?


