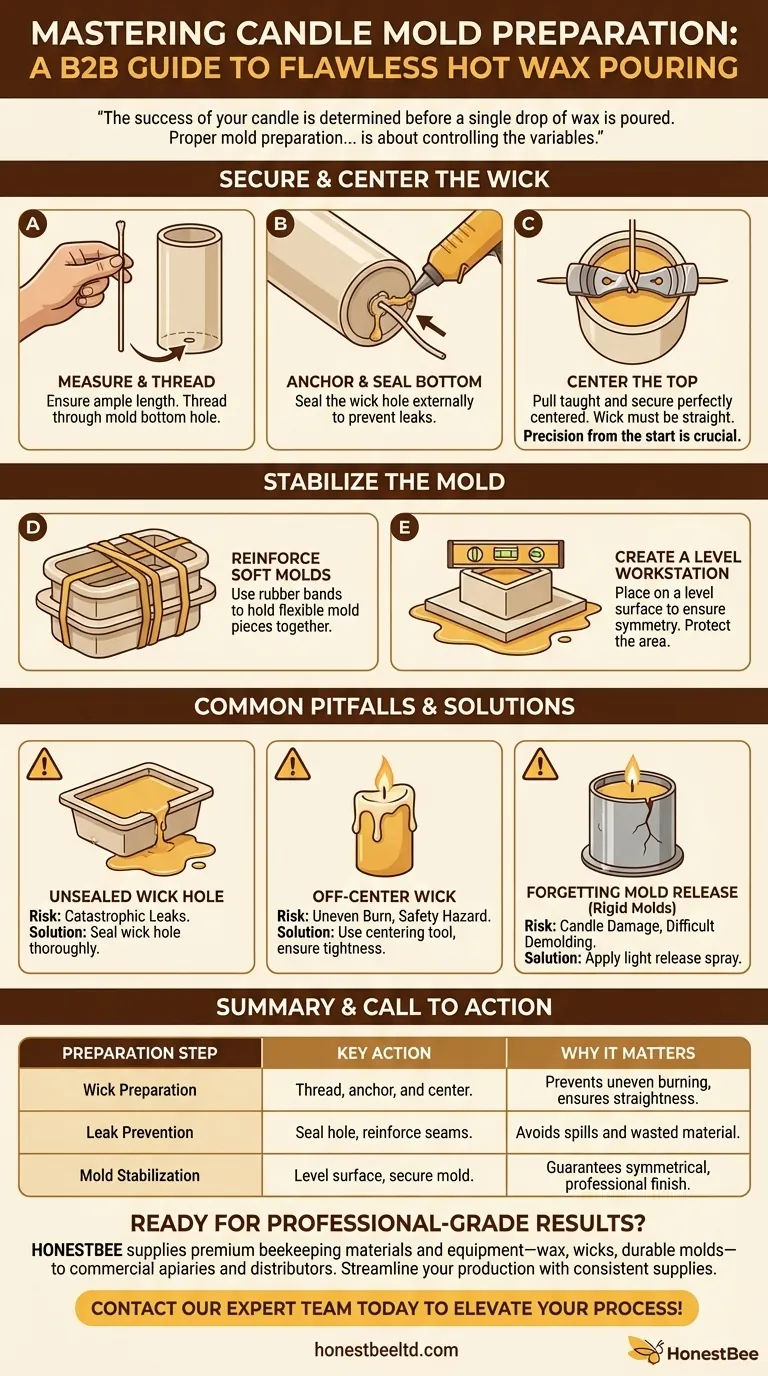
To properly prepare a mold for pouring hot wax, you must secure and center the wick, seal any potential leak points, and stabilize the entire structure on a level surface. These preparatory steps are non-negotiable for preventing leaks, ensuring the candle burns correctly, and achieving a professional finish.
The success of your candle is determined before a single drop of wax is poured. Proper mold preparation is not just about containment; it's about controlling the variables—wick position and mold stability—to prevent common failures and ensure a flawless final product.
The Foundation: Securing and Centering the Wick
The wick is the engine of your candle. Its placement must be precise from the very beginning.
### Measuring and Threading the Wick
First, measure your wicking. You will need enough length to pass through the entire mold with several extra inches left at the top.
Carefully thread the wick through the small hole at the bottom of the mold. If this is difficult, a small piece of wire or a needle can help guide it through without damaging the mold.
### Anchoring and Sealing the Bottom
Once threaded, the wick hole at the bottom of the mold becomes the most common point of failure. A small amount of mold sealer or even a high-temperature hot glue gun can be used on the outside of the mold to plug this hole and prevent leaks.
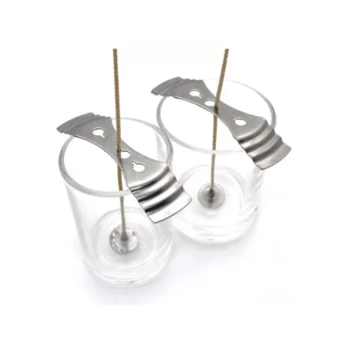
### Centering the Top
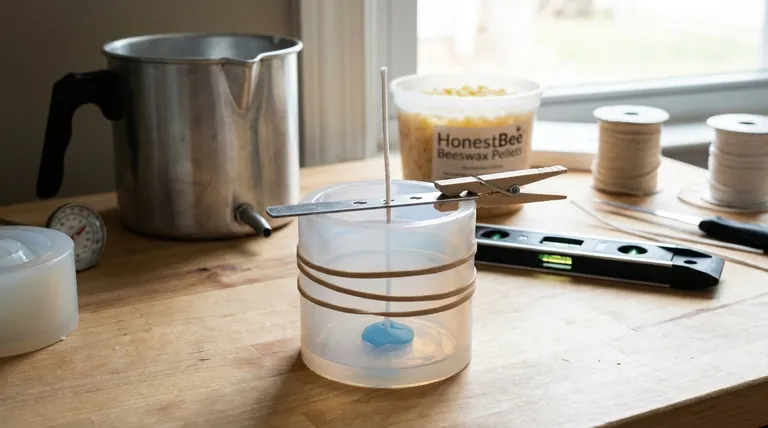
Pull the wick taut from the top opening. Secure it precisely in the center using a wick centering tool, a clothespin, or by tying it to a wooden skewer laid across the opening. The wick must be straight and taut to remain centered as the wax cools.
Stabilizing the Mold to Prevent Leaks and Distortion
An unstable mold will lead to leaks, distortion in the candle's shape, and potential safety issues.
### Reinforcing Soft Molds
Flexible silicone molds, especially two-part or complex designs, can be pushed apart by the weight of the hot wax. Wrap rubber bands around the exterior of the mold to hold the pieces together firmly and prevent wax from seeping out through the seams.
### Creating a Level Workstation
Place your prepared mold on a perfectly level surface. Any tilt in the surface will result in a lopsided candle with an uneven top. Protect this surface from potential spills with newspaper or a silicone mat.
Common Pitfalls and How to Avoid Them
Even with a good process, small oversights can lead to frustration. Understanding these common issues is key to avoiding them.
### The Risk of an Unsealed Wick Hole
Do not underestimate the ability of hot, liquid wax to find an escape route. Failing to properly seal the wick hole at the bottom of the mold is the number one cause of catastrophic leaks, wasting wax and creating a significant mess.
### The Impact of an Off-Center Wick
A wick that is not perfectly centered will cause the candle to burn unevenly. This not only looks unprofessional but can also become a safety hazard, as one side of the candle may melt much faster than the other.
### Forgetting Mold Release (For Rigid Molds)
While flexible silicone molds are designed for easy release, rigid molds made of metal or polycarbonate may require a mold release spray. A very light coating makes de-molding significantly easier and prevents you from damaging the candle during removal.
How to Apply This to Your Project
Your preparation strategy should align with the quality you want to achieve.
- If your primary focus is a perfectly centered wick: Use a dedicated metal wick centering tool and ensure the wick is pulled completely taut before securing it.
- If your primary focus is preventing leaks: Double-check that the wick hole is sealed and use an extra rubber band on soft molds. It is always better to be over-prepared.
- If your primary focus is a flawless surface finish: Confirm your work surface is perfectly level using a bubble level and pour the wax in a single, smooth motion to avoid lines.
Ultimately, careful and methodical preparation is the defining step that separates amateur results from professional-quality candles.
Summary Table:
| Preparation Step | Key Action | Why It Matters |
|---|---|---|
| Wick Preparation | Thread, anchor, and center the wick. | Prevents uneven burning and ensures a straight candle. |
| Leak Prevention | Seal the wick hole and reinforce seams. | Avoids wax spills and wasted materials. |
| Mold Stabilization | Place on a level surface and secure the mold. | Guarantees a symmetrical shape and professional finish. |
Ready to create professional-grade candles with reliable, high-quality supplies?
HONESTBEE supplies beekeeping supplies and equipment—including premium wax, wicks, and durable molds—to commercial apiaries and beekeeping equipment distributors through our wholesale-focused operations. Let us help you streamline your production and ensure consistent results.
Contact our expert team today to discuss your wholesale needs and elevate your candle-making process!
Visual Guide
Related Products
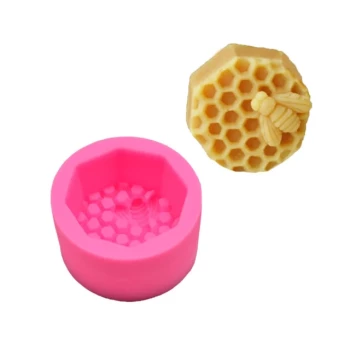
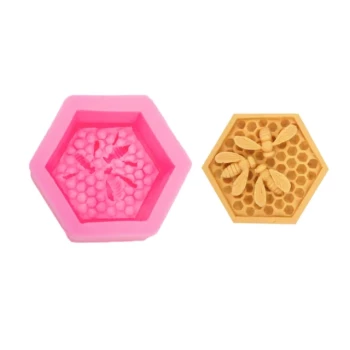
- Honeycomb Hexagonal Pillar Silicone Candle Mold for Candle Making
- 3D Square Honeycomb Pillar Silicone Candle Molds for Making Beeswax Candles
- Round Honeycomb Pillar Silicone Candle Molds for Candles
- 3D Beehive Silicone Skep Wax Candle Molds for Candles
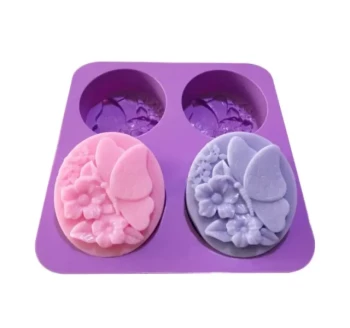
- Bee Floral Relief Silicone Mold for Artisan Soap Candle Making
People Also Ask
- How are the hollow cell plugs prepared for the queen to lay eggs? Mastering Wax Embedding for Queen Rearing
- How do you remove a finished candle from the mold? Master the Art of Flawless Demolding
- What are the advantages of silicone molds for queen cell cups? Upgrade Your Queen Rearing Precision
- How do you secure a silicone mold for candle making? Prevent Leaks and Achieve Perfect Candles
- Is spray release necessary when using silicone molds for candle making? Master the Art of Flawless Demolding