To properly use a honey refractometer, you must follow a precise four-step protocol. First, calibrate the instrument using a reference solution or olive oil. Next, apply a small, bubble-free drop of honey to the prism, ensuring it is the same temperature as the device. View the reading through the eyepiece, and finally, clean the prism thoroughly with a damp cloth after each use.
A refractometer is more than a measurement tool; it is your primary defense against spoilage and your guarantee of quality. Mastering its use is not about learning the steps, but understanding that precise measurement of water content is the single most important factor in producing stable, high-quality honey.
The Core Principle: Why a Refractometer is Essential
A honey refractometer is a critical instrument for any serious beekeeper or honey producer. Its purpose extends far beyond a simple number reading; it directly informs the quality, safety, and legality of your product.
Measuring Water Content to Prevent Fermentation
Honey with high water content (typically above 20%) is susceptible to fermentation by naturally occurring osmophilic yeasts. This spoilage renders the honey unusable, often resulting in what is known as "baker's honey."
Using a refractometer allows you to verify that the moisture level is low enough to ensure long-term shelf stability.
Ensuring Compliance and Product Quality
Many regions have legal standards for honey sold to consumers. For example, a common requirement is that the water content must not exceed 21.0g per 100g.
Accurate readings confirm your honey meets these legal requirements, protecting both your customers and your reputation.
How It Works: Light, Sugar, and Water
A refractometer operates by measuring the refractive index of a substance. As light passes from the prism into the honey, it bends.
The degree of this bend is directly proportional to the concentration of dissolved solids—primarily sugar—in the honey. Higher sugar content means lower water content and a higher refractive index. The device's scale is calibrated to translate this measurement directly into a water content percentage.
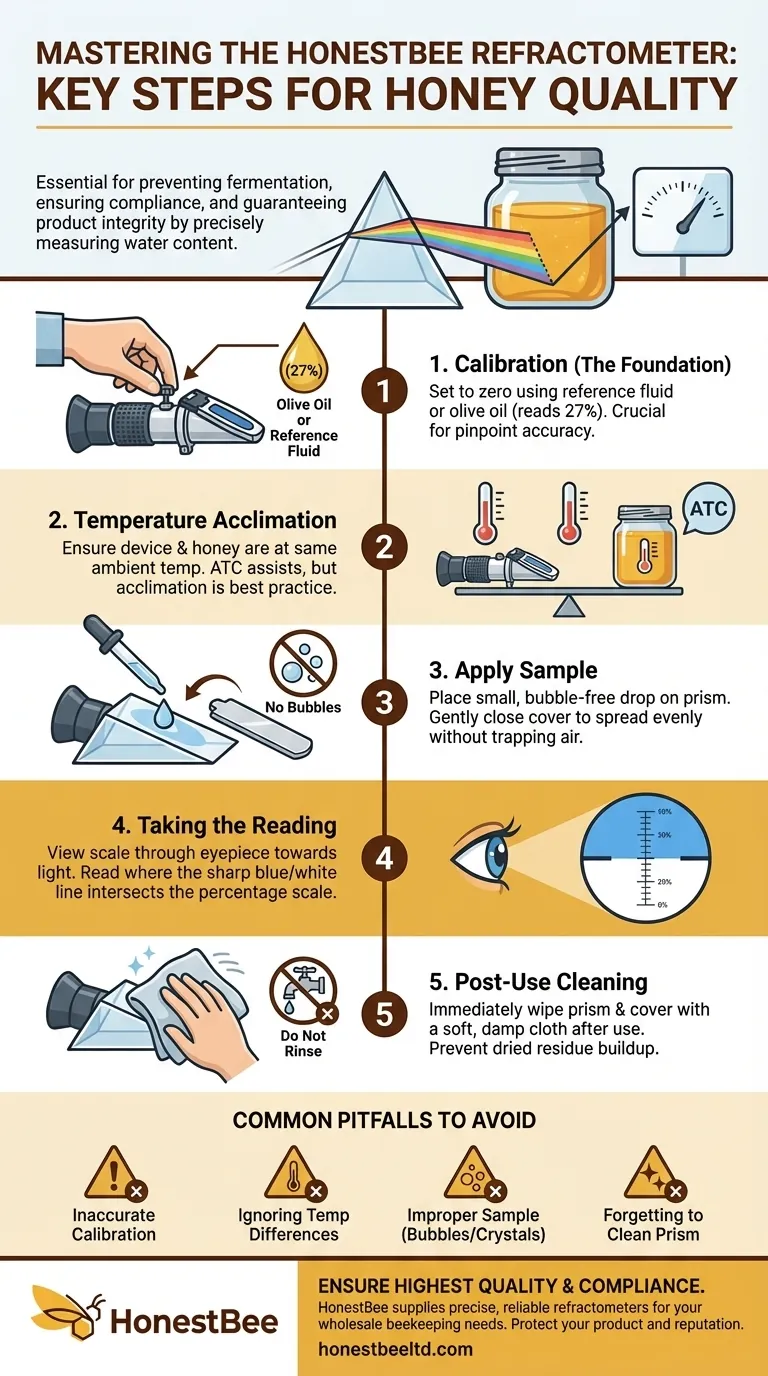
The Step-by-Step Measurement Protocol
Accuracy is a function of process. Following these steps methodically will ensure your readings are both repeatable and reliable.
Step 1: Calibration – The Foundation of Accuracy
Before every session, you must calibrate your instrument. Think of this as setting a scale to zero before weighing something.
Most devices come with a calibration fluid with a known moisture value. If one is not available, you can use a drop of pure olive oil, which should read 27% water content on a honey refractometer. Adjust the calibration screw until the reading matches the known value of your reference substance.
Step 2: Temperature Acclimation
For the most accurate results, the refractometer and the honey sample should be at the same ambient temperature. Significant temperature differences can skew the reading.
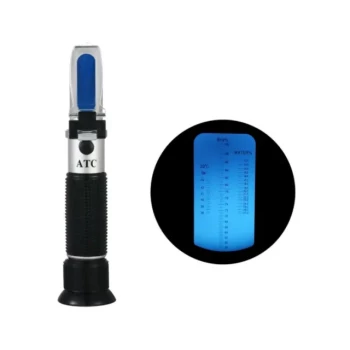
Many modern refractometers feature Automatic Temperature Compensation (ATC), which helps correct for minor variations. However, it's still best practice to let your honey and tool acclimate in the same room for a period before testing.
Step 3: Applying the Honey Sample
Place one or two drops of honey onto the main prism. The goal is to apply just enough to cover the entire surface of the glass once the cover plate is closed.
Gently lower the cover plate and give it a slight wiggle to spread the honey evenly and remove any trapped air bubbles, which can interfere with an accurate reading.
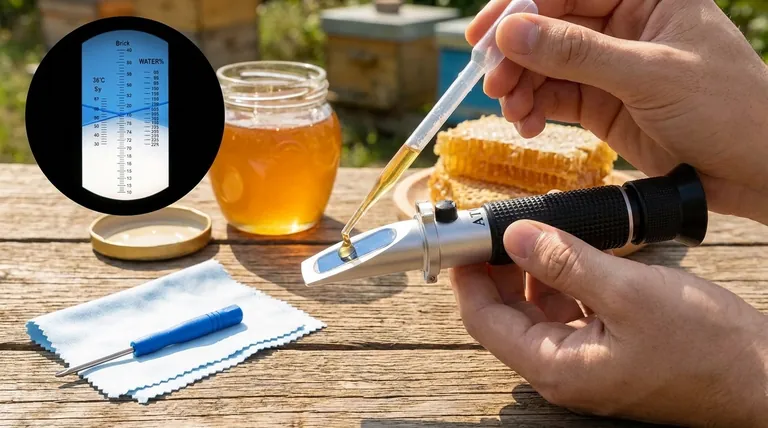
Step 4: Taking the Reading
Hold the refractometer up to a natural light source and look through the eyepiece. You will see a scale, often with a distinct line separating a blue and white area. The reading is taken where this line intersects the scale.
If the scale appears blurry, rotate the eyepiece to bring it into focus. This line indicates the honey's water content percentage.
Step 5: Post-Use Cleaning
Immediately after taking your reading, wipe the prism and cover plate clean with a soft, damp cloth. Do not rinse the entire instrument under running water.
Proper cleaning prevents honey residue from drying on the prism, which would corrupt all future measurements and could permanently damage the optical surface.
Common Pitfalls to Avoid
Simple mistakes can easily lead to incorrect data and poor decisions about your harvest. Awareness of these pitfalls is crucial for maintaining accuracy.
The Risk of Inaccurate Calibration
A faulty calibration is the most common source of error. If you calibrate incorrectly, every subsequent measurement you take will be wrong, leading you to potentially jar honey that is destined to ferment.
Ignoring Temperature Differences
Even with ATC, testing cold honey on a room-temperature refractometer (or vice-versa) can introduce errors. The ATC system has its limits, and best practice dictates minimizing the temperature delta between your sample and your tool.
Improper Sample Preparation
If your honey has begun to crystallize or is not homogenous, your small sample may not be representative of the entire batch. Gently warming and stirring the honey in its container can ensure a more accurate, representative reading.
Forgetting to Clean the Prism
Dried honey residue from a previous measurement will alter the refractive index of your next sample, guaranteeing an incorrect reading. Diligent cleaning is not just for maintenance; it is a critical part of the measurement process itself.
How to Apply This to Your Harvest
Use these guidelines to select and use a refractometer that aligns with your specific goals.
- If your primary focus is hobby-level quality control: A durable, analog refractometer with ATC is sufficient. Focus on mastering the process of consistent calibration and cleaning.
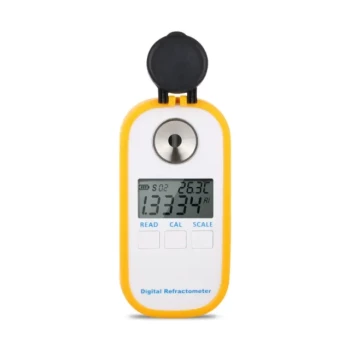
- If your primary focus is commercial production: Invest in a quality digital model with a clear screen and guaranteed accuracy to protect your business and ensure legal compliance.
- If your primary focus is understanding your craft: Use the refractometer to track how water content varies between hives, locations, and seasons to deepen your beekeeping knowledge.
Ultimately, mastering the refractometer gives you direct control over the quality and integrity of your final product.
Summary Table:
| Key Step | Purpose | Best Practice |
|---|---|---|
| Calibration | Ensures measurement accuracy | Use calibration fluid or olive oil (27% reading) |
| Temperature Acclimation | Prevents reading errors | Let honey and device reach the same ambient temperature |
| Sample Application | Provides a representative reading | Apply a small, bubble-free drop to cover the prism |
| Taking the Reading | Measures water content percentage | Read the scale where the blue/white line intersects |
| Cleaning | Protects the instrument and future accuracy | Wipe prism with a damp cloth immediately after use |
Ensure every batch of your honey meets the highest standards of quality and compliance. Whether you are a commercial apiary or a beekeeping equipment distributor, HONESTBEE supplies the precise, reliable refractometers and beekeeping supplies you need to protect your product and your reputation. Contact HONESTBEE today to discuss your wholesale equipment needs and guarantee the integrity of your harvest.
Visual Guide
Related Products
- Digital Honey Refractometer for Precision Measurement of Optimal Honey Quality
- Precision Honey Refractometer Instrument for Quality Assessment
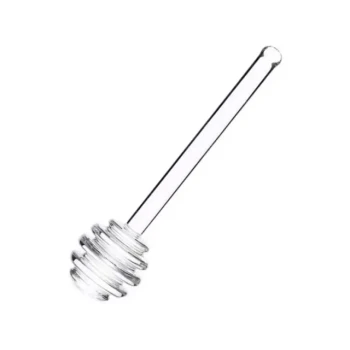
- Premium Heat-Resistant Glass Honey Dipper
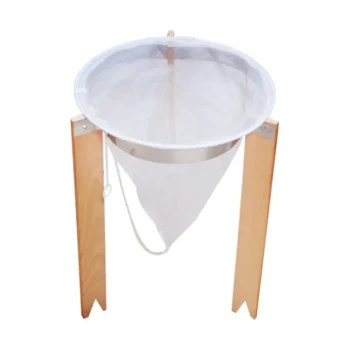
- Professional Honey Filter with Tripod Support Stand
- Professional Stainless Steel Honey Filtering Machine with Water Bath Heating for Beekeeping
People Also Ask
- How do refractometers ensure technical precision when measuring honey moisture? Secure Quality and Prevent Fermentation
- What should be done after taking a reading with a honey refractometer? Protect Your Investment and Ensure Accuracy
- Why is the precise control of moisture content using professional refractometers critical for honey quality?
- Why might a hobbyist beekeeper need a honey refractometer? Ensure Peak Quality and Prevent Fermentation
- What should be considered when choosing a honey refractometer? Key Factors for Accurate Moisture Testing